It all started with an idea. How many of us have been frustrated or disappointed by store-bought patio cushions and other mass-produced furniture? Your store-bought cushions last a season or two on your patio, and then the fabric begins to fade. Or stains from birds and food spills don’t come out no matter how hard you scrub.
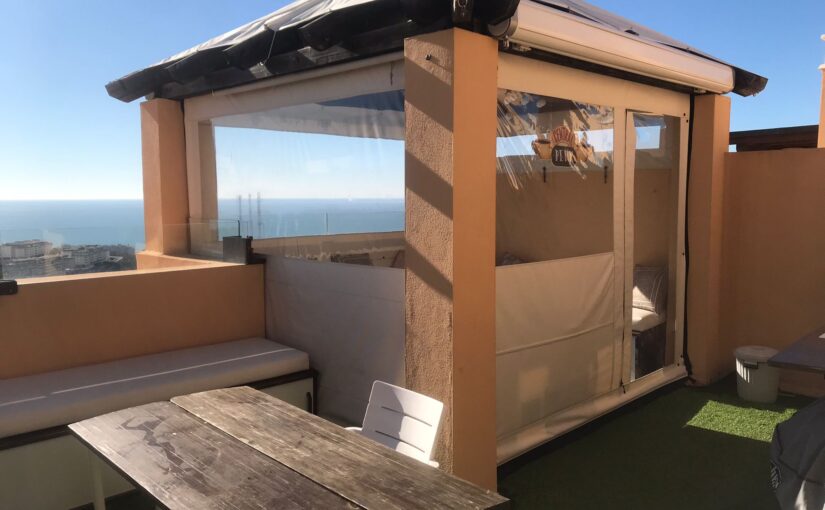
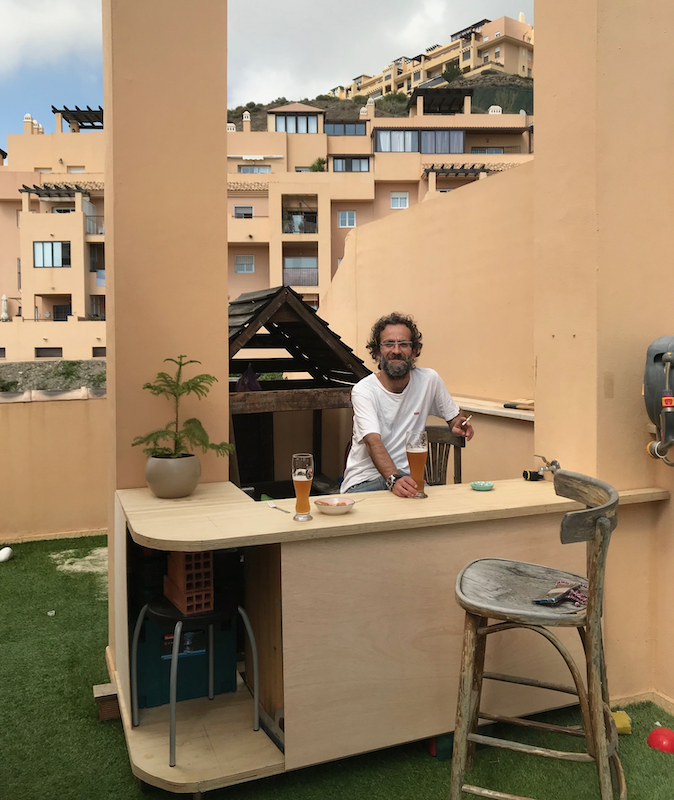
Javier Guerrero Garcia felt the same way. He and his family have a lovely private rooftop terrace above their apartment in La Cala de Mijas, an Andalusian province in southern Spain. He purchased IKEA cushions for the terrace benches and was disappointed in their performance. They were smaller than what he wanted and kept slipping off the benches.
Custom-size cushions were available — but at astronomical prices. While searching on the internet one day, Javier found the Sailrite 30-Minute Box Cushion video tutorial. Then he watched another Sailrite cushion video. And another. Soon enough he thought to himself, “Well it doesn’t look that hard, right?” And so his DIY journey began.
With video tutorials and materials from Sailrite, Javier transformed his rooftop terrace into a cozy oasis with custom-fit cushions and a fabric enclosure so his family could enjoy the view year-round. Keep reading to learn more about this industrious DIYer and how he went from someone who had never touched a sewing machine to the go-to DIY guy his neighbors and family turn to for their sewing needs.
Learning to Sew
The cushions project was fairly straightforward for Javier and a great way to learn how to sew. He had never sewn before, but he was determined to make cushions that fit his patio benches perfectly. In addition to the 30-Minute Box Cushion video, Javier also used the Sailrite Fabric Calculator to help him determine how much fabric and other materials he would need for his cushion covers.
Because he had never sewn before, Javier relied on Sailrite how-to videos to tackle his rooftop projects. We asked him — as a sewing newbie — what he thought of the Sailrite videos and if they were easy to follow. Here’s what he told us:
“Absolutely! The shots were clear (not easy when you watch many other “sewing” videos where you only see hands moving), explanations on the whys and hows were completely reasonable and understandable, and they covered every aspect and foreseeable problem (like the fabric shrink when sewing). [The Sailrite videos] were the one and only reason for me to think that I could learn to sew by myself and tackle the first cushion project. … Even my mother-in-law is still surprised about how it all finally came along.”
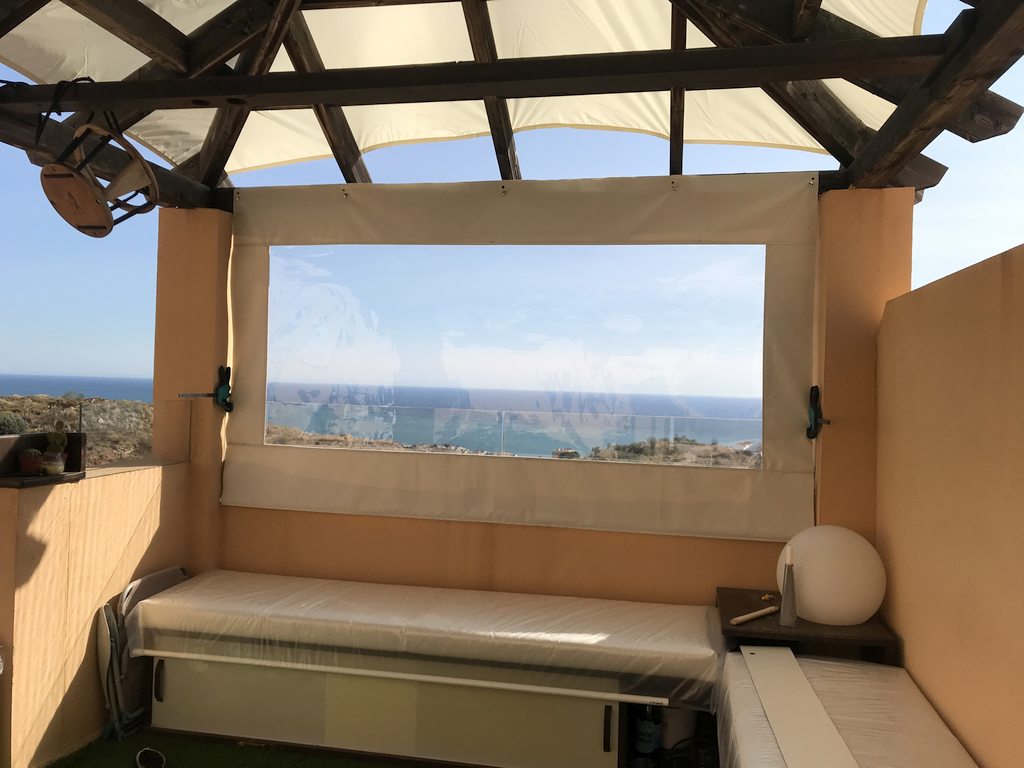
The cushions turned out great, and Javier was excited to tackle his next sewing project. This one would be much bigger and more involved: a four-sided enclosure with a zippered opening for his rooftop pergola.
DIY Pergola Enclosure
The pergola enclosure consisted of four large squares of material — no curves or shaping. Javier first mocked up a sketch to figure out window placement, sizing and overall construction. Once he had the design figured out, he cleared out his living room to create enough flat space for measuring and patterning.
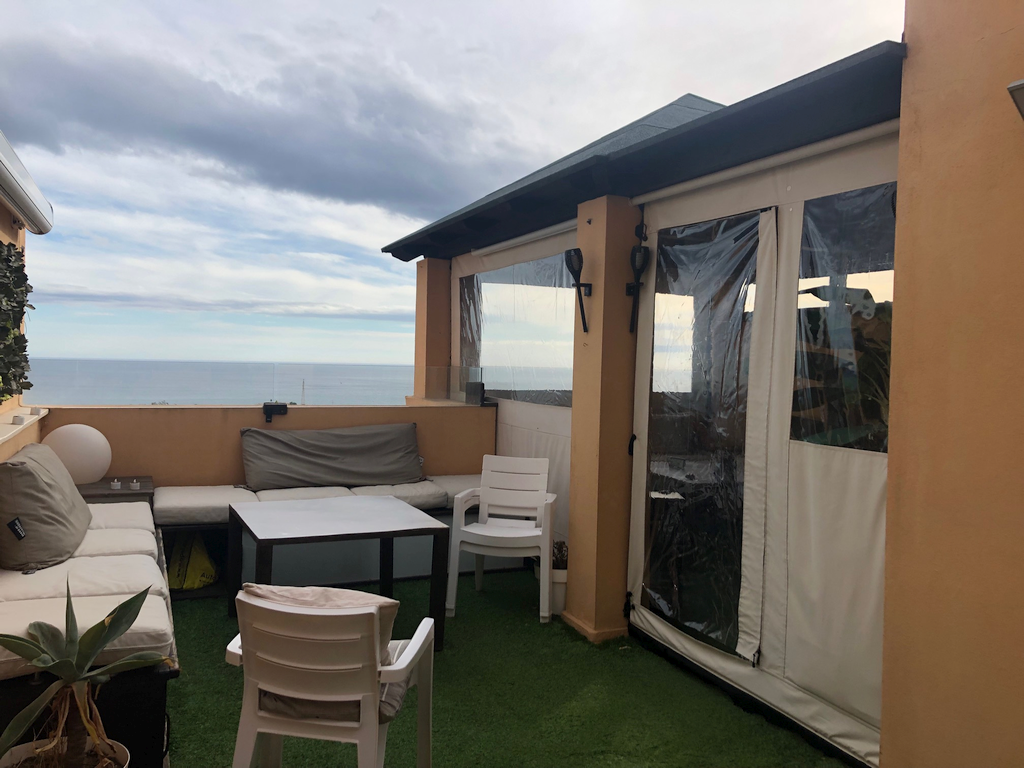
“I cut the sides long so they could be trimmed later, assembled almost everything (including windows) using just your semi-flat felled seam tutorial, installed the LOXX® hardware, hung them for final trimming, added the Stayput™ fastener cords for windproofing, added the bottom Stayput tensioners to both the fabric and the wall, and that’s it!”
Two years later the enclosure still works great. And though the project was sometimes grueling and difficult, Javier learned a lot from the experience. He’s still very happy and proud of his accomplishment. “The vinyl windows stuck on every surface while pulling. I had bad luck with thread breaking and the process was time-consuming. … I sweated each and every one of the three-meter-long (approximately 10 feet) seams — and there are a few of them! Anyway, it was really fun and kind of a challenge to myself. I had a really good time and the results were fabulous and, most importantly, still are two years later.”
After installing the four-sided enclosure and getting everything zipped and snapped in place, he added a final finishing touch: a small gas heater. That way, the rooftop could be enjoyed year-round. Javier finished the project in time for Christmas dinner, and the windproof enclosure kept everyone warm and comfortable all night. In fact, Javier’s daughters — 5 and 7 years old at the time — named the enclosure “Villa Calorcito,” which loosely translates to “Cozyville.”
“Neighbors keep asking me where I bought the rooftop enclosure, and they can’t believe me when I tell them I did it myself (They think I don’t want to give them the name of the contractor!). I just point them to your website and videos.”
And speaking of neighbors, Javier has received several requests for pergola enclosures from friends and neighbors. He’s not against the idea. In fact, he’s already thinking of ways he could improve his original design. He’s considering using sewable keder rail awning track instead of fasteners as that would more evenly distribute tension and minimize wrinkles in the fabric panels. “The Loxx fasteners make the panels easy to remove with a few pulls when the weather is hot. I still have the desire to try to sew a rail awning someday. Maybe for version 2.0 for some of the neighbors!”
New DIY Adventures
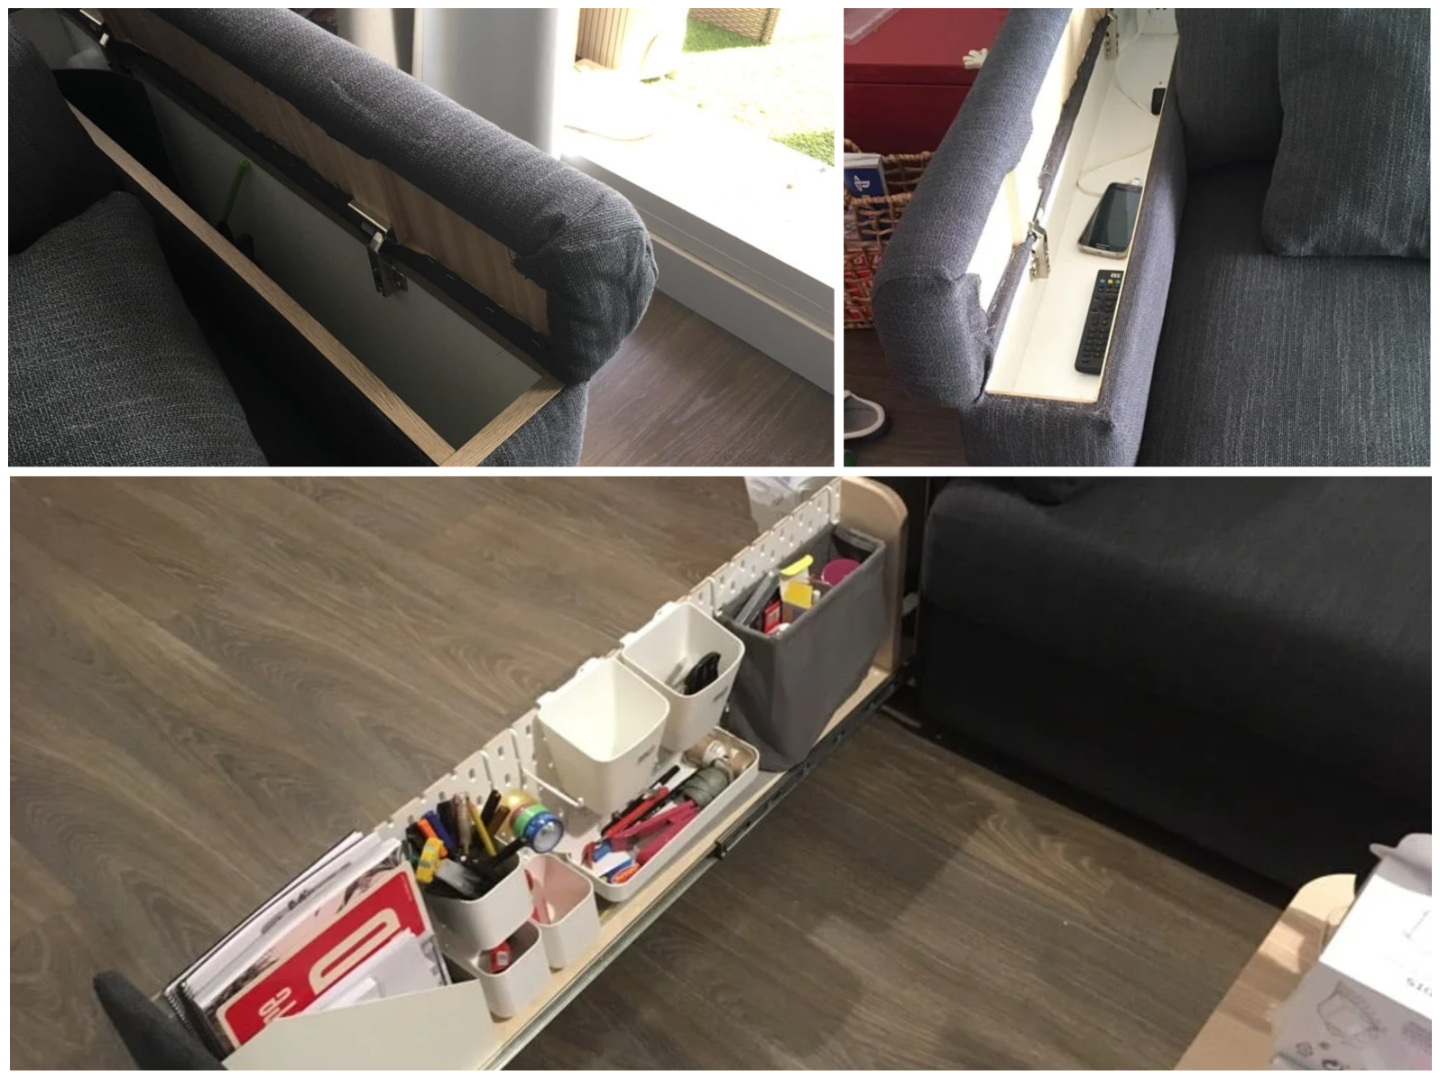
With the success of his rooftop enclosure projects behind him, Javier is enjoying his new skill set and is sewing up a storm. “Once you start, you can’t stop! I made a few box cushions for several different spaces, a gigantic sunshade for the adjacent rooftop space, and I hacked an IKEA sofa to gain lots of storage space. When you just add your first zipper or button or any other fabric hardware to anything, providing some functionality to an otherwise static and boring piece of fabric, you can’t stop thinking about adding zippers to everything else!”
We asked Javier if he has advice for anyone thinking about learning to sew and tackling their first project. Here’s what he said:
“Go for it! The basic techniques are quite easy to learn (mastering them is a totally different story). But even as a first-timer, the results will absolutely blow your mind! … Start small, make a few mistakes early in the project, analyze and understand what worked for you and what didn’t, and learn something every day. Just try, make some errors and adjust. But even with the ugliest seams (me!), the results look awesome and you will be the only one looking at how bad your seams are. No one else will notice a twisted seam, even if you point at it with your finger.”
“Just try” — what simple yet great advice. Isn’t trying at the heart of the DIY process? Make mistakes, learn from them and never give up. And don’t forget to be patient with yourself and let go of those small mishaps. As Javier said — no one will notice them but you.
Thank you for sharing your story with us, Javier. We’re thrilled that Sailrite could be your introduction to the fun and exciting world of sewing. Good luck with all your future DIYs.
Who We Are
Sailrite is your one-stop DIY shop! We are a passionate crew of do-it-yourselfers who strive to equip you with the supplies and how-to knowledge you need to tackle your next project. Do you want to learn upholstery, leatherwork, canvaswork, hobby sewing, bag making or more? We have the fabric, tools, hardware, sewing machines and notions you need to master any DIY. And even if you’ve never sewn before, our tutorials and how-to videos are designed for beginners and experienced crafters alike.
Start your DIY journey today: www.sailrite.com
Great story, an inspiration to us all !
Looks great! A new skill learned!
Inspirational story. What sewing machine did you use?
Hi Diane,
I believe Javier used a Singer home machine — not sure about the model.
Beautiful Job!!!
Looks great and as you say, the Sailrite video series are really instructional!
Great job! Good inspirational project! Thanks for sharing.
What did Javier use for the windows? I am creating an aft sailboat enclosure for colder weather times here in the PNW Salish Sea.
Hi Christine,
For boat enclosures, we recommend 30 gauge clear vinyl. Here’s a link to our selection: https://www.sailrite.com/Clear-Vinyl-Window-Material/Thickness/0.030%22
You might also find this Selection Guide PDF helpful (https://www.sailrite.com/PDF/Window-Material-Buying-Guide.pdf). It ranks the brands of clear vinyl we carry to help you choose the right one for your application. Feel free to reach out to info@sailrite.com with any questions.
Much dedication! A Beautiful Job for sure!!!