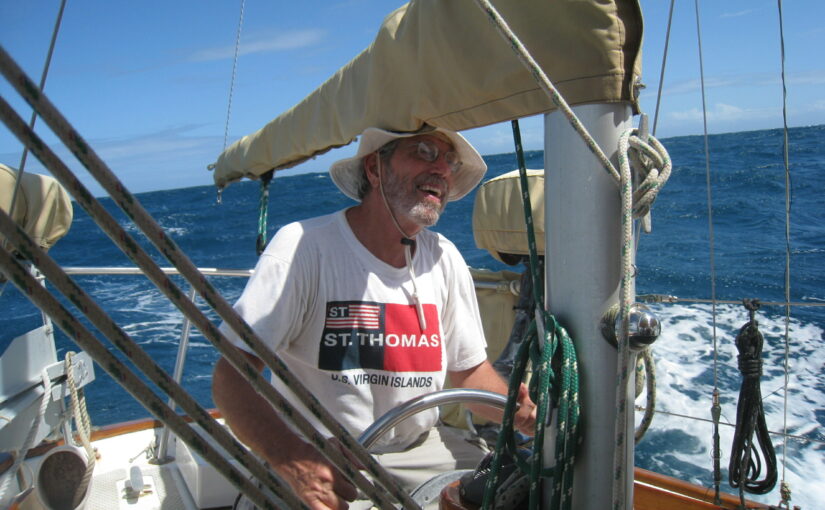
Don Casey, who passed away in January, was more than just a sailor — he was a guiding light for countless enthusiasts in the DIY sailing community. For over four decades, Don inspired sailors to embrace self-reliance, teaching them how to maintain, repair and outfit their boats without relying on expensive professionals. His books, articles and philosophy on cruising left an indelible mark on the sailing world, encouraging generations to set sail with confidence and simplicity.

From Landlocked Beginnings to a Life at Sea
Born and raised in the Dallas-Fort Worth area, Don grew up far from the ocean. It wasn’t until a trip to California at the age of 16 that he first saw the sea. That experience planted a seed, but it was a 1970 three-part series in National Geographic that truly changed his life. The magazine featured Robin Lee Graham, a young sailor who had just completed a five-year solo circumnavigation. Inspired by Graham’s journey, Don packed up his car after taking his final college exam and headed to Miami with dreams of buying a boat and sailing into the blue. He was 23 years old.
After landing a job at the Federal Reserve Bank in Miami, Don saved enough to buy his first boat, a Bristol 27 sloop he christened “Tutor” — a nod to all the boat would teach him about life on the water. It was on this boat that he learned the ropes of sailing, spending weekends and all his allotted time off exploring the waters of Biscayne Bay and the Bahamas. Though he excelled in his career, eventually rising to the position of chief operations officer, Don’s heart was always on the water.
The Birth of a Writer
Don’s writing career began almost by accident. After a six-month sabbatical cruising the Bahamas with his wife, Olga, he received a sailing magazine in the mail featuring a photo of himself at the helm of his boat, “Richard Cory.” Intrigued, he wrote to the editor, sparking a conversation that led to his first article. From there, he began writing regularly for sailing magazines, sharing his practical advice and philosophical musings on cruising.
His first book, Sensible Cruising: The Thoreau Approach, was a groundbreaking work that combined practical advice with a philosophical approach to sailing. Don argued that the boat should facilitate the cruising lifestyle, not hinder it. The book’s message — simplify, go smaller and don’t wait for the perfect boat — resonated deeply with readers and remains relevant today.
Don’s most famous work, This Old Boat, was born out of frustration. While refitting “Richard Cory,” he found himself sifting through stacks of sailing magazines for DIY advice. Realizing there had to be a better way, he set out to create a comprehensive guide for boat owners.
Published in 1991, This Old Boat became a bible for DIY sailors, offering clear, step-by-step instructions on everything from electrical systems to hull repairs. The book’s success cemented his reputation as a leading voice in the sailing community. It has helped tens of thousands of sailors refurbish their boats and — over 30 years later — is still in print.
Olga shared with us that of his 10 published books, these two remained his favorites. “Sensible Cruising was loved by Don and many others. But This Old Boat was a well-researched book that generated a lot of personal feedback, and that made Don very happy as well. Don had a talent for breaking down any subject, explaining it clearly and logically.”
A Life of Self-Reliance & Adventure
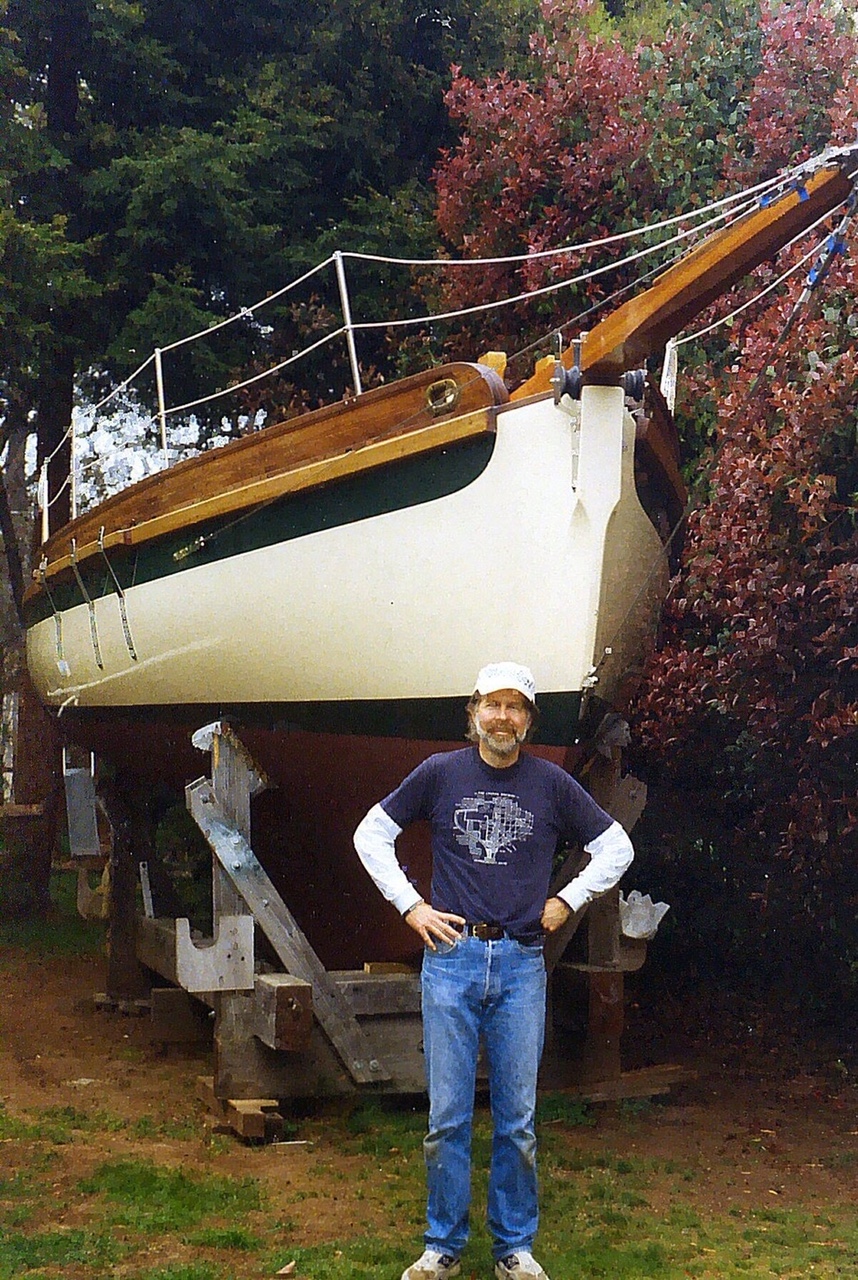
Where did he get his DIY spirit? “Don always had a DIY mindset,” said Olga. “He no doubt learned from watching his mother doing curtains, clothing for the two boys, upholstery, etc.” Whether he was upholstering car seats, restoring houses or crafting a windshield for his BMW motorcycle, he approached every project with curiosity and determination.
Those early lessons from his mother were not forgotten. Don thanked her in the dedication of This Old Boat:
This book is dedicated to Judy Casey, who first showed me how to do much with little. Thanks, Mom.
This ethos of self-reliance extended to his sailing philosophy. He believed that sailors should be capable of maintaining and repairing their boats, not just to save money but to foster a deeper connection with their vessels and the sea.
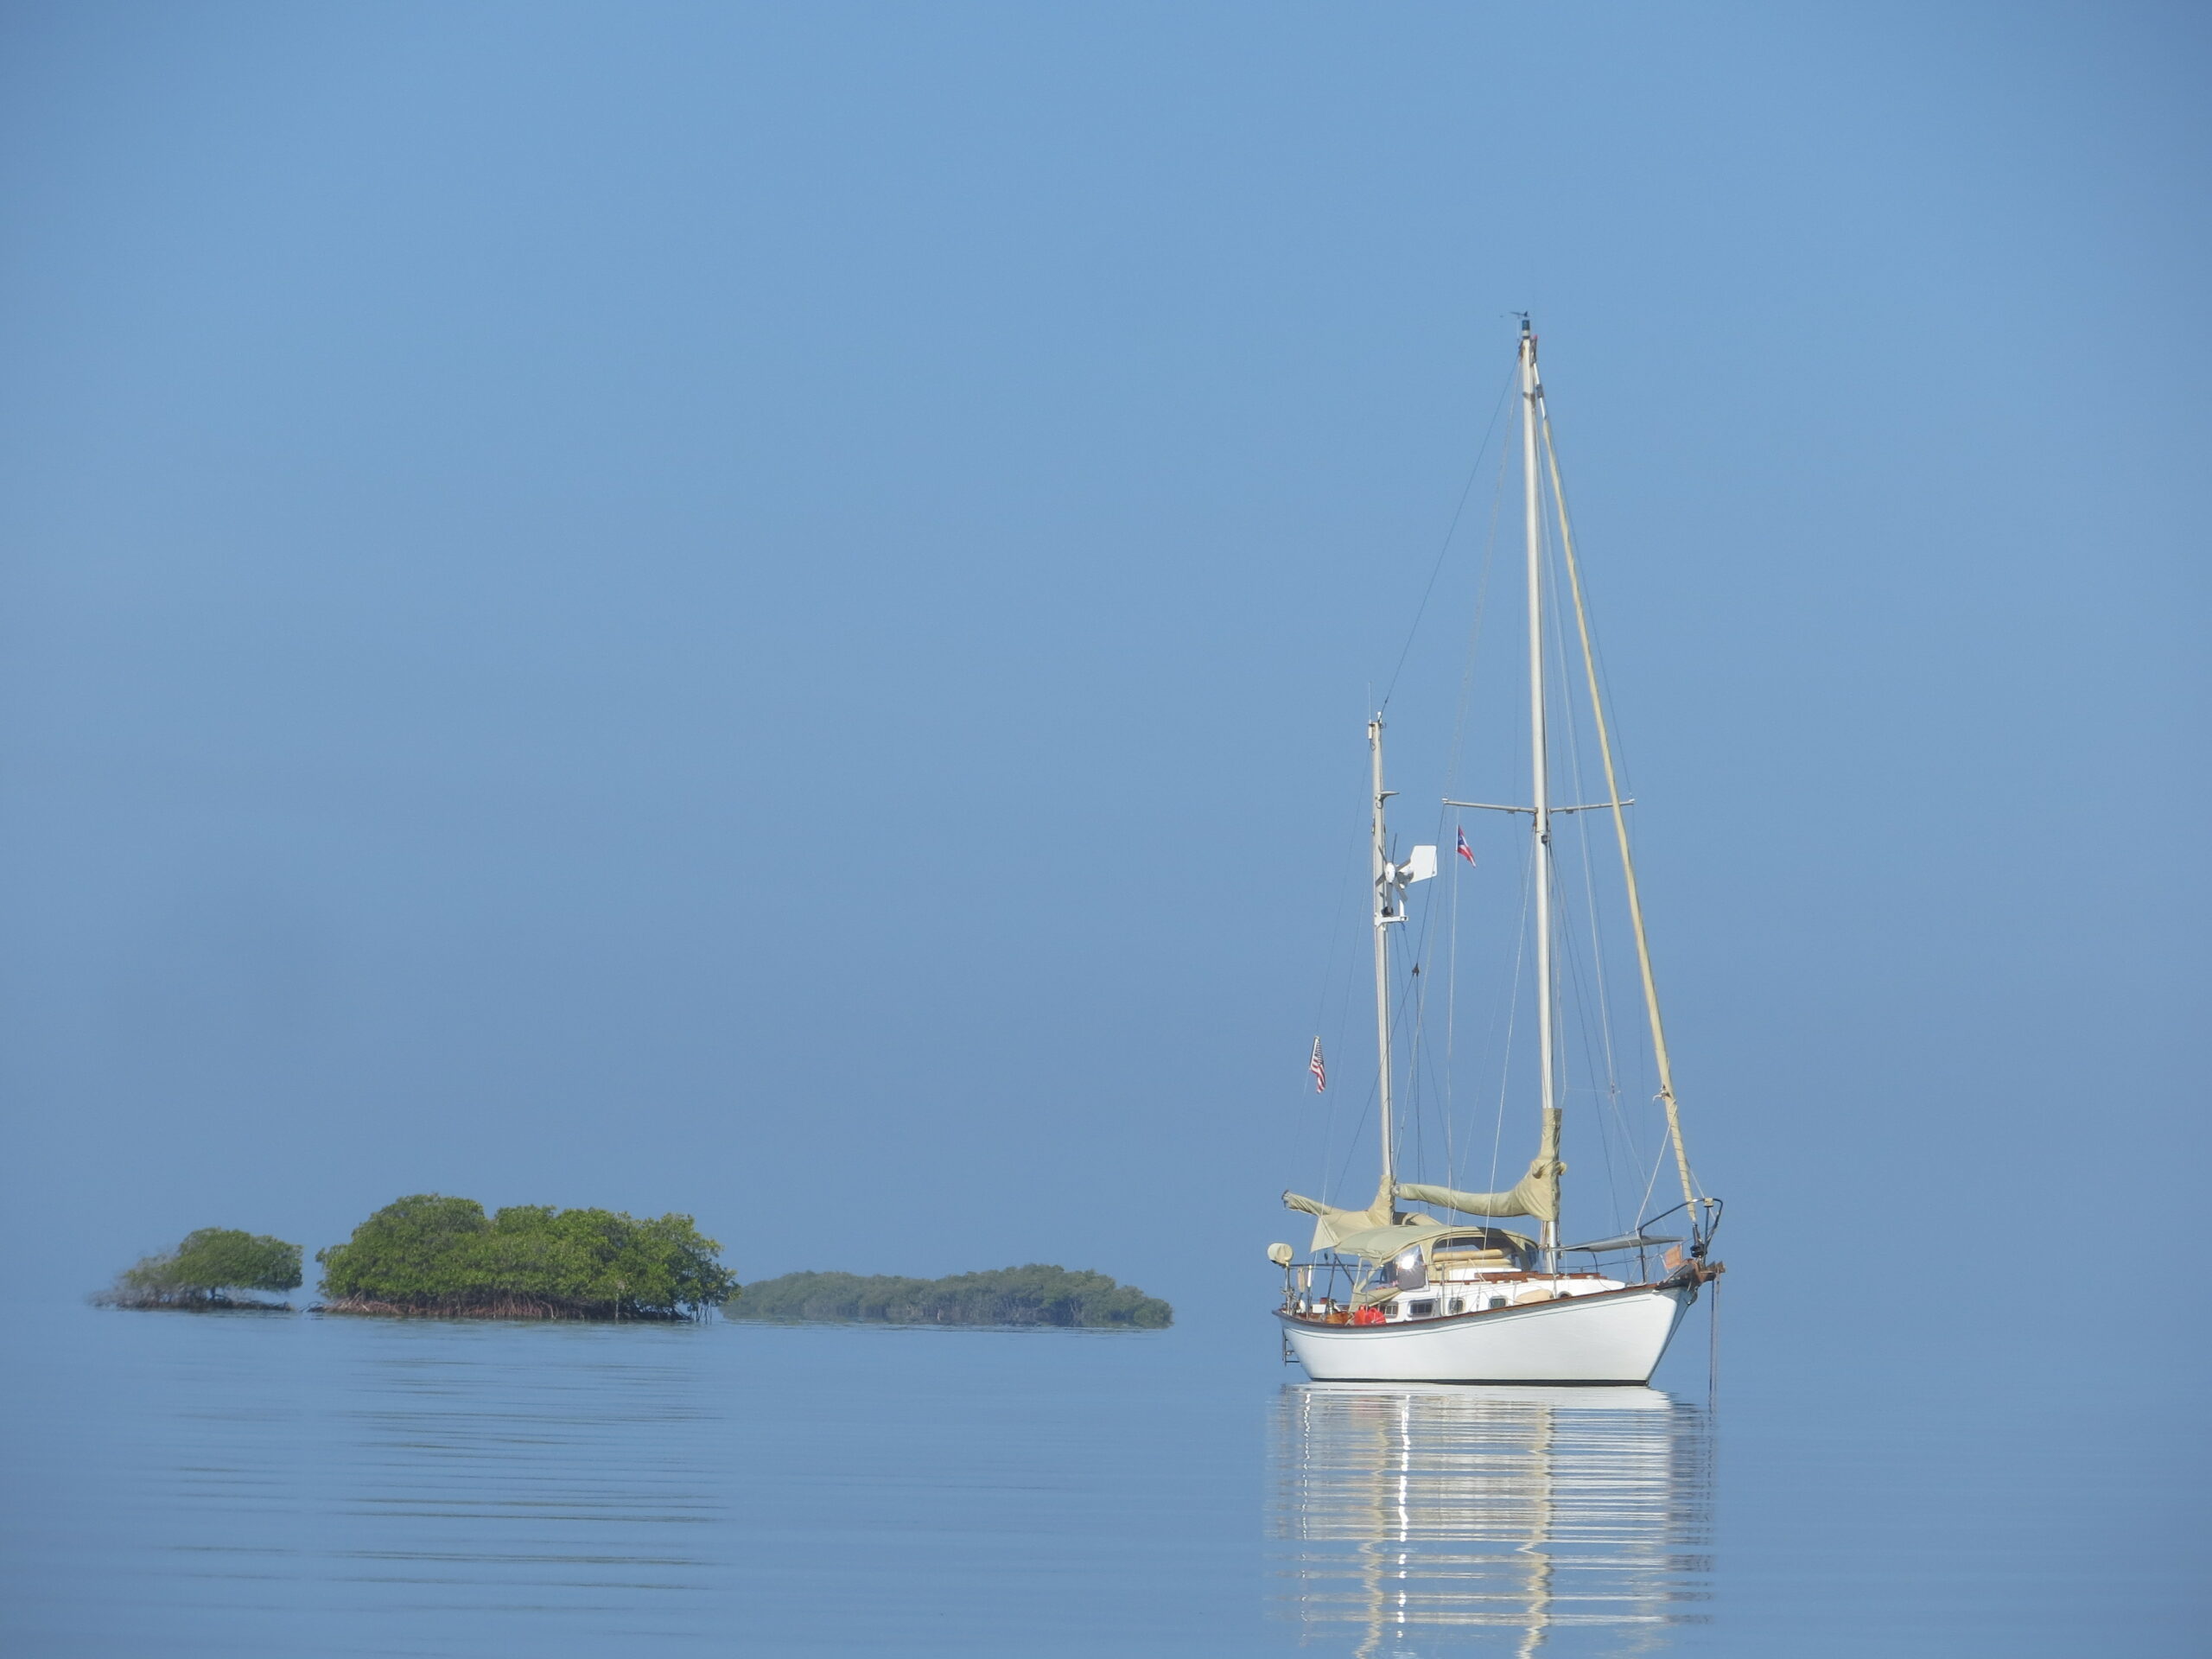
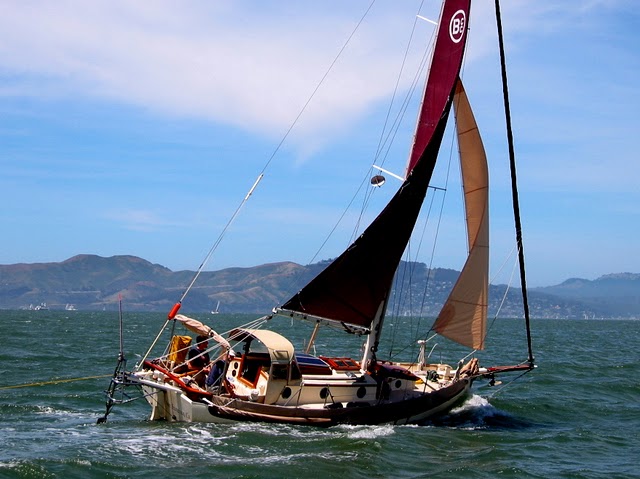
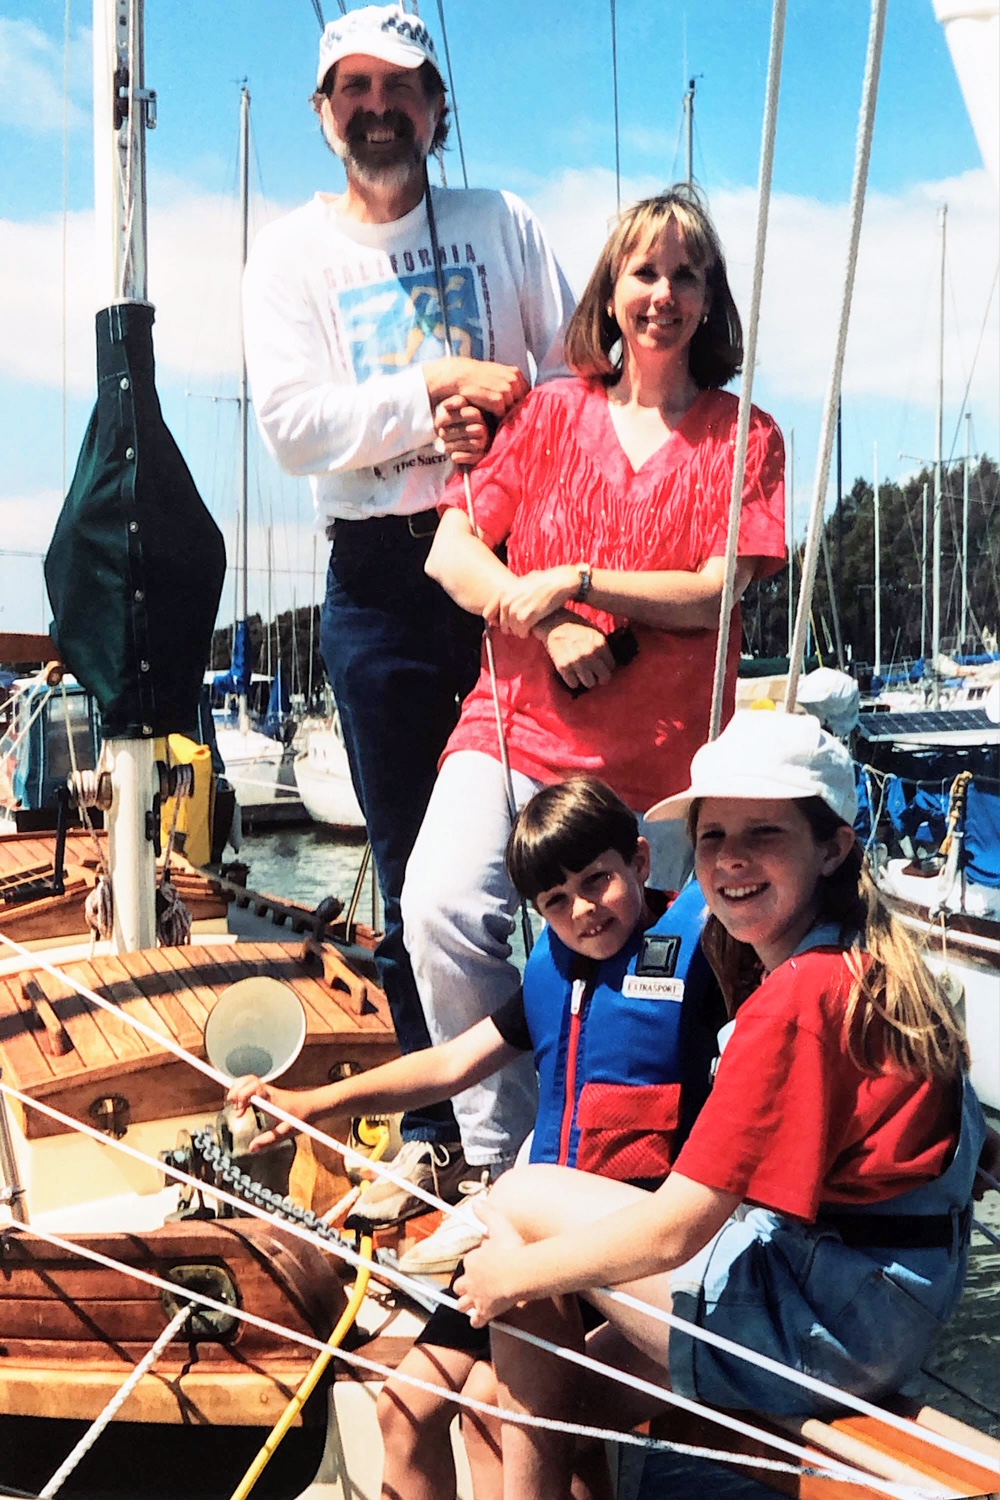
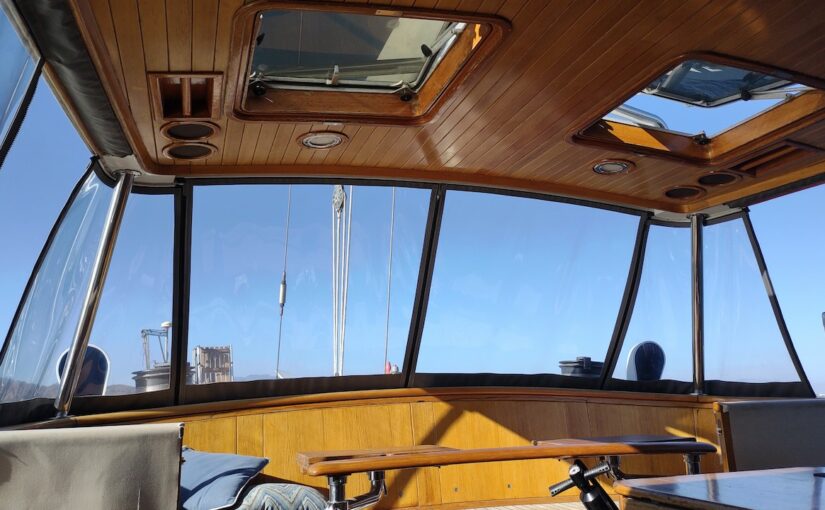
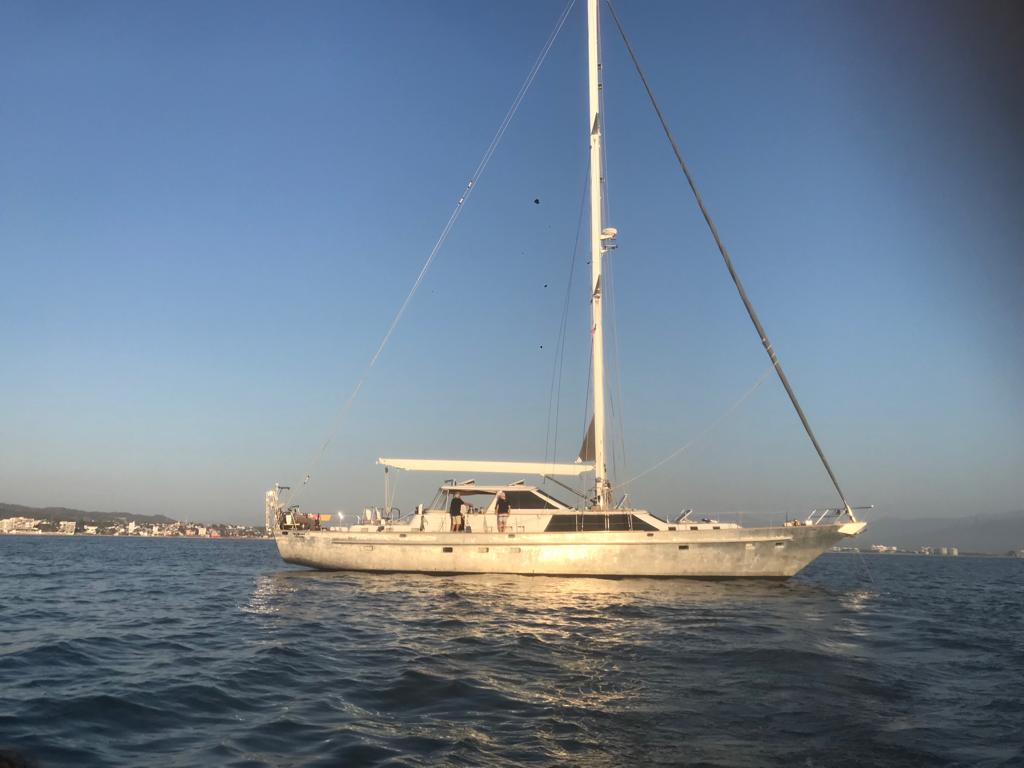
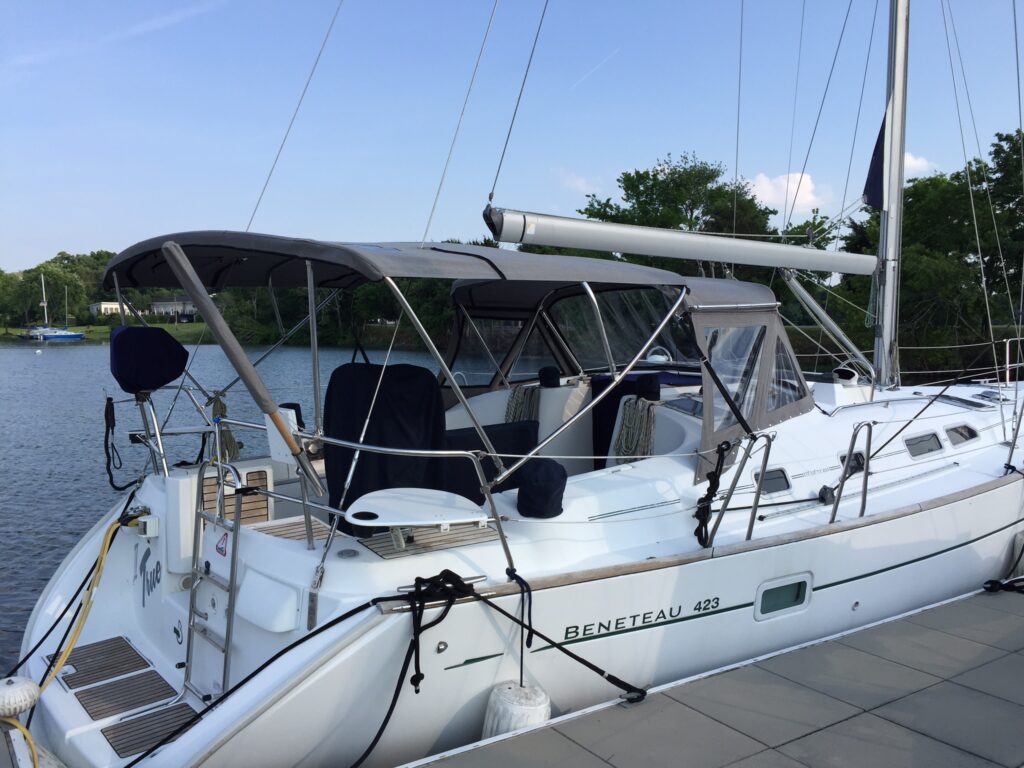
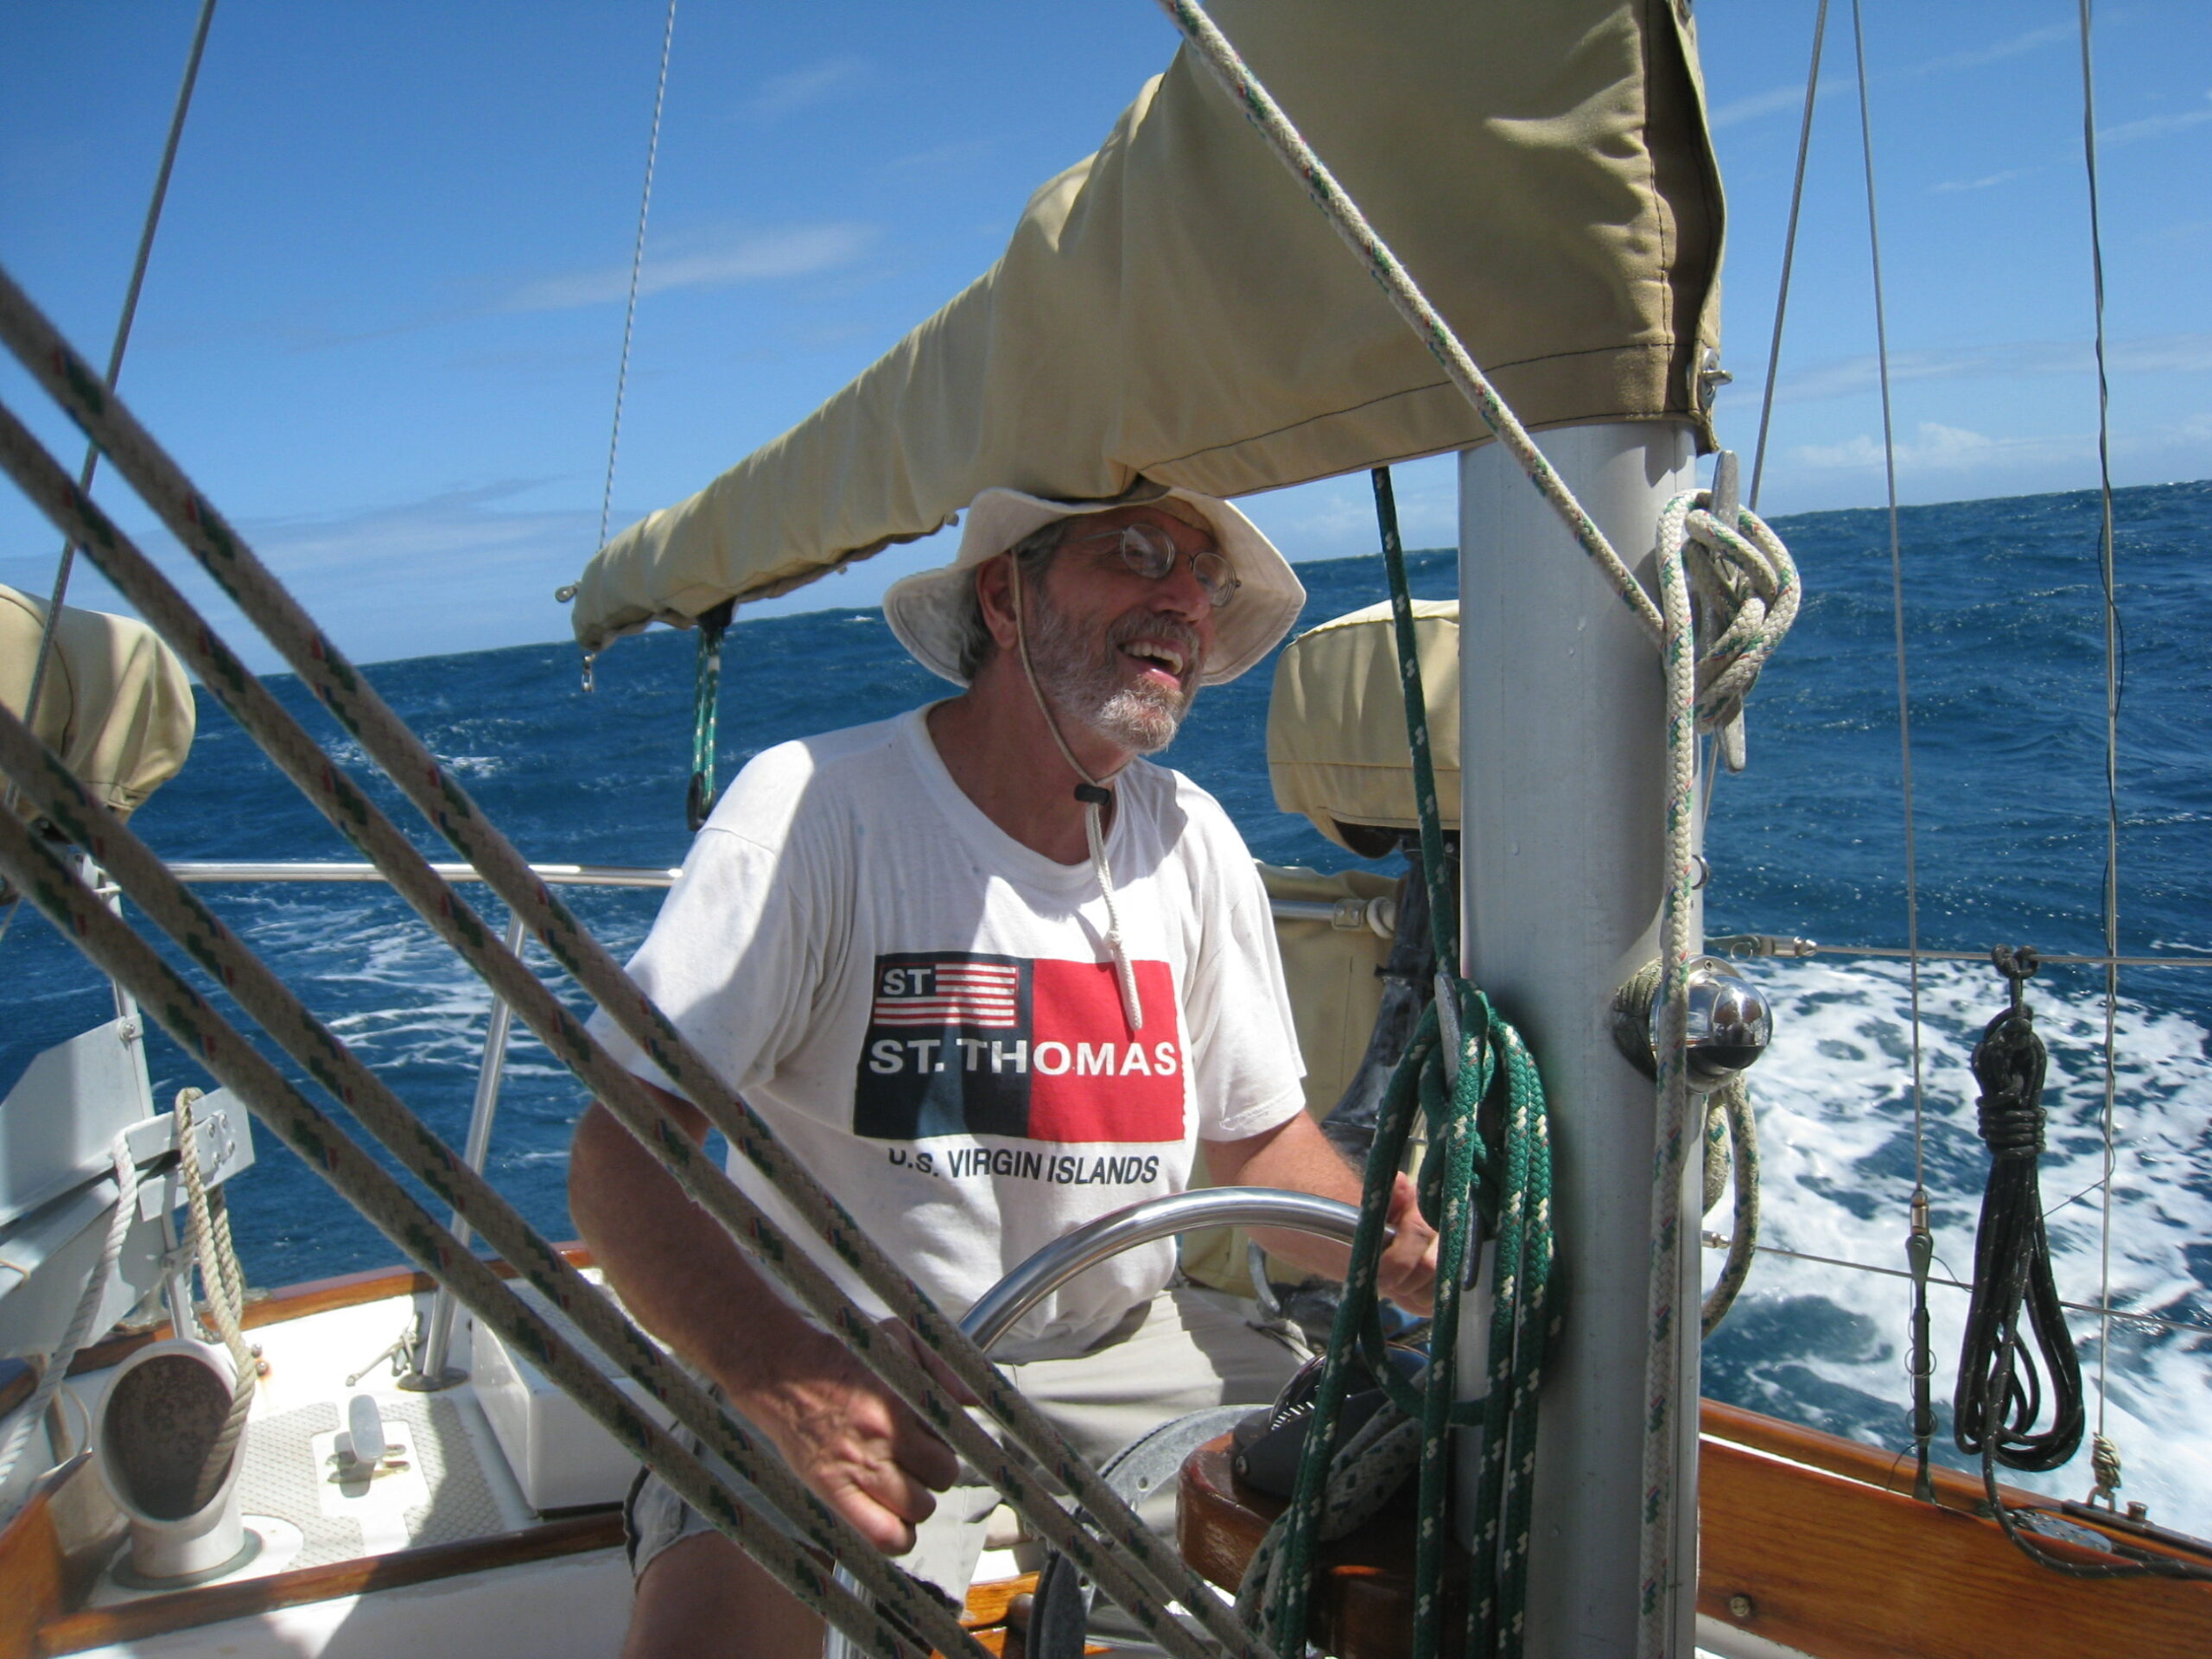
Don and Olga spent over four decades cruising on “Richard Cory,” a 30-foot Seawind ketch named after a poem by Edwin Arlington Robinson. The boat became their home as they explored the Bahamas, the Eastern Caribbean and beyond. Their adventures were marked by simplicity and self-sufficiency, from spearfishing for dinner in the Bahamas to weathering Hurricane Ivan in Grenada.
“At that time,” Olga remembered of their experience hunkering down to wait out the hurricane, “we had a Global Star Satellite phone on board. No one else had a satellite phone” The Caseys lent their sat phone to dozens of other cruisers stuck on Grenada, allowing people to contact their loved ones and confirm they were safe. “I only mention this because Global Star came through as a great corporate citizen when we received our bill. I recall Don writing a letter nationally in praise of their action.”
“It was unprecedented to have a hurricane that strong at such a low latitude back then,” Olga stated. “This beautiful island was destroyed and lives lost. The cruising community there and elsewhere got involved as soon as possible to help.” Grenada was home to “Richard Cory” for 11 seasons.
Don Casey & Sailrite: A Partnership in DIY Spirit
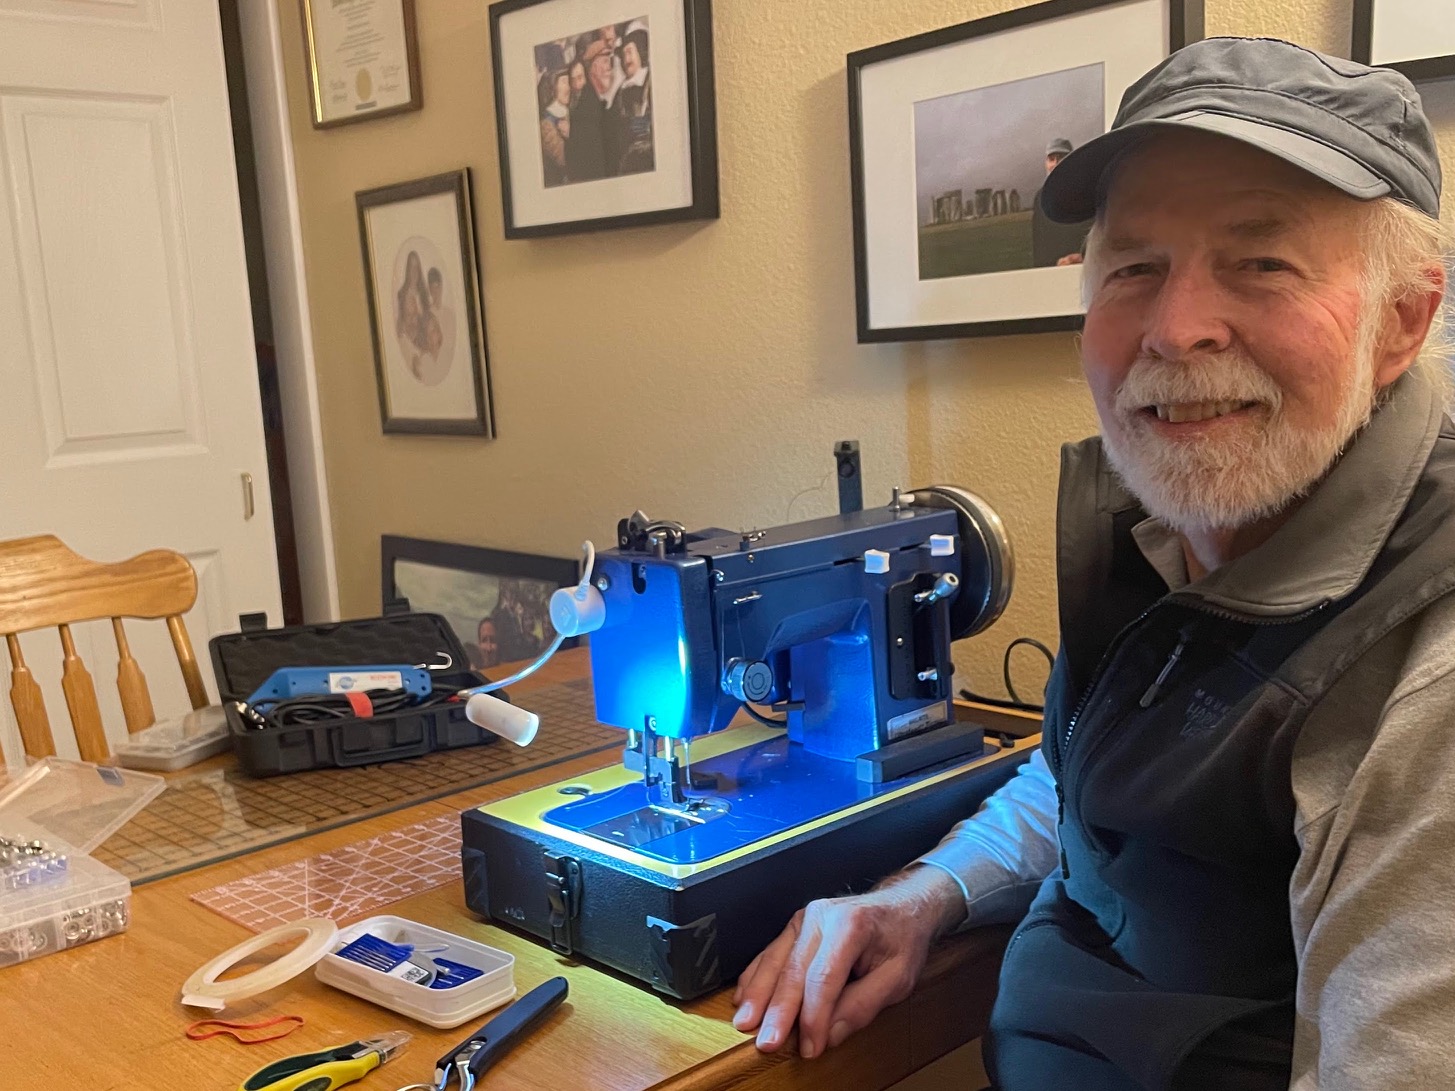
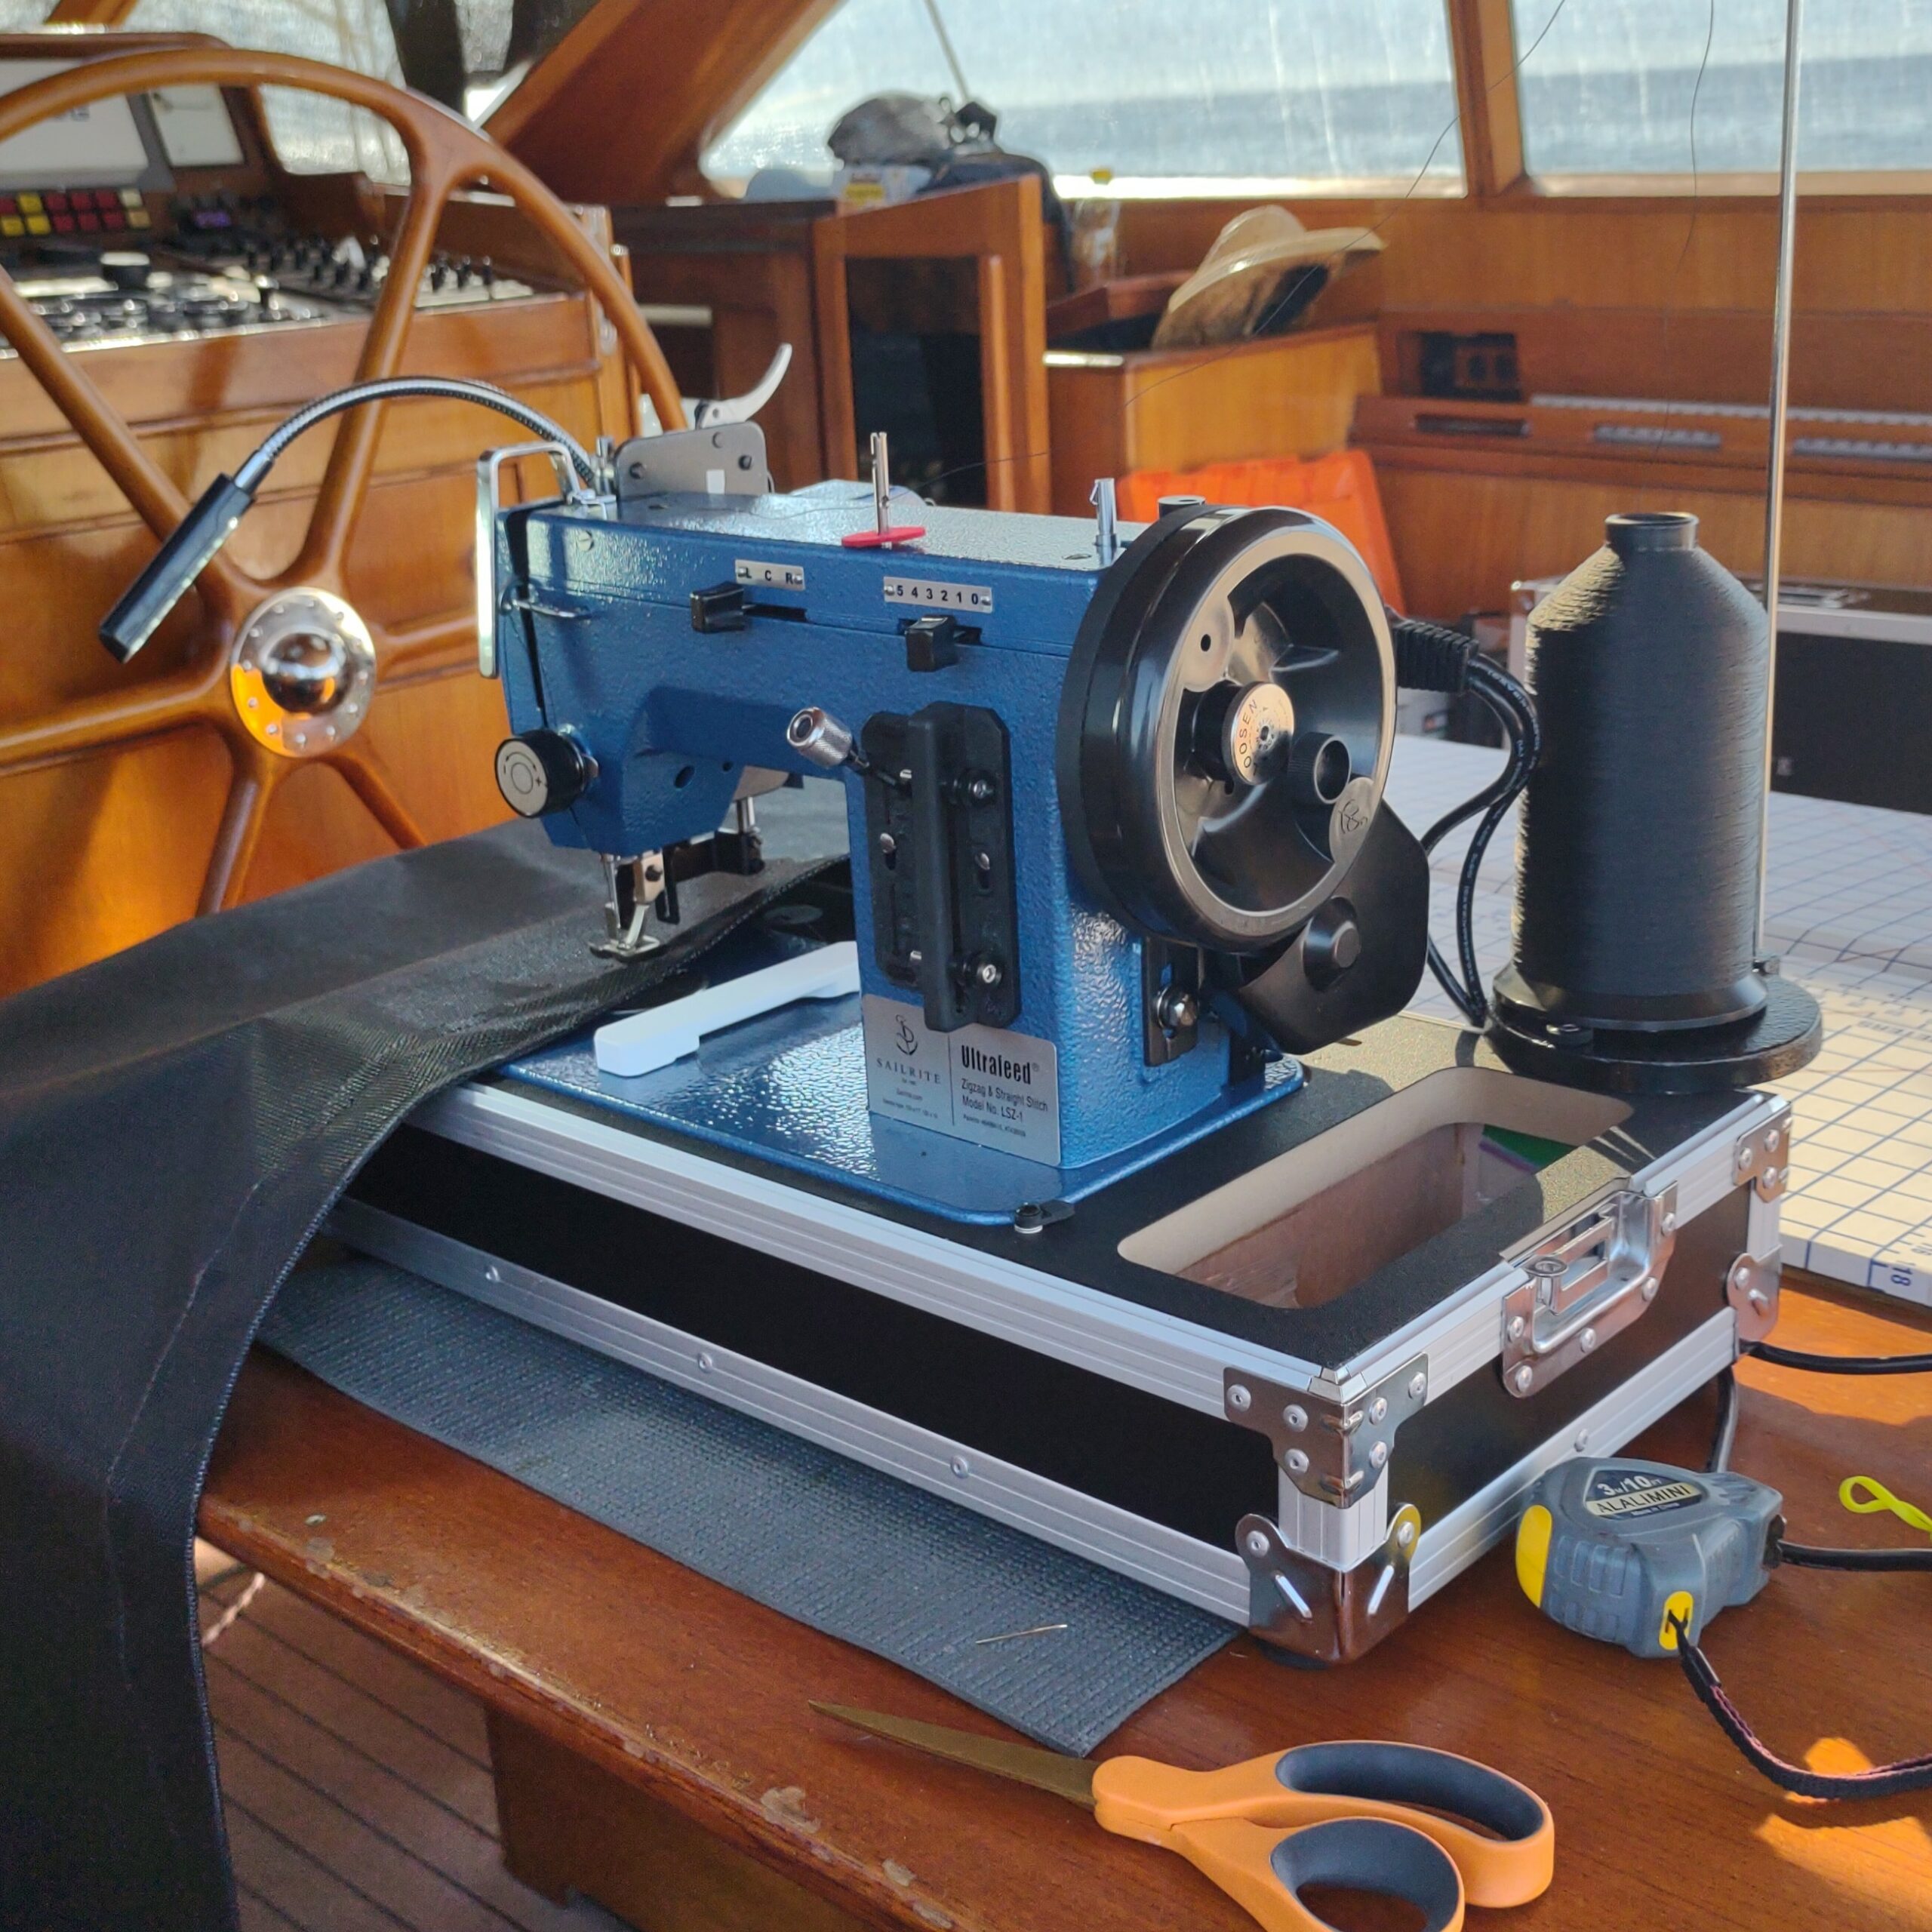
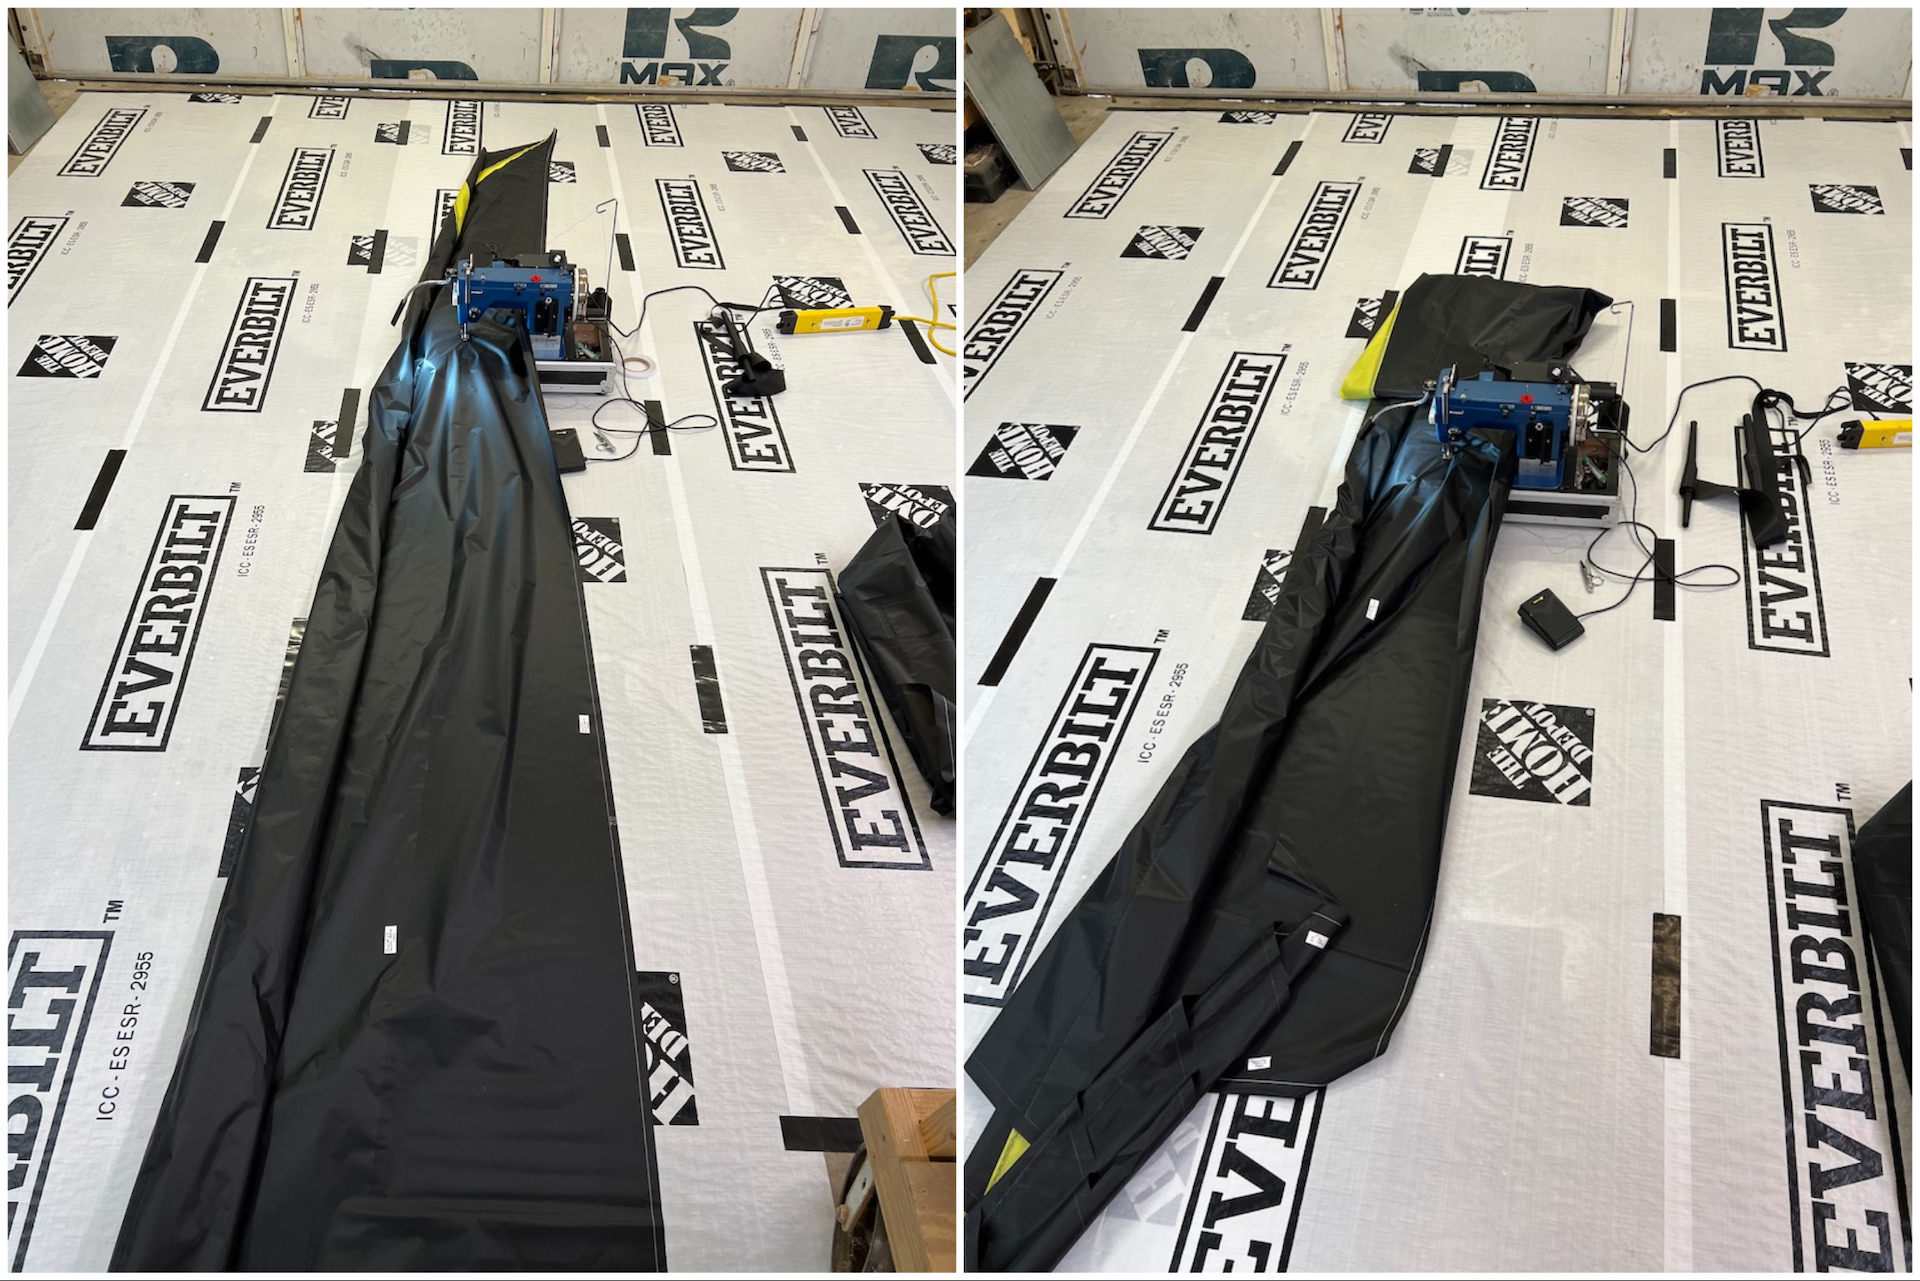
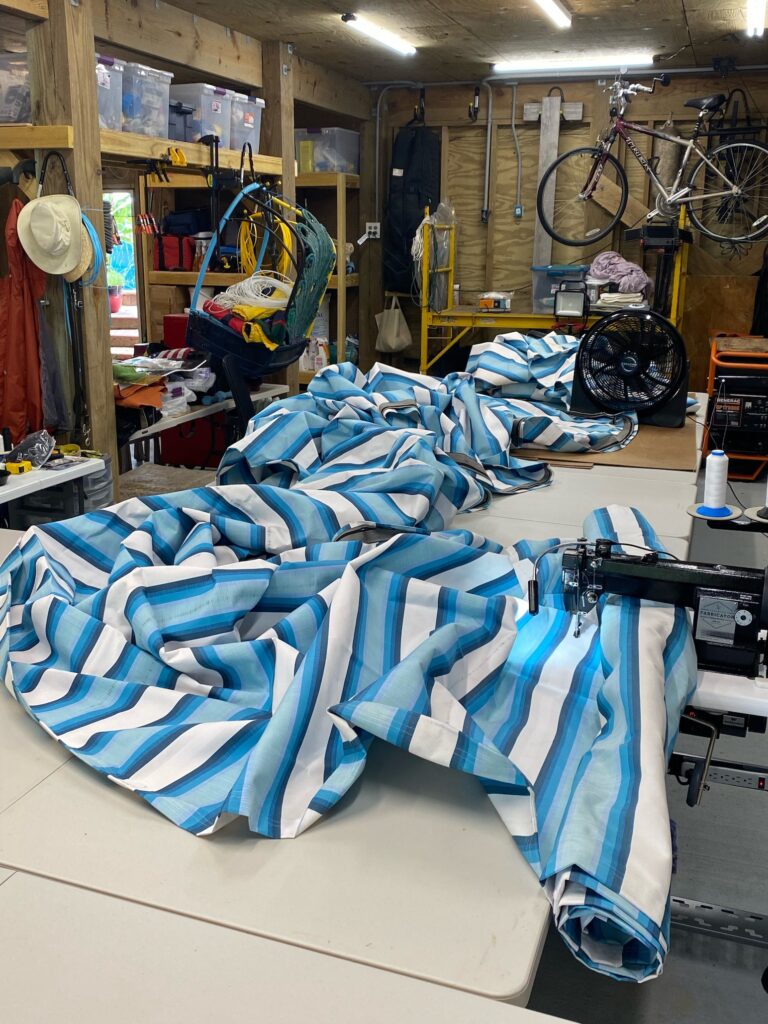
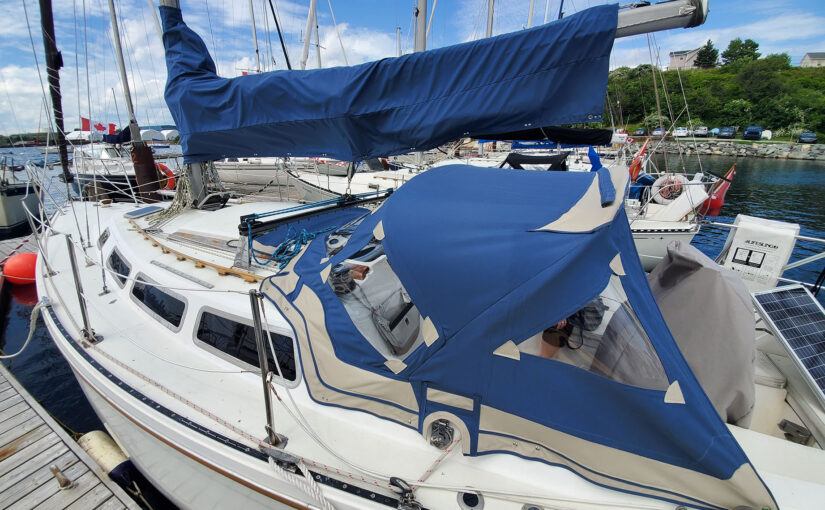
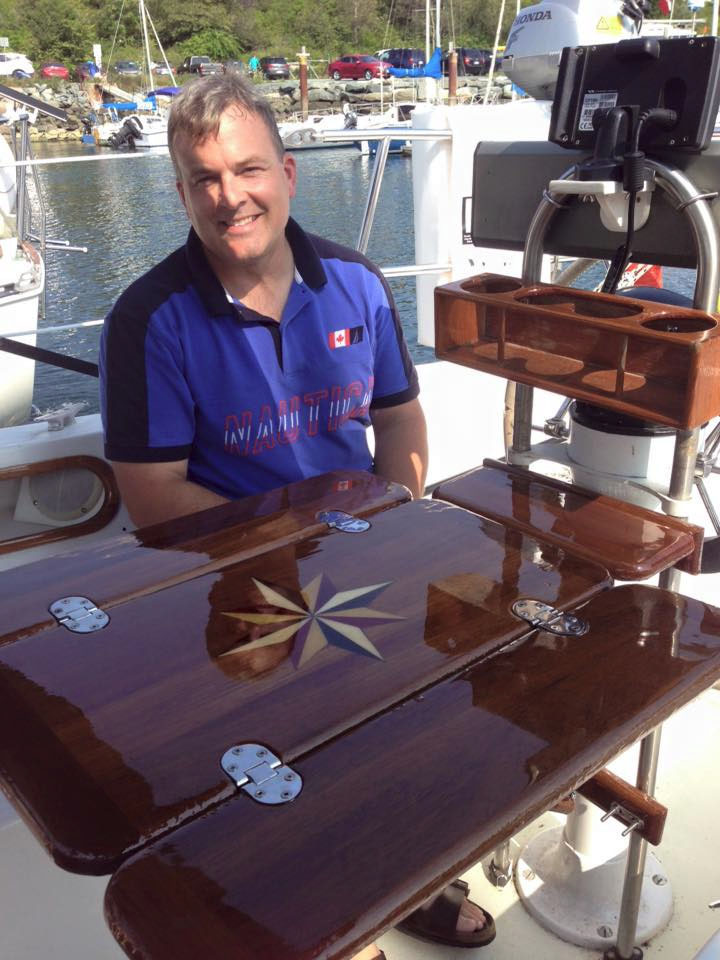
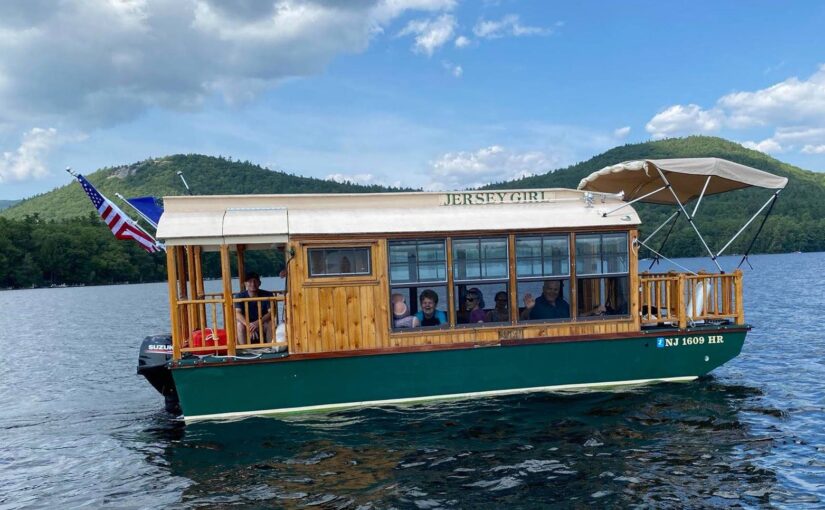
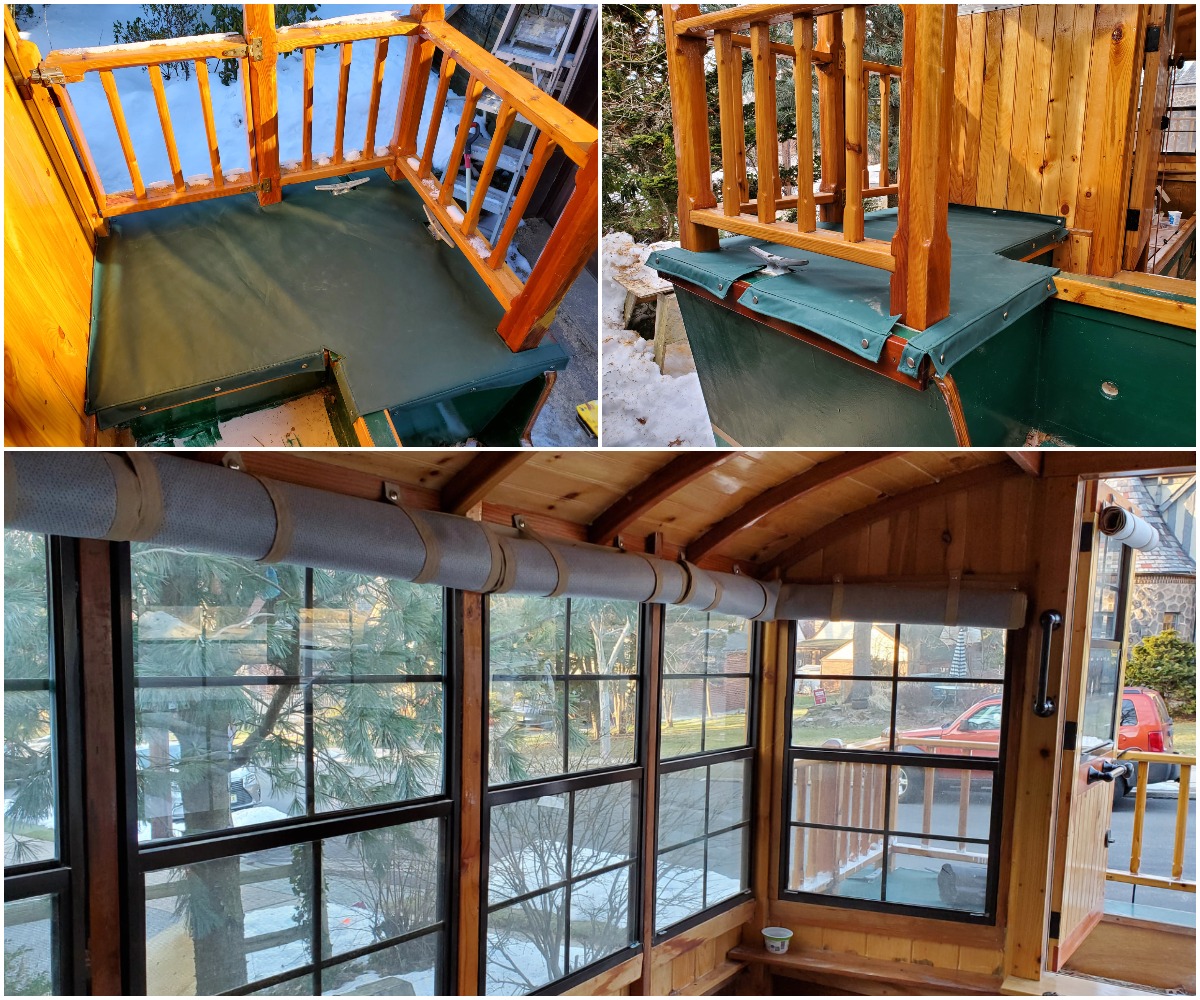
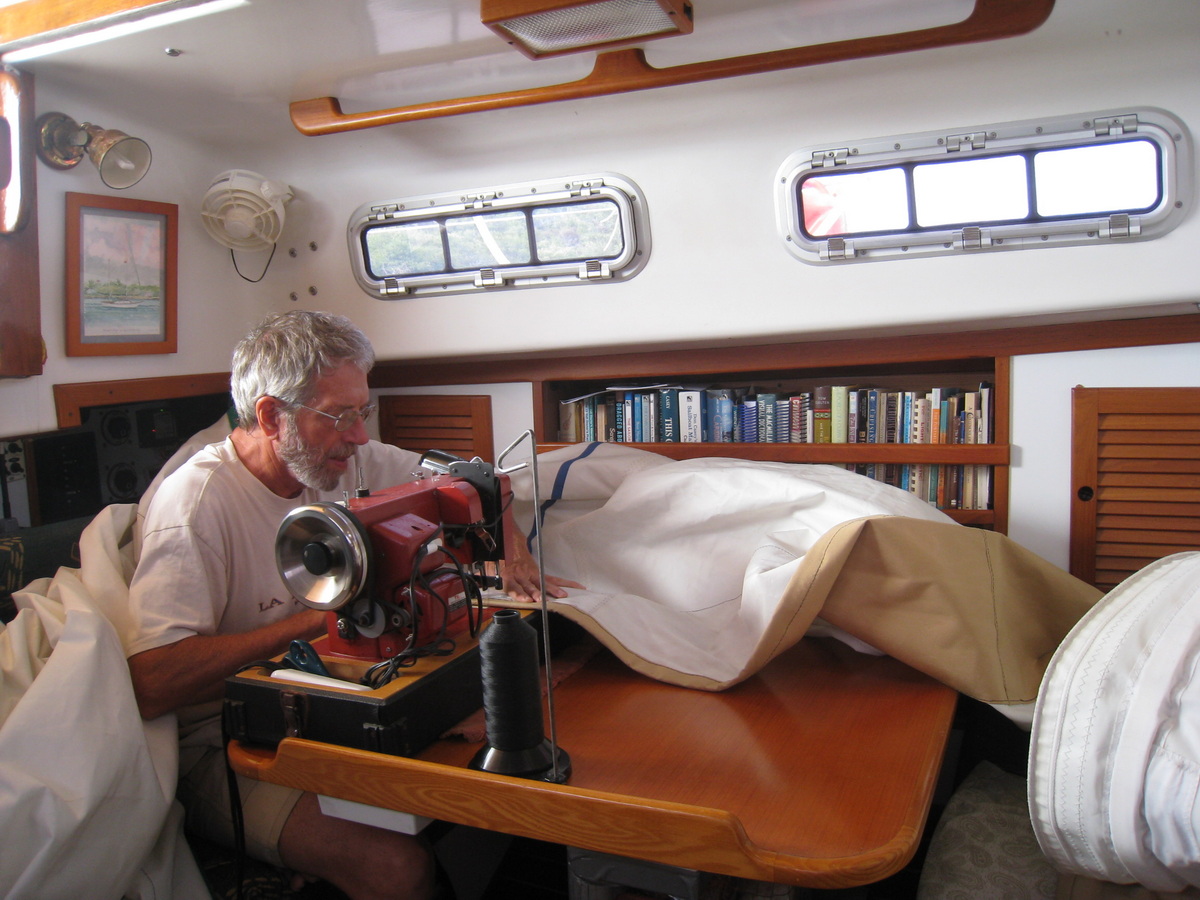
Don Casey’s connection to Sailrite was a natural extension of his DIY philosophy. Casey owned an Ultrafeed® LS Sewing Machine, a tool that became indispensable for his many projects aboard “Richard Cory.” The Ultrafeed LS, known for its durability and versatility, allowed Casey to tackle everything from sail repairs to custom canvaswork, further embodying his philosophy of self-reliance.
Don’s first book, Sensible Cruising: The Thoreau Approach, was introduced at that year’s Annapolis Sailboat Show. It’s at the Annapolis shows where he first met Sailrite founders Jim and Connie Grant. Over the years, he developed a strong rapport with the Sailrite team, including Matt Grant, who represents the next generation of the family business. Casey’s relationship with Sailrite was more than just transactional; it was a partnership built on a shared commitment to empowering sailors to take control of their own boat maintenance and repairs.
A Legacy of Inspiration
Don’s impact on the sailing community cannot be overstated. His books have sold over 100,000 copies, and his articles have appeared in nearly every major sailing publication. But more than the numbers, it was the way he connected with readers. He had a gift for breaking down complex topics into clear, accessible advice, always infused with his trademark humor and wisdom.
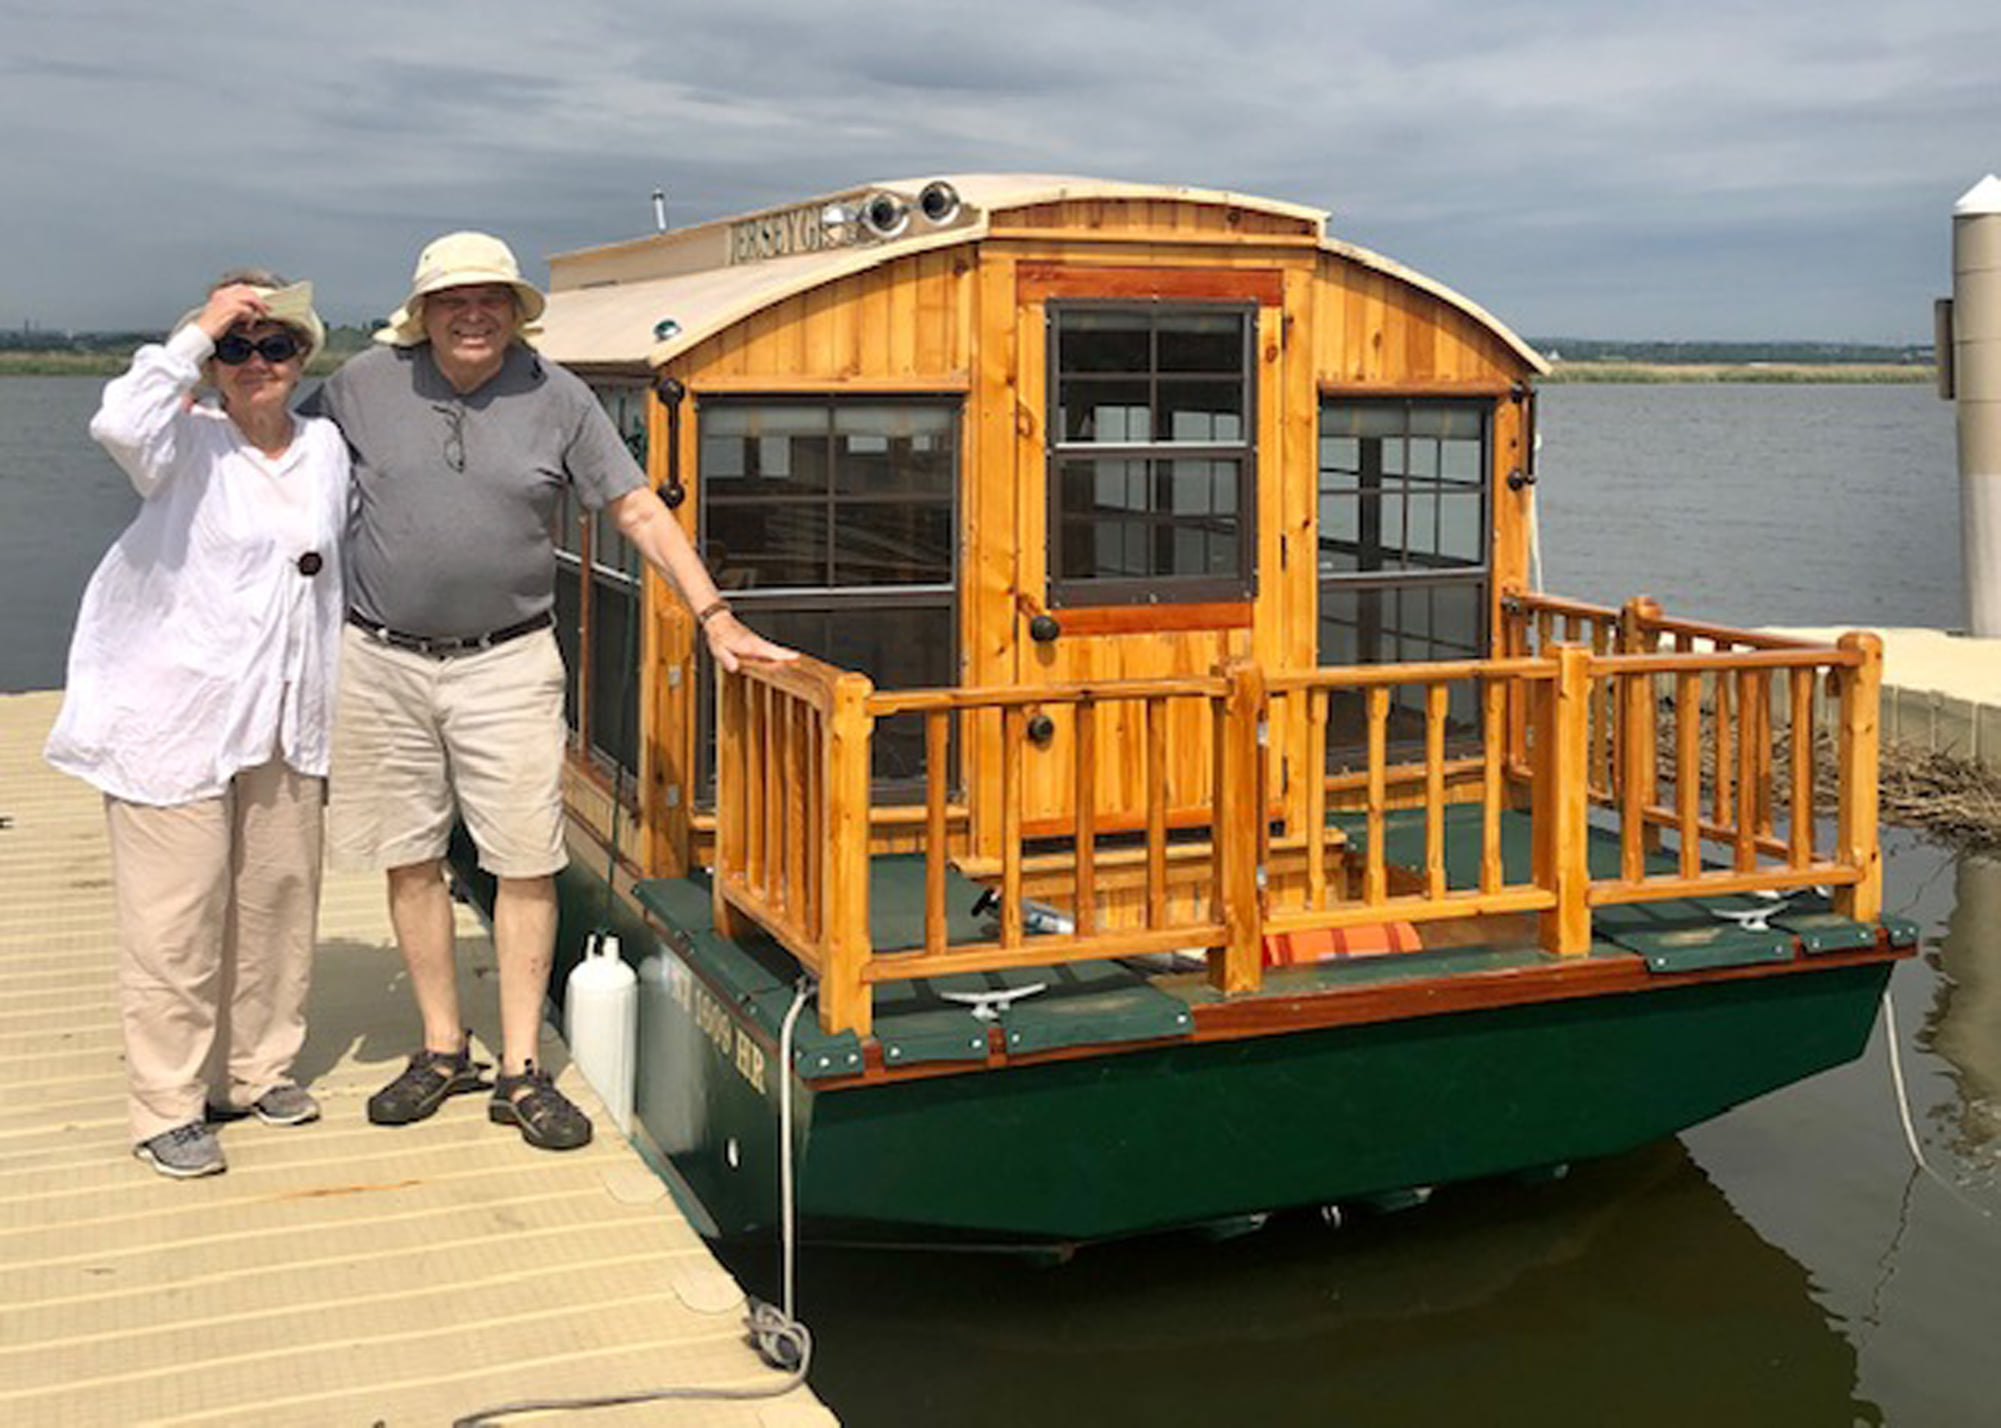
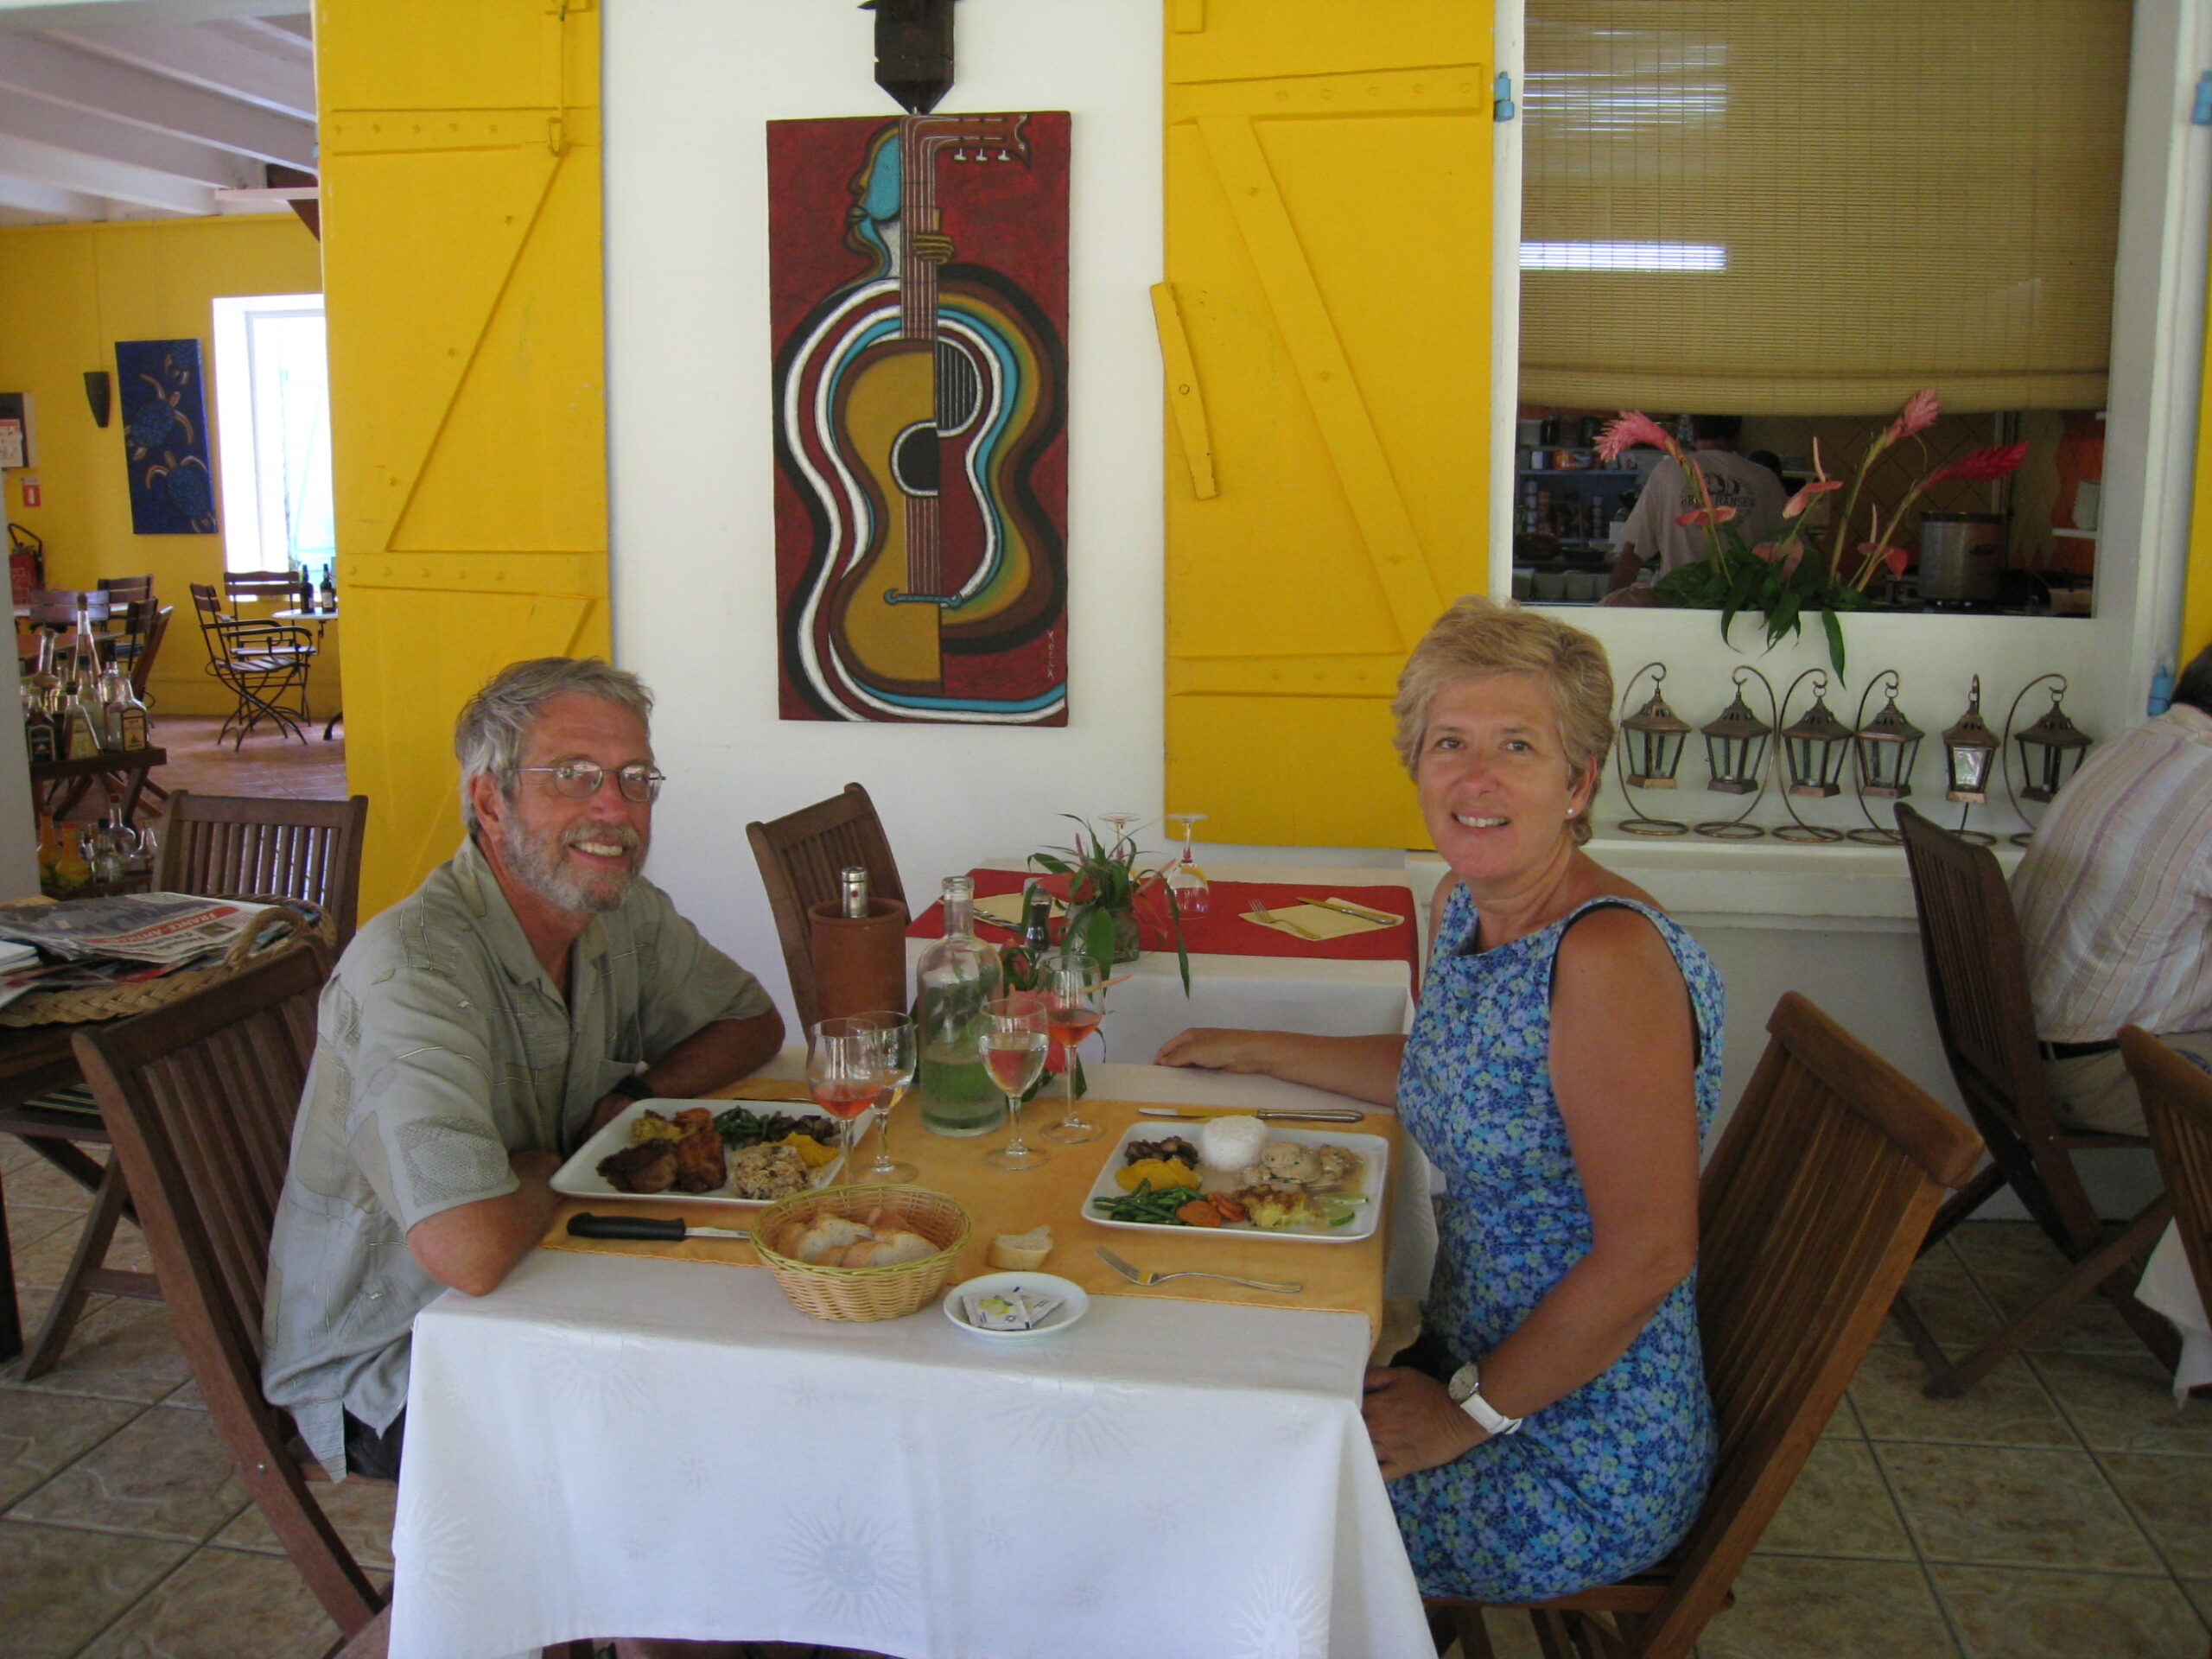
Olga Casey, Don’s wife of 48 years, recalls his passion for sailing and his unwavering commitment to living life on his own terms. “Don was a lovely, kind, respectful man who lived life to the fullest,” she said. “Our adventures were special, whether on board “Richard Cory,” hiking the Camino de Santiago or watching the old timers play petanque in Luxembourg Gardens on our yearly anniversary trips to Paris.”
Casey’s philosophy on cruising — simplify, simplify, simplify — remains a guiding principle for sailors around the world. He believed that a sailboat was the closest thing to a magic carpet, capable of taking you anywhere your imagination and courage could reach. “Don’t sacrifice the magic to the mundane,” he often said. “They sell varnish in Tahiti.”
A Final Farewell
Don Casey’s passing leaves a void in the sailing community, but his legacy lives on in the countless sailors he inspired. His books continue to guide new generations of boat owners, and his philosophy of self-reliance and simplicity remains as relevant as ever. As Olga reflected on their life together, she remembered Don’s smile of happiness — a smile that came from a life filled with adventure, love and the endless horizon of the sea.
Don may have left this world, but his spirit sails on, carried by the winds of the countless lives he touched. For those who knew him, and for those who only knew him through his words, Don will always be a beacon of inspiration, reminding us to set sail, embrace the journey, and live life with simplicity and joy.
Eight bells ring for a life well-lived and for a legacy that will live on in the hearts and minds of cruisers for generations to come.