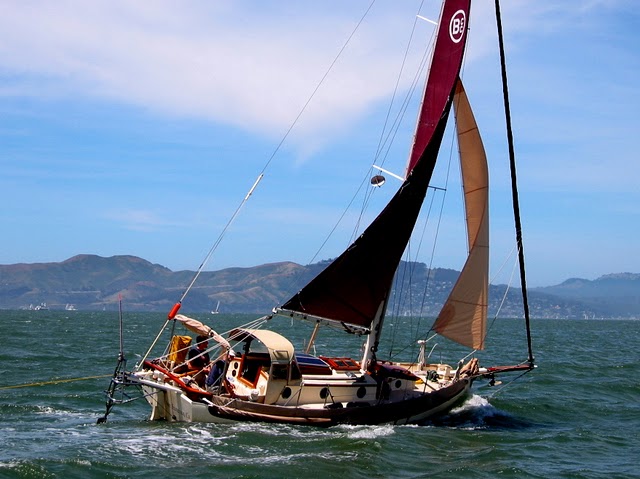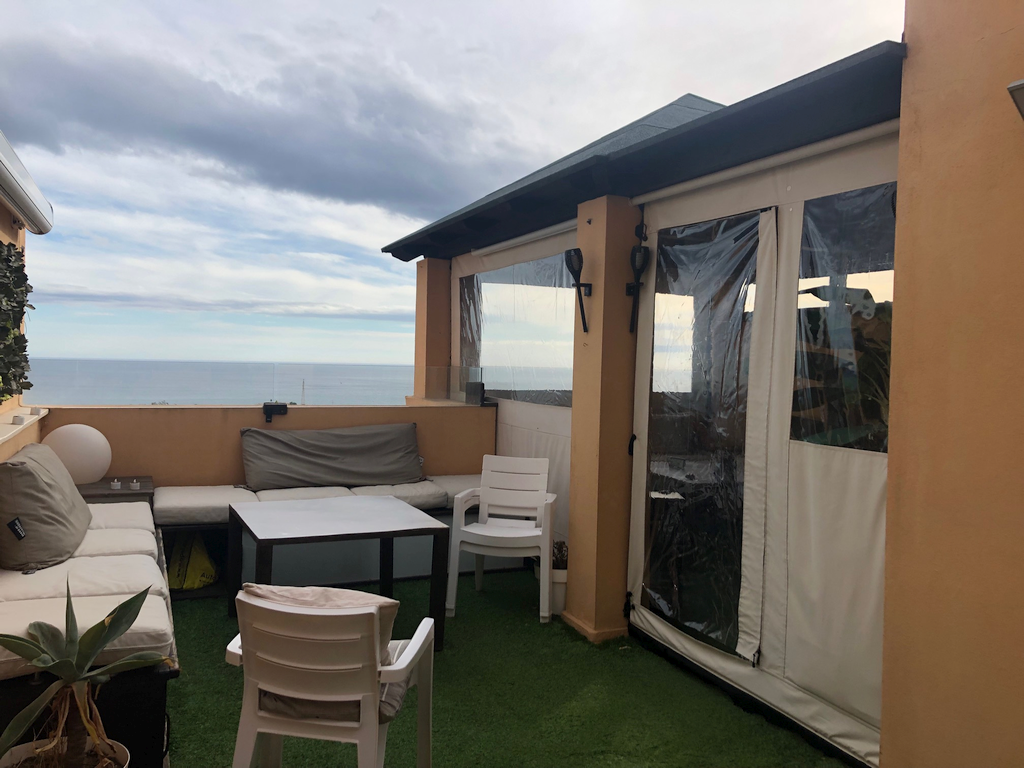
Imagine that you move to South Florida and buy a house with a large, screened-in patio. As you move in, you eagerly anticipate all the hours you’ll spend relaxing on your new patio.
While arranging your patio chairs, you picture yourself lounging in one with your favorite beverage in hand, taking in the gorgeous view outside. You start planning cookouts as you set up your dining table — the screened walls and ceiling will protect everyone’s plates from bugs while letting a nice breeze in. You can’t wait for all these dreams to become reality!
Finally, you get everything unpacked, and you’re ready to enjoy your patio. The only problem? The summer sun in South Florida is much stronger than you bargained for. Bright, direct sunlight makes you squint, while a sky-high temperature makes the room almost too uncomfortable to use.
What would you do in this situation — grab your sunglasses and an ice-cold drink and try to make the best of things, or give up on using your patio altogether?
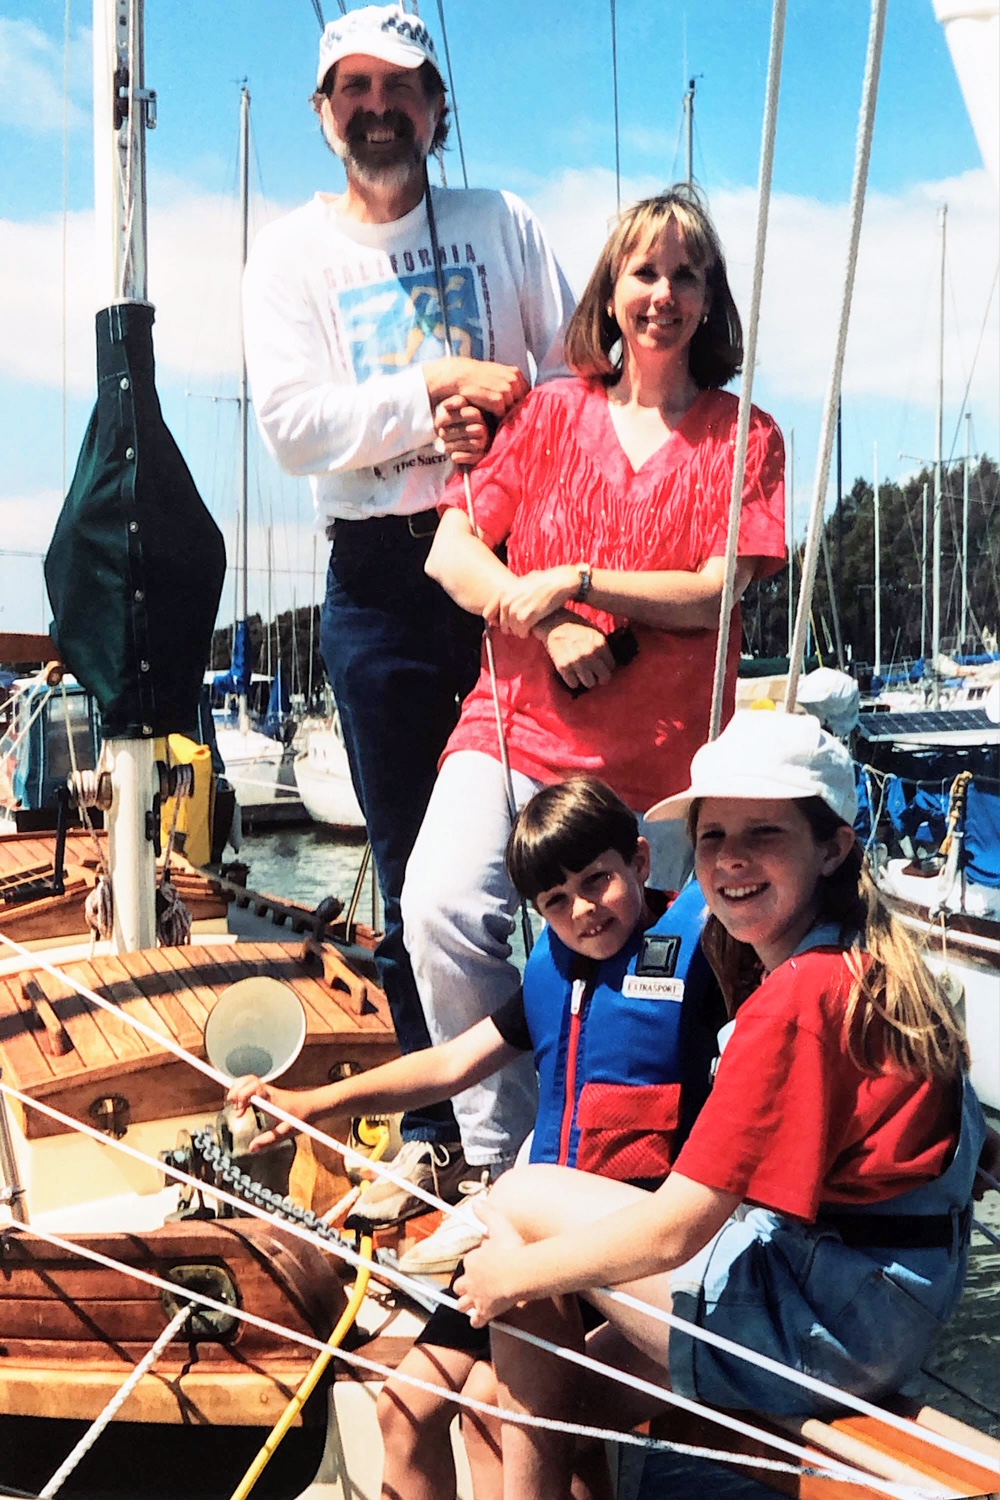
Edward (Eddie) Galuska found himself in this situation in mid-2023. But instead of giving up or giving in, Eddie decided to fight back against the sweltering weather that was keeping him and his wife, Alice, from enjoying their patio to the fullest.
With his innate knack for design, Eddie is no stranger to finding creative solutions for tough problems. But sometimes you find what you need when you’re not looking for it. That’s how Eddie found the Sailrite® Ultrafeed® LS — and the answer to his patio temperature conundrum.
Starting to Sew With Sailrite
When Eddie discovered Sailrite, he wasn’t looking for help with the screened patio. In fact, he was researching for a completely different project.
“I was internet-surfing, trying to learn how to sew to make a repair on my golf cart using my wife’s [home] machine,” Eddie told us. “While researching the web for ideas to make [the] repair, I found Sailrite.”
Since he’d never sewed before, Eddie’s first stop on the Sailrite website was the “Learning to Sew” video series. “[I] found this to be a very valuable resource,” he said.
The videos helped Eddie repair the golf cart’s seat covers with his wife’s home sewing machine. “By most standards [it] would have been acceptable,” he said of the project. But the results of the repair simply didn’t meet the retired engineer’s higher standards.
“With me, my intuitive nature takes over and I push myself to seek perfection,” Eddie told us. He said he “realized the lighter-duty [machine] was not capable to complete [the] repair,” but he didn’t know where to turn next.
“I knew I needed a heavy-duty machine … but did not want to spend a lot of money not knowing where my sewing future would bring me,” he shared. That’s perfectly reasonable. After all, it doesn’t make sense to buy a heavy-duty sewing machine if you only plan to use it once.
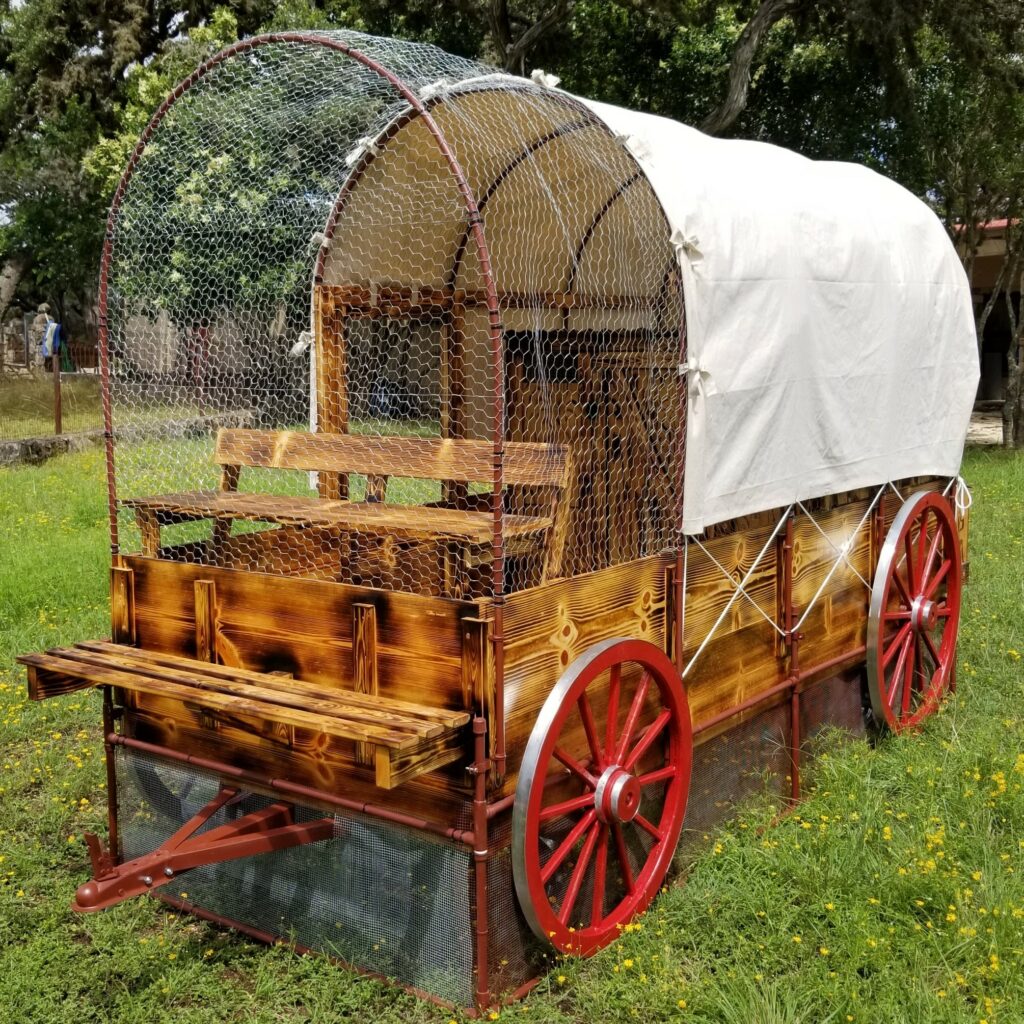
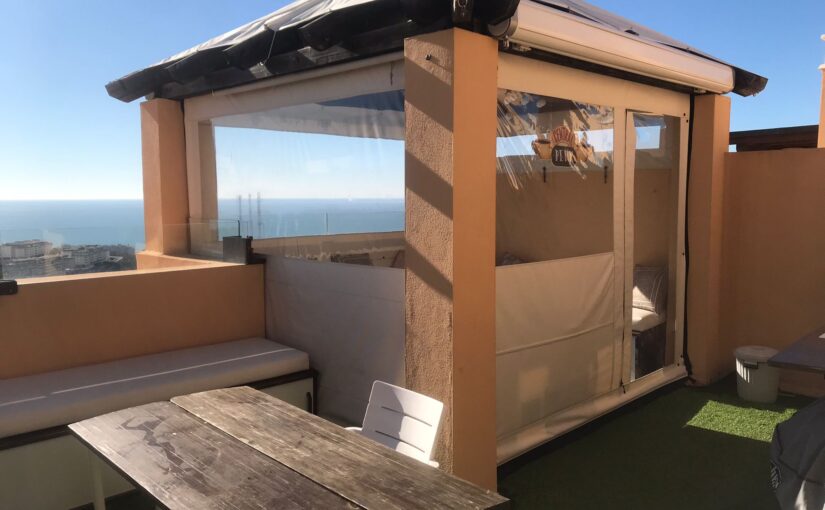
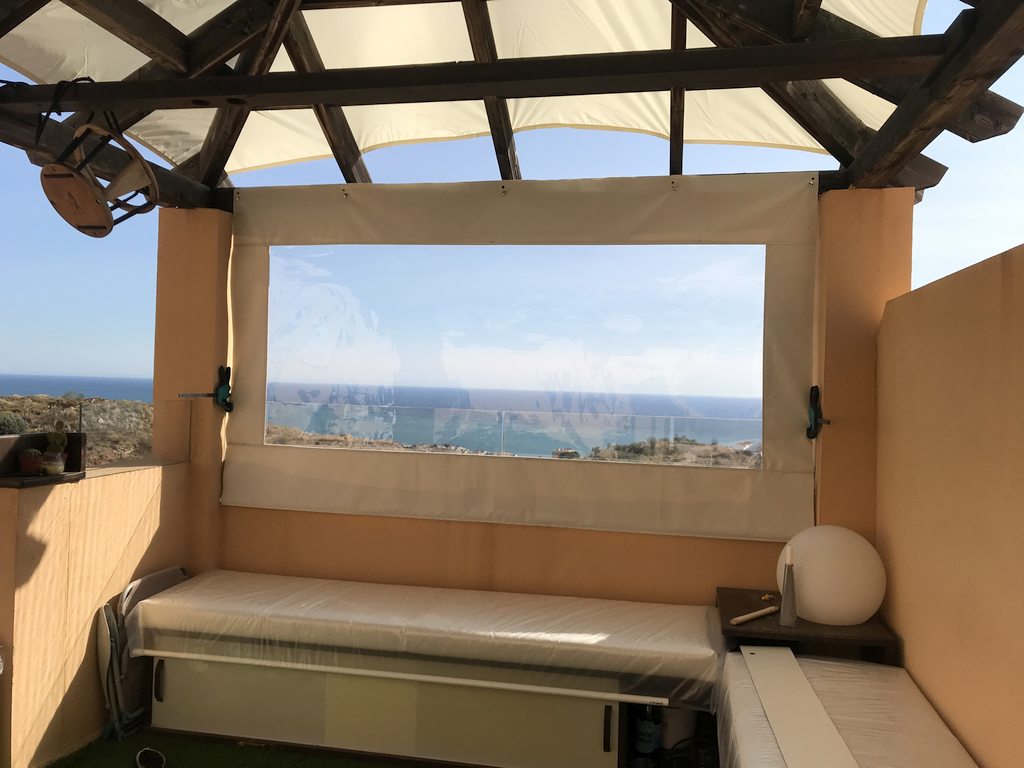
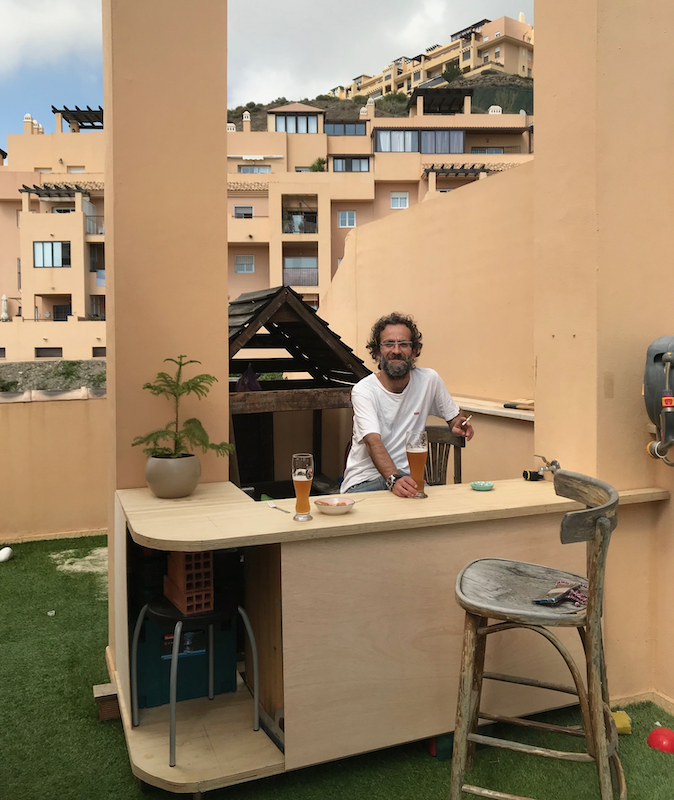
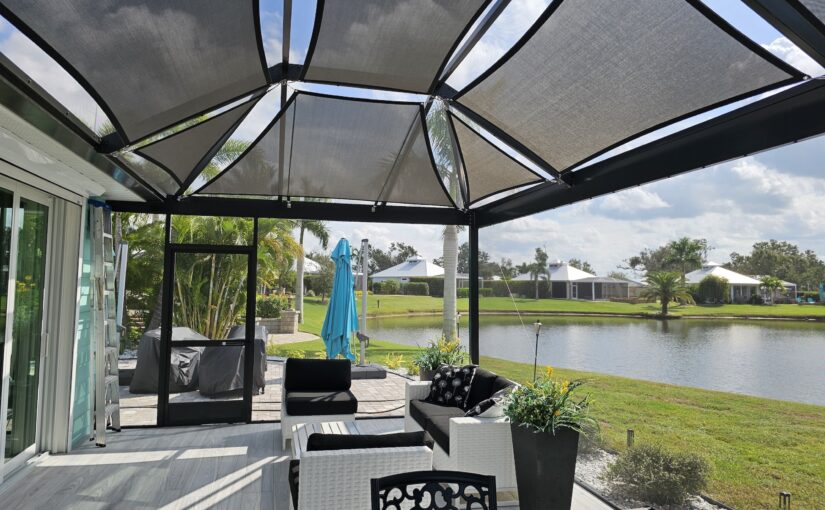
That was Eddie’s thought … until he took a closer look at the sun-soaked screened porch and realized he could sew his way out of that problem too. “I was looking at the frame design of the roof and a light bulb went off,” he told us. “I started to draw, and there it was.”
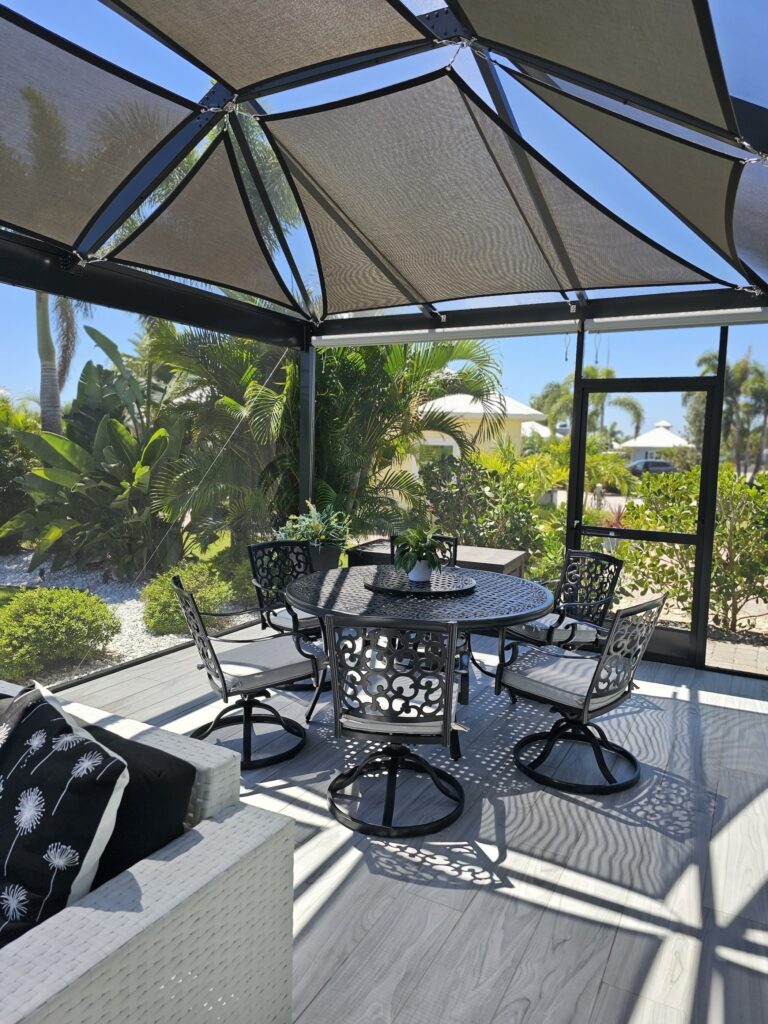
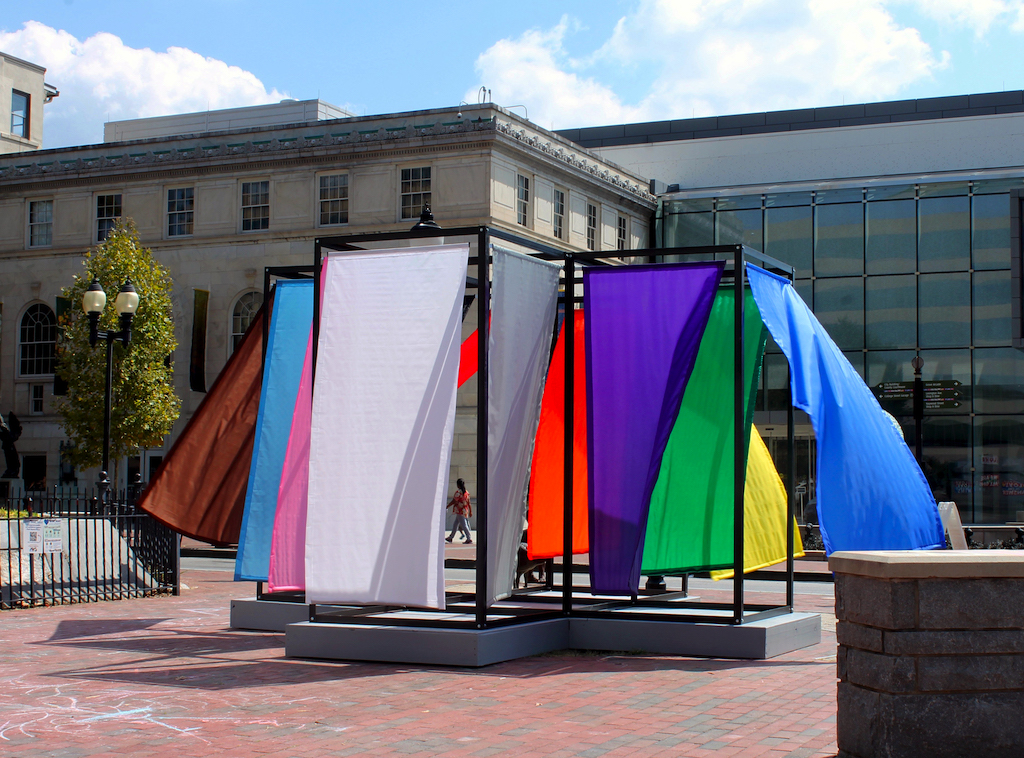
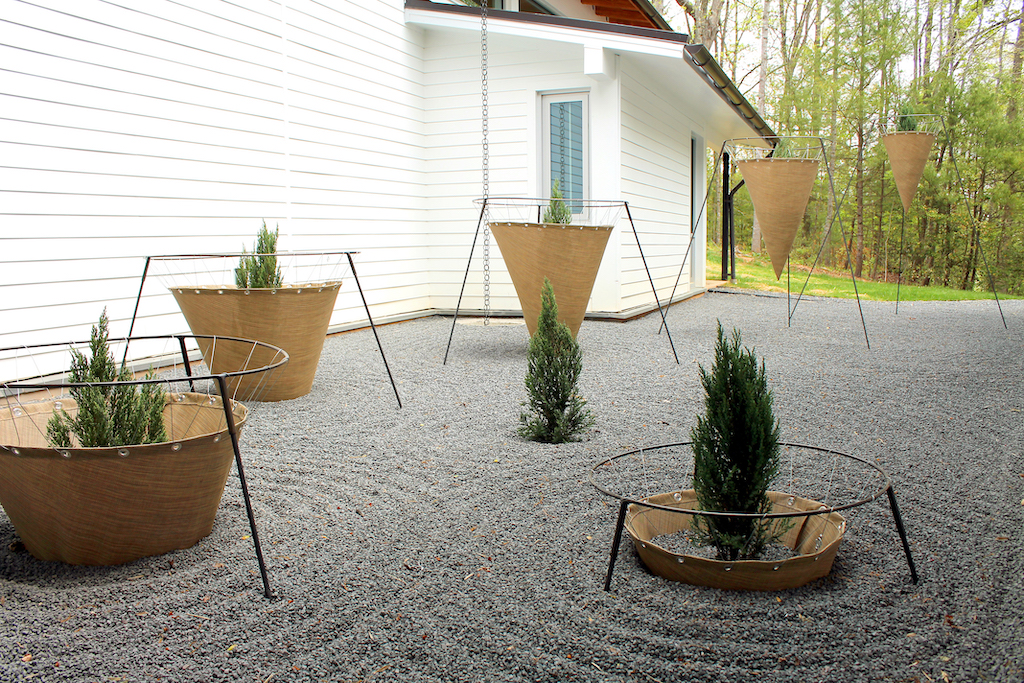
During his sewing research, Eddie watched one of Sailrite’s shade sail DIY videos. The screened porch needed a shade, but a full-size sail wasn’t a practical solution. The sail would have fully covered the top of the patio on the outside, which would have blocked airflow from the screened ceiling.
Instead, he had the brilliant idea to build miniature shade sails for use inside the patio. “Now I just [needed] the equipment, fabric and patience, not to mention the training,” he said.
Luckily, he knew where to turn. “Your videos were the answer,” he said of Sailrite’s vast library of free DIY content. “I reviewed every shade sail video.” He also watched videos on installing zippers, piping and binding, as well as project videos that taught other useful skills for his indoor/outdoor project.
Sewing Up Some Shade
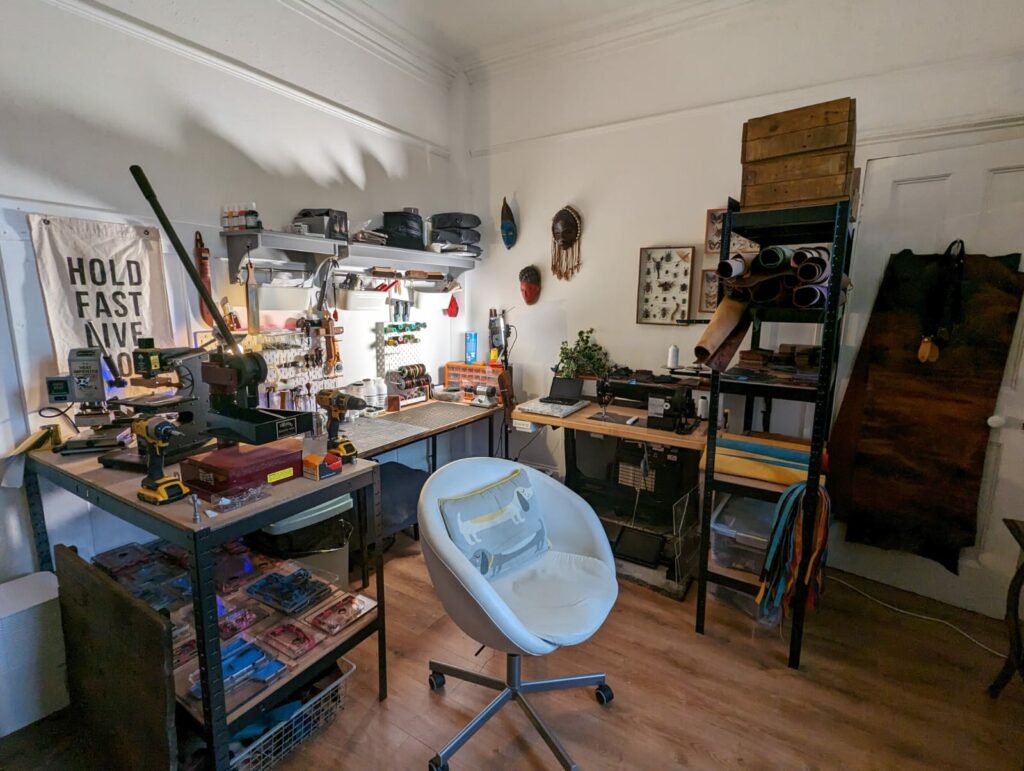
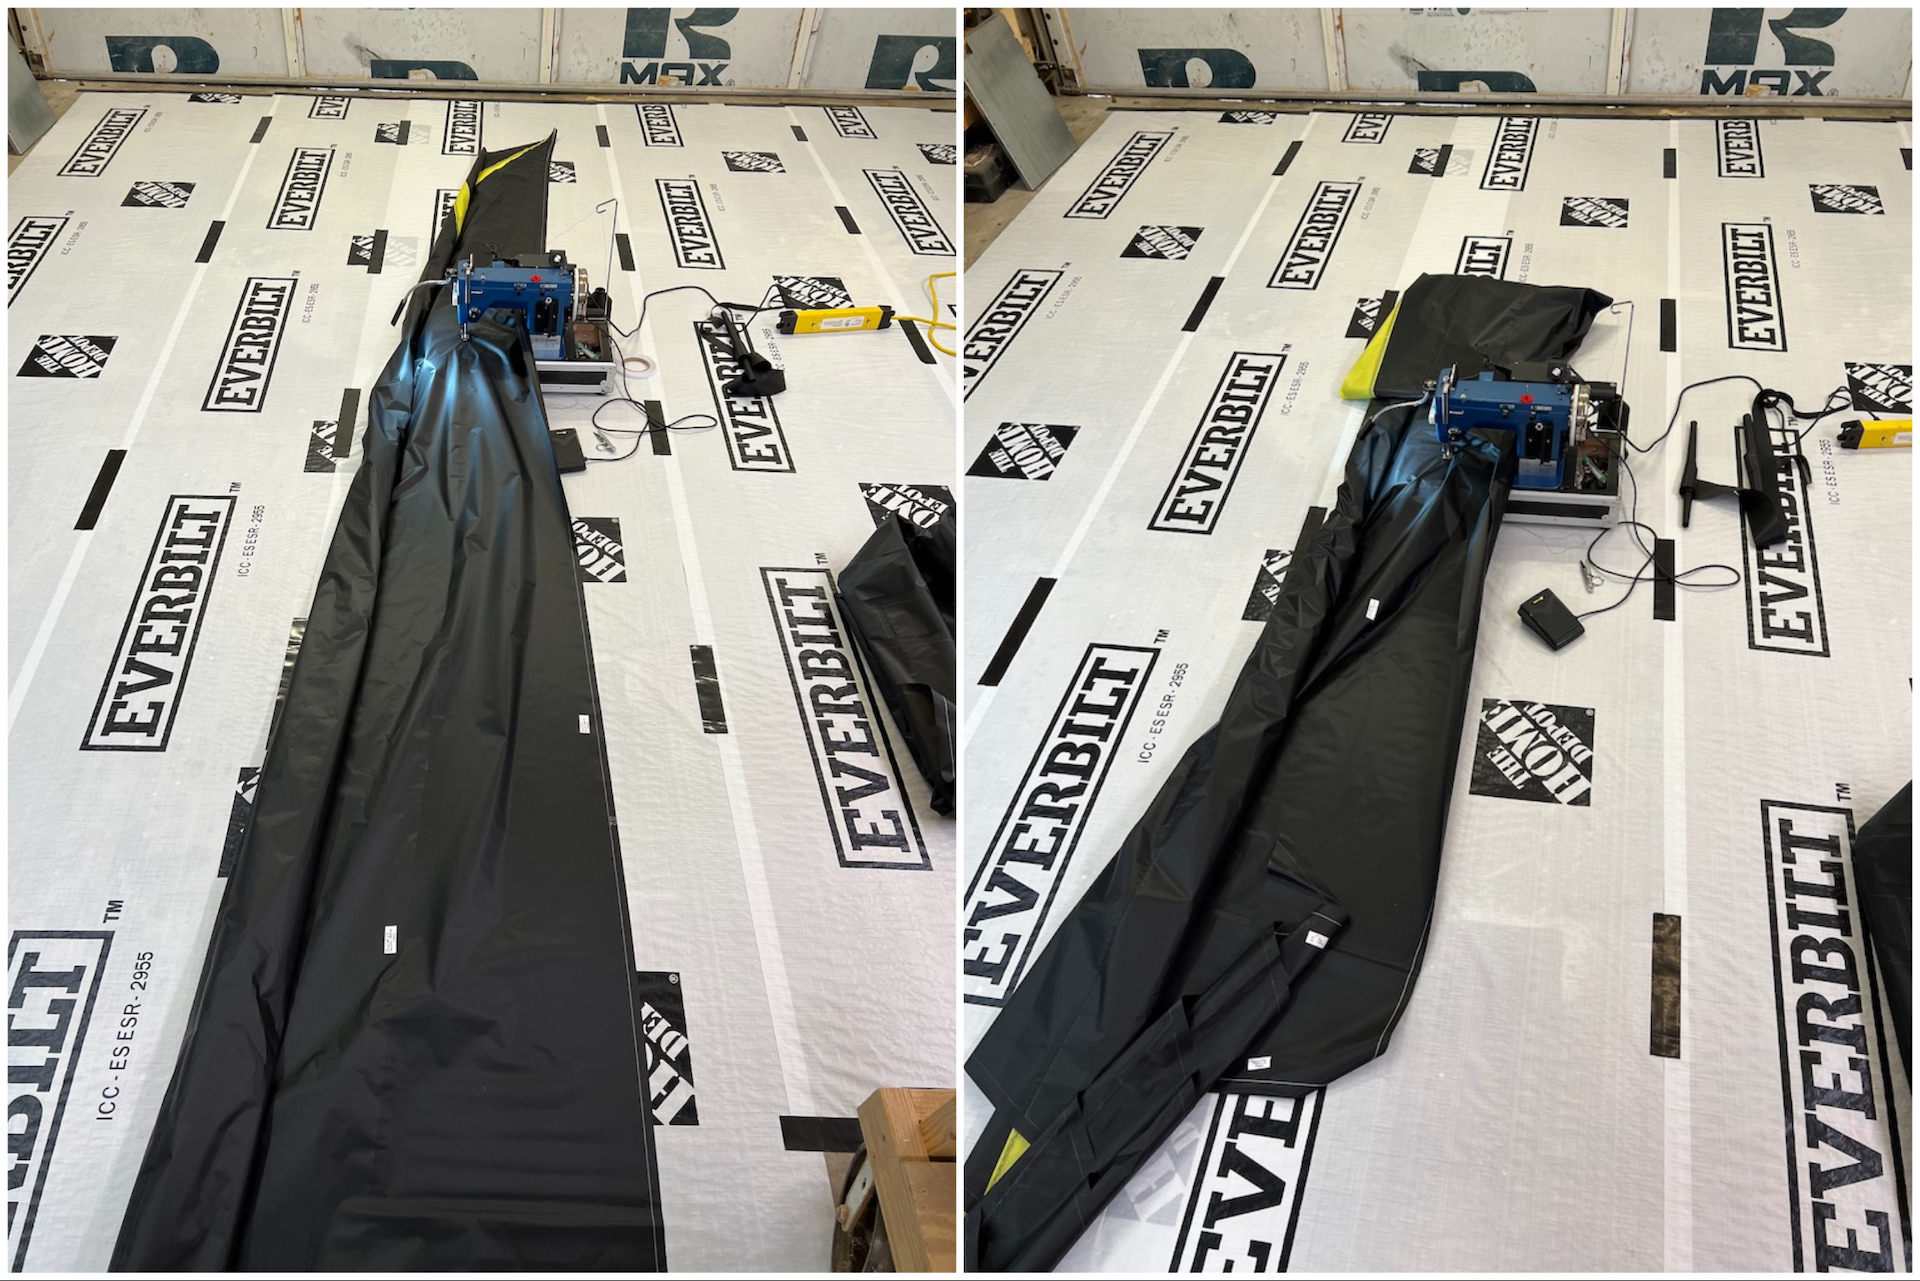
The next step was to purchase the materials and tools he needed to make the mini shade sails. That included a heavy-duty sewing machine that was able to handle the project.
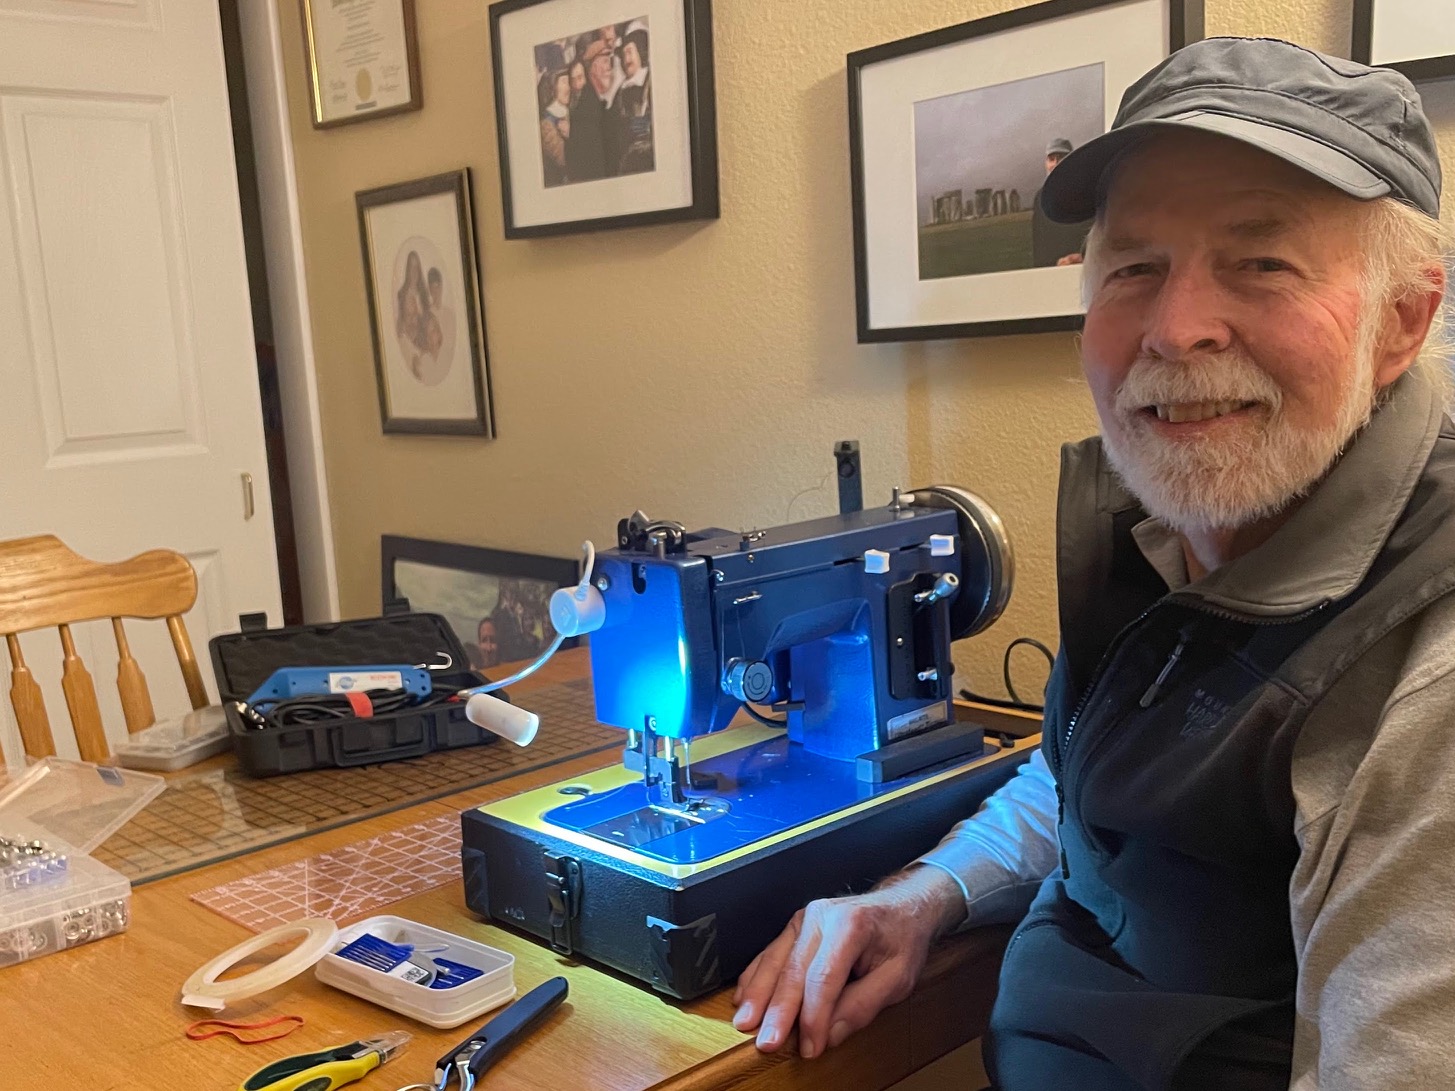
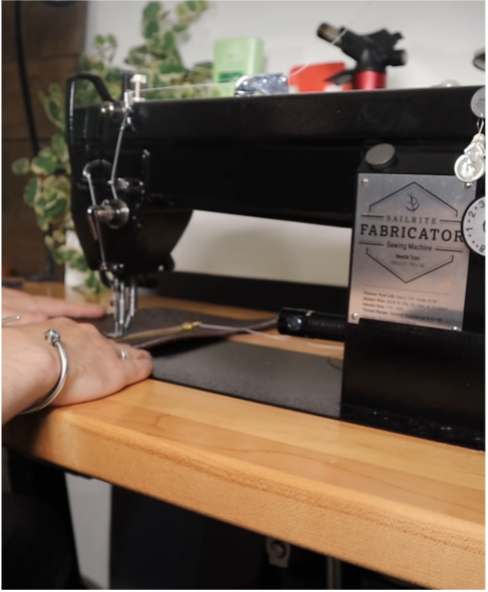
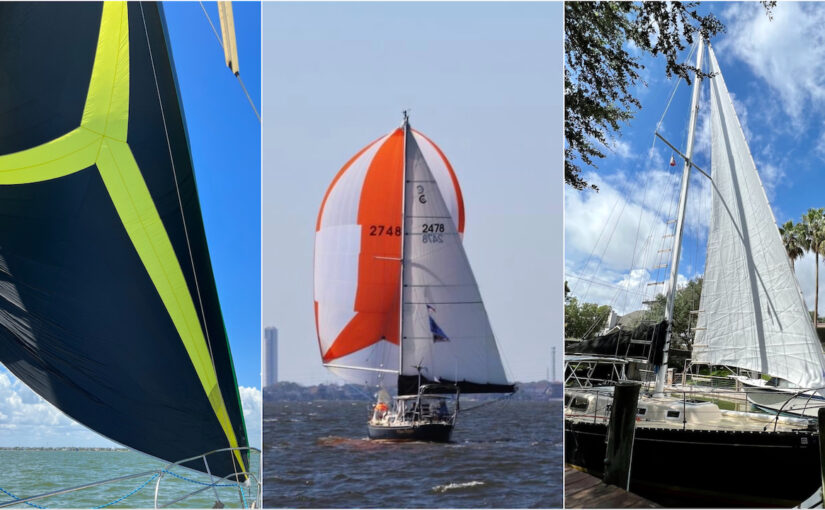
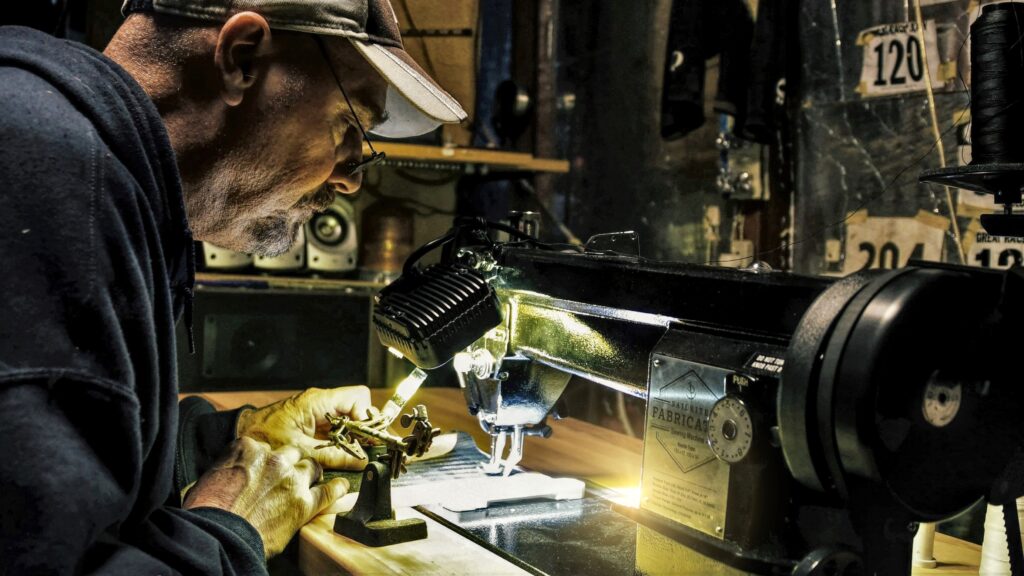
After seeing the powerful Ultrafeed® Sewing Machine at work in several of Sailrite’s DIY videos, Eddie “took the plunge and bought the LS” to make his shades. He also purchased Textilene® Sunsure Vinyl Mesh Fabric, polyester webbing, grommets and turnbuckles, and other notions and accessories.
When his machine and materials arrived, Eddie started to get to know the LS by practicing the sewing techniques he’d learned from videos. Then he jumped into his project, but it was slow going. “My first panel … really did not go as I had hoped,” he confessed.
Not one to back down from a challenge, Eddie paused his project and spent more time practicing basic techniques to give himself an edge for his next attempt at a shade panel. “After about [a] week, [it] started to come together,” he said of the remade panel. “And I loved it.”
After recovering from his brief stumble, Eddie was off to the races. He got more comfortable with every stitch he sewed. “My LS has a personality,” he said. “It makes sounds unfamiliar to me, but once understanding how [it] operates, [it] begins to understand me.”
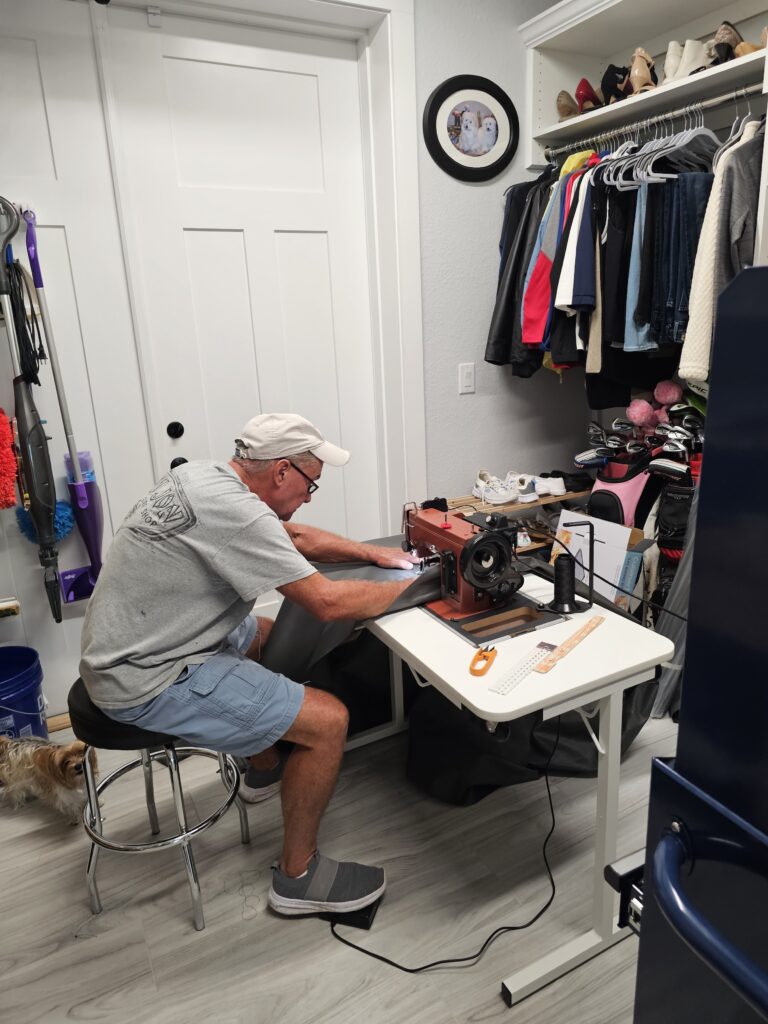
Eddie and his LS soon became an unstoppable team. “I absolutely love my LS,” he told us. “I believe because it is more heavy duty, it can handle heavier fabrics in multiple layers and not [strain]. It also offers many accessories and functions not available on household machines. Particularly as my experience grows, I will not be limited.”
He reported that others in his life are astounded at the results of his projects as well. “My wife watches with amazement at what I can do, as does my friend Mickey. … Even my wife (who sews) asks my advice about how to do some things.”
The Engineer’s Guide to Sewing
Although sewing is new to him, Eddie is a longtime DIYer. “I also do woodworking and cabinet carpentry,” he said. “This is what probably gives me the desire to create beautiful work. I can look at a picture of something, study it and try to recreate it myself.”
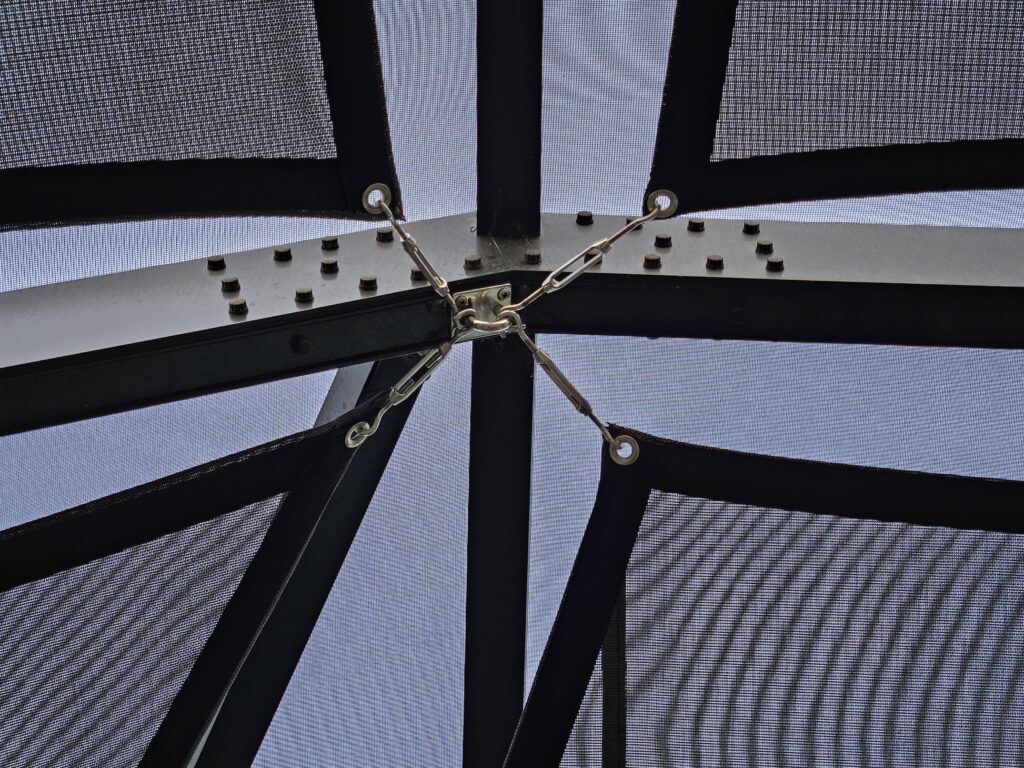
There’s no doubt that his ability to recreate a project from a picture came in handy with his shade sails. A shade sail is normally a very large item that requires careful calculations and proper installation to get right. So, how did Eddie manage to shrink a sail down to fit in a house? With a little engineering, of course!
“I studied my project very closely prior to fabrication and tried to resolve problematic issues before building,” he explained. “The symmetry of the panels had to be pleasing to look at, and the placement of the hardware had to be symmetrical as well to maintain a flow of uninterrupted lines when looking up. It had to look professional.
“I studied the geometric shape between the frames and made inserts to go into each opening. It was really quite simple. The challenge was the fastening system and keeping everything symmetrical and in balance, and not making the inserts too small because of the area taken by the turnbuckles.”
Patterning, sewing and installing the shade panel array took the better part of three weeks, and Eddie described the project as “well worth the effort.” In fact, he shared that the shades turned out even better than he hoped they would.
“The shade is perfect,” he said. Textilene Sunsure’s impressive 91% shade factor easily lowers the sunlight and temperature inside the patio. Eddie also loves the sleek, modern appearance the panels give the screened-in porch.
But most importantly, the miniature shade sails have transformed the porch into the comfortable retreat he and Alice dreamed of. When we asked Eddie what he would do differently if he had to make the panels again, he said, “I can honestly say I would not change anything.”
Sharing the Shade
The shade panels were such a success that Eddie couldn’t wait to show them off to his friends and neighbors. Needless to say, he received a deluge of compliments! Some neighbors were so impressed that they enlisted him to make shades for their own patios. That included Eddie’s friend Mickey, who had been trying to get the temperature on his own porch under control without success.
“[Mickey] had previously purchased prefab panels from [a hardware store] that did not fit correctly,” Eddie explained. But with his newfound sewing skills and the confidence of making his own shade panels from scratch, he quickly came up with a solution. “I recut and shaped the panels to fit, edged each panel with webbing and fastened with turnbuckles. [It] came out very cool.”
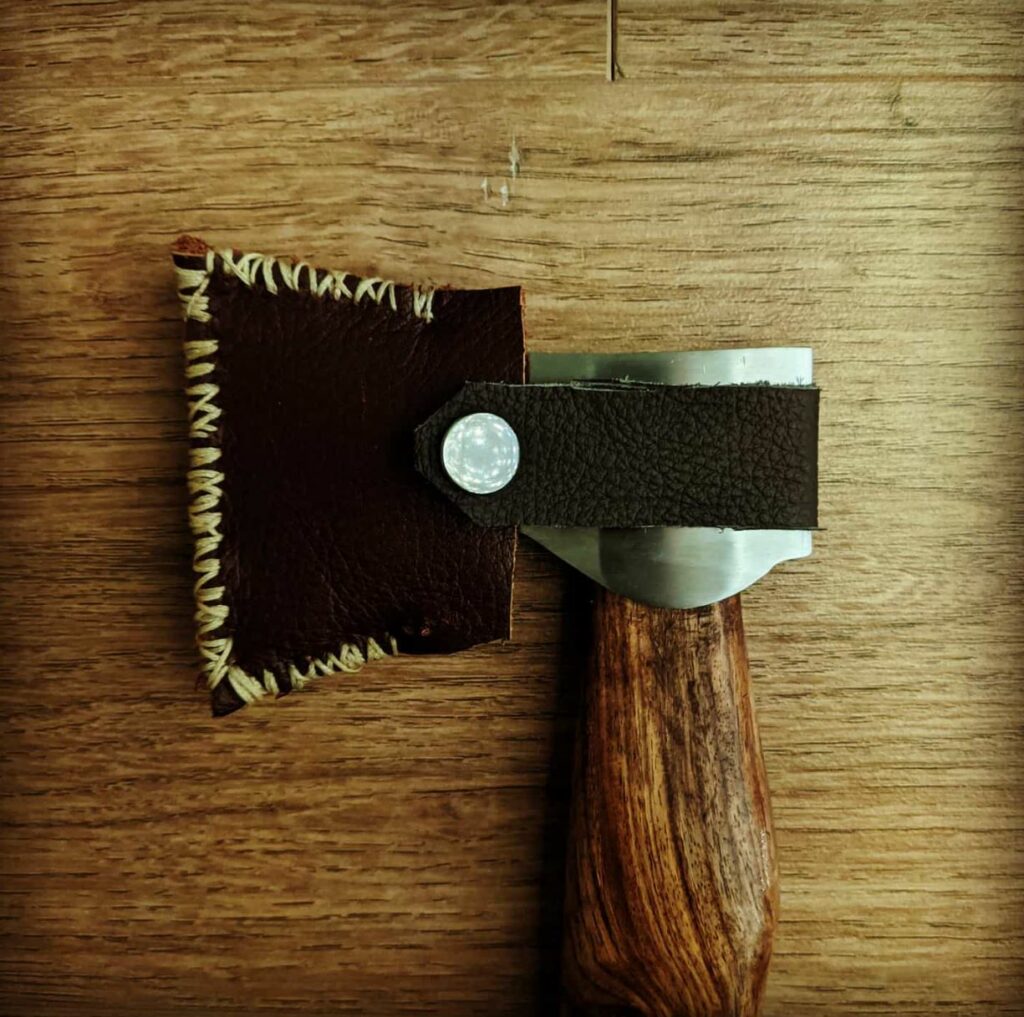
Completing these projects inspired Eddie to keep sewing. “I enjoyed [the shade sails] so much, I went on to make a bike rack and wiper covers for my [motorcoach],” he told us. He even completely redid the golf cart seat covers he’d repaired before he got the heavy-duty LS sewing machine. Naturally, Eddie got his materials and tools for these projects — including the “must have” Edge Hotknife — from Sailrite.
The miniature shade sails also gave him the confidence to tackle a full-size installation. “I am designing a system for our clubhouse pool area using large panels spanned from poles,” he told us. “I am trying to figure out [the] angle of [the] panels and overlap to get the best coverage.”
Once he finishes that, he’ll move onto the other projects on his DIY to-do list. That list includes motorcoach window and wheel covers, covers for his patio furniture and golf cart, and more.
We wanted to know what keeps Eddie coming back to Sailrite for his DIYs. He said it was “the extensive video library, from very basic sewing techniques to much more advanced projects. The explanations along the way give reason for a particular approach in a somewhat nontechnical way. I also like the specific projects studied; you can almost find exactly what you want to do and follow the steps.”
Eddie’s Parting Advice
We have a feeling that Eddie will return to Sailrite for guidance on his future projects. After all, careful research is an indispensable step in his personal sewing process. It’s also a cornerstone of the advice that he shared for DIYers who want to make major modifications to an existing project, like he did with his miniature shade sails.
He outlined his philosophy for us. “Always study the project first and lay out goals in a systematic order. Find videos which represent a similar representation of what [you are] trying to accomplish. Practice makes perfect, so spend time on scrap pieces on a small scale to develop a technique and learn the feel of your equipment.”
We’re certain that anyone who follows this advice can learn to modify any project to fit their needs like an expert engineer!
While learning to sew was the biggest challenge he faced on the road to making his shade sails, Eddie feels that taking the time to research and learn was entirely worth it. His newfound self-reliance is his favorite part of his sewing hobby. “[I] do not have to wait for an overpriced contractor,” he said. And now that he can sew almost anything himself, he’s not stopping.
“[Sewing] turned out to be a great hobby and very rewarding,” he told us. “I love it; there are so many possibilities to expand on. … I love doing all sorts of things with my machine … I am constantly looking for things to make.”
We here at Sailrite are thrilled that we could help you discover a new hobby and expand your creative possibilities, Eddie! Thank you for sharing your story of ingenuity and perseverance. We can’t wait to see what you make next.
Who We Are
Sailrite is your one-stop DIY shop! We are a passionate crew of do-it-yourselfers who strive to equip you with the supplies and how-to knowledge you need to tackle your next project. Do you want to learn upholstery, leatherwork, canvaswork, hobby sewing, bag making or more? We have the fabric, tools, hardware, sewing machines and notions you need to master any DIY. And even if you’ve never sewn before, our tutorials and how-to videos are designed for beginners and experienced crafters alike.
Start your DIY journey today: www.sailrite.com