Creativity is the common denominator that exists in all crafters regardless of their preferred medium. Whether it’s the need to feel productive, to channel restless energy, or to unwind and relax after a stressful day, having a creative outlet is good for the soul. Having a hobby, especially a craft such as sewing in which you make something with your hands, engages the mind, promotes wellness and is a great way to connect with like-minded people in your community. It’s the perfect remedy for the overwhelming dominance of our technology-dependent lives.
Brett Walker has searched for a creative outlet his entire life. A hobbyist at heart, he describes himself as a “DIY type of person” who enjoys learning how to do things himself. He learned how to sew about eight years ago by watching videos online. He wanted to get into puppet design and stop-motion filmmaking, but when this idea didn’t work out, he switched to live-action filmmaking to channel his creativity.

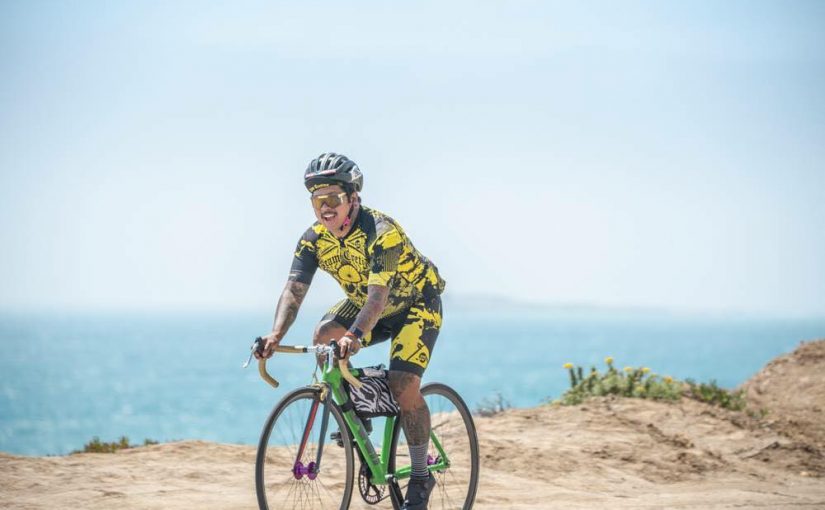
“I always try to find hobbies to keep myself busy and have an artistic outlet. I’ve done a lot of drawing and painting, then filmmaking, and now cycling and bag making.”
It’s his cycling hobby that propelled his desire to get back into sewing. “After cycling for a while and more than a few flat tires, I realized I needed a bag to carry my flat tire repair kit with me. The custom ones I wanted kept selling out, so I figured I could just make my own. I had also started to hear about bike camping and wanted to buy panniers (a pair of bags or containers attached to the sides of a bicycle for storage), but found out that they are pretty pricey, so that led me to want to make my own as well.”

Ready to pick up his sewing hobby again, he needed to test the waters and find out if he still had his sewing skills. It had been a few years since Brett had sewn anything, so his best friend’s wife let him borrow her machine to see if he could relearn how to sew; he practiced making a few bags and instantly fell back in love with the craft. With his hobby firmly reestablished, he began sewing his own bags to carry things on his cycling adventures.
Enjoying making bags for himself and his cycling excursions wasn’t enough. He recognized a need in his cycling community for locally made, custom bags and decided to turn his sewing hobby into a small side business. He named his business Canal Workshop, inspired by the canal located next to his apartment in Phoenix, Arizona, which provides miles of traffic-free bike paths. It’s this canal that spurred Brett to get back into cycling as an adult, which he’d dropped after outgrowing his childhood BMX bike.

For about a year and a half, he’d been sewing bags with a Singer Heavy Duty sewing machine, but he found that it wasn’t handling the workload as well as he needed. So he began his search for a more powerful and dependable machine that could handle the thick Cordura canvas, packcloth and nylon webbing he uses for his bags. “I was talking to a cyclist friend of mine and he told me about Sailrite®. He mentioned that their machines were more economical and could just as easily get the job done [compared to more expensive heavy duty machines on the market].”
Brett initially looked at the Ultrafeed®, but Sailrite happened to be running a sale on the Fabricator® Sewing Machine, so he decided to take a look at an industrial sewing machine instead. “I figured that an industrial machine was more suited for the work I was doing. I liked that it had a classic steel look, was all black, and the name of the machine spoke to the type of work I was doing. When it went on sale, I thought this was a no-brainer.”
He’s been sewing with his new Fabricator for about six months and has no regrets about his choice of machine. “It’s strong, straightforward, and when I see it, I just want to sit down and work. The machine hums along and causes me no real issues. I love that it’s inset into the table that it came with and that you can wind the bobbins while you work. It works like a charm.”

The sewing process has been a bit of trial and error for Brett, as it is with most hobbies, and he’s learned some valuable lessons along the way about how to sew with skill and professional results. “One of the most important things I’ve learned is to take my time. Like in filmmaking, the more time and effort you put into preproduction (planning, pattern making and cutting), the faster and more efficient the production (sewing) is. I like to make one panel of a bag at a time, then put them all together. When I first started I was so eager to see the final product that I often left off important parts like a handle or my label.”
“It’s such a timesaver to take your time with a project. Planning out the process and then executing it correctly the first time means spending way less time with a seam ripper. One thing I’ve learned, and am still trying to perfect, is setting the tension properly. I had a hard time sewing certain lightweight materials before I learned to dial back the tension.”

When asked what he enjoys most about the sewing experience, Brett mentioned the sense of accomplishment he feels when making something himself and how his sewing hobby has led to new friendships. “I enjoy that I can make something for myself that is exactly the style, size and quality that I look for in a bike bag. I also really enjoy that I can provide that same service to the cycling community in Phoenix. What I love most is I’ve made a ton of new friends; a lot of my customers have gone on to become close friends because we’re all into cycling so much.”
While the majority of his sewing projects are for his bike bag business, Brett has put his Fabricator to other uses. “I’ll hem some pants or make some pillowcases for my girlfriend. I did recently make a regular backpack. I’ve also got an order for a bike bag with leather accents, which will be new territory for me. I did some research on that through the Sailrite website and am putting in an order for diamond tip needles from Sailrite for that project.”

With a restless, creative spirit, Brett is constantly searching for the next project to tackle and a new skill to learn. “I’m always looking for ways to grow and add to my skill set. I recently learned that custom bags for off-road vehicles is a thing, so I’m going to try that out. My buddy actually put a bug in my ear about making some bags to organize his new truck. Another project I’ve got on deck is blackout window coverings for a van.”
The creative vein through it all is Brett’s need to channel his artistry into something tangible. Whether you’re a sewer, woodworker, painter or knitter, the pure joy of creating something with your hands is the thread that ties us all together.
Who We Are
Sailrite is your one-stop DIY shop! We are a passionate crew of do-it-yourselfers who strive to equip you with the supplies and how-to knowledge you need to tackle your next project. Do you want to learn upholstery, leatherwork, canvaswork, hobby sewing, bag making or more? We have the fabric, tools, hardware, sewing machines and notions you need to master any DIY. And even if you’ve never sewn before, our tutorials and how-to videos are designed for beginners and experienced crafters alike.
Start your DIY journey today: www.sailrite.com