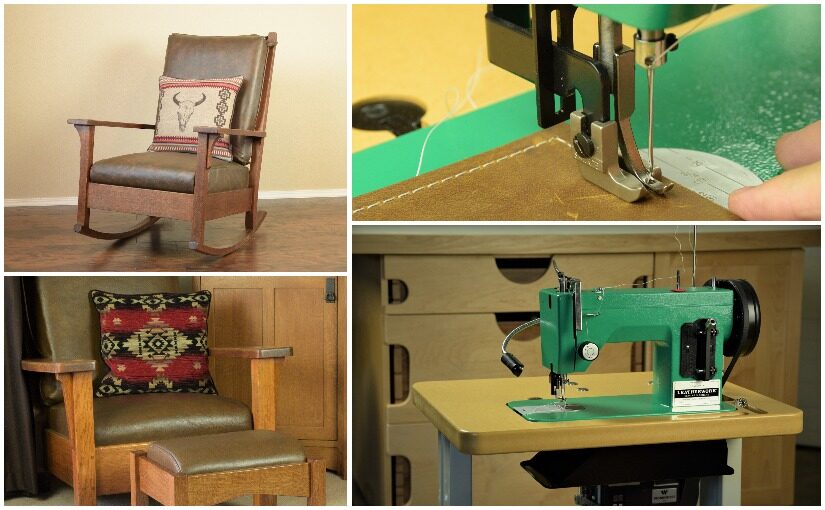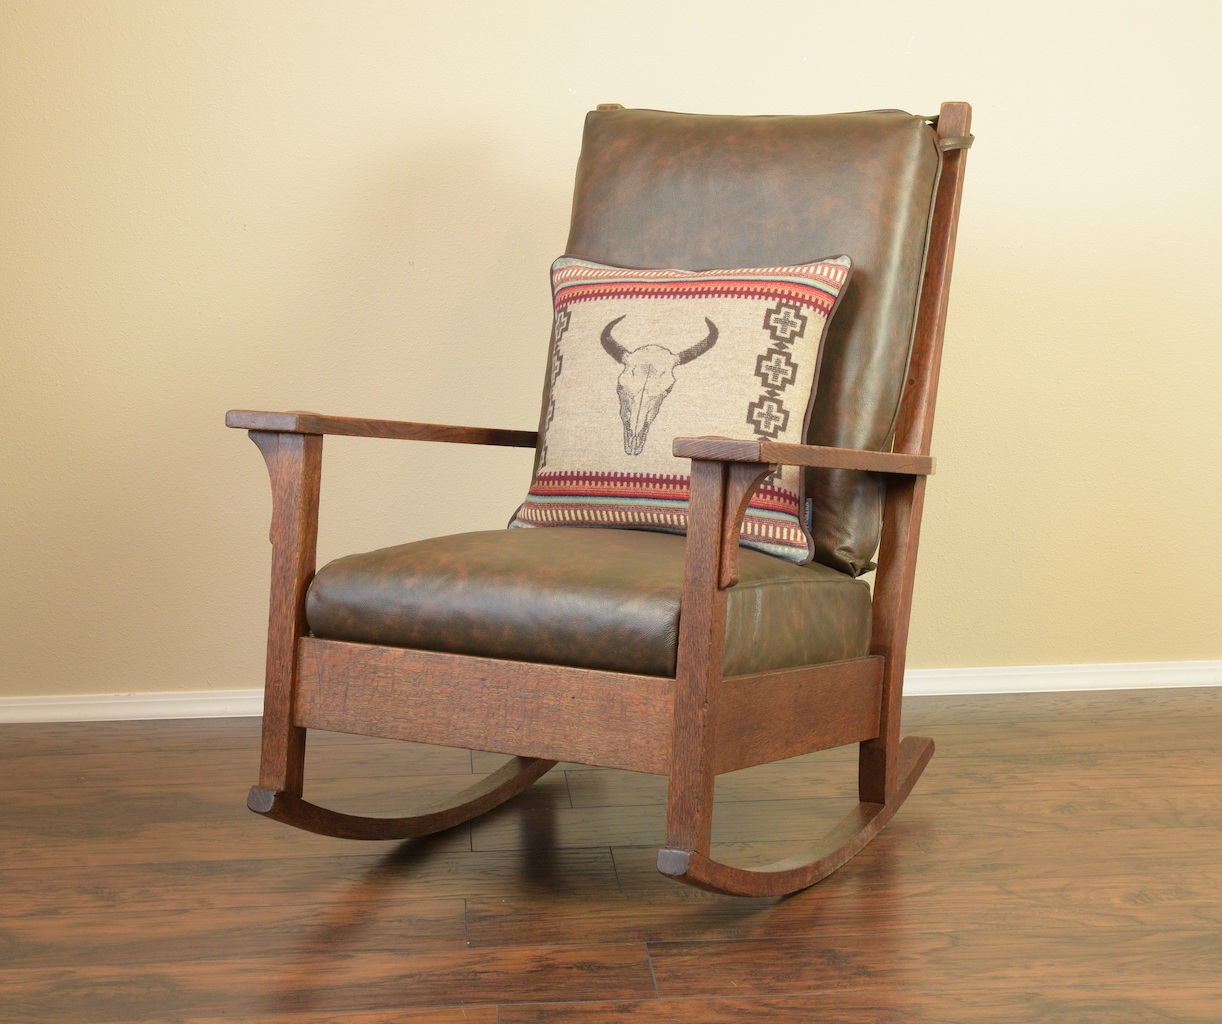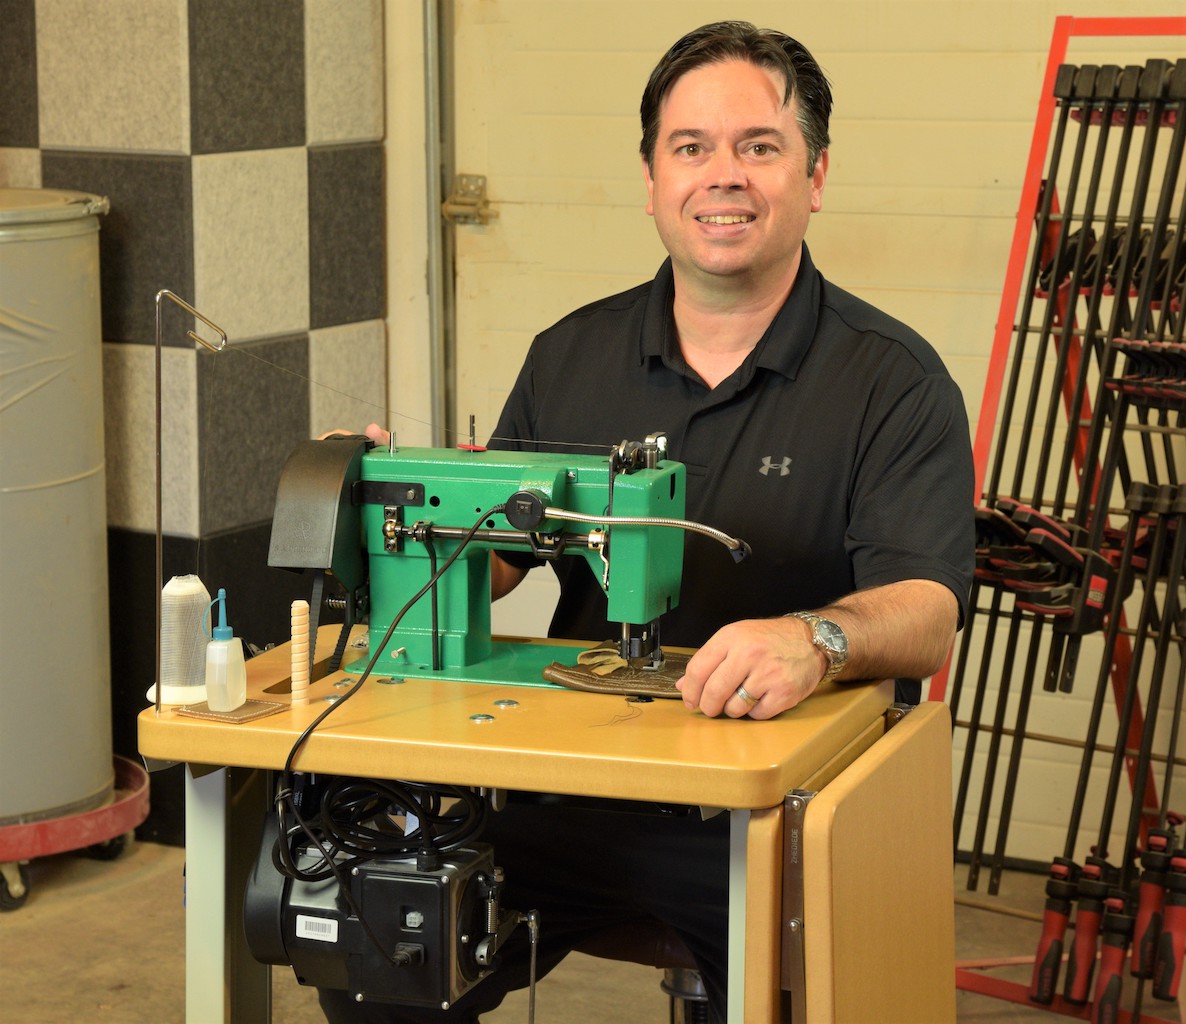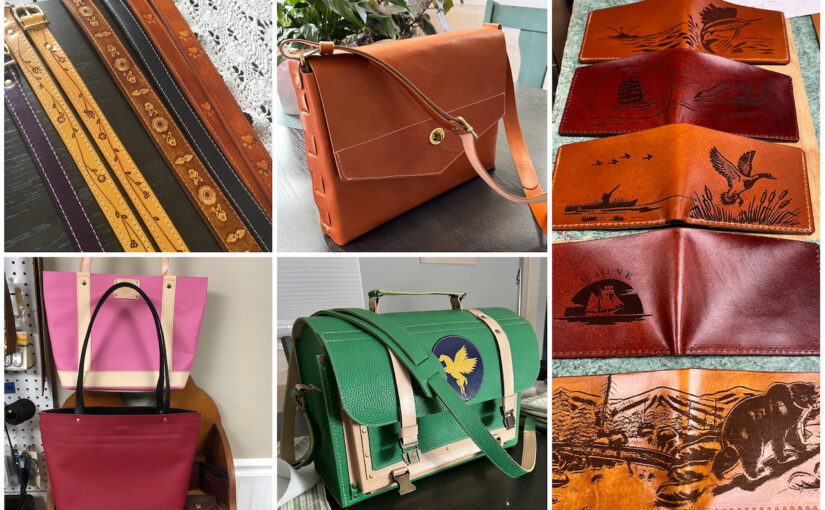
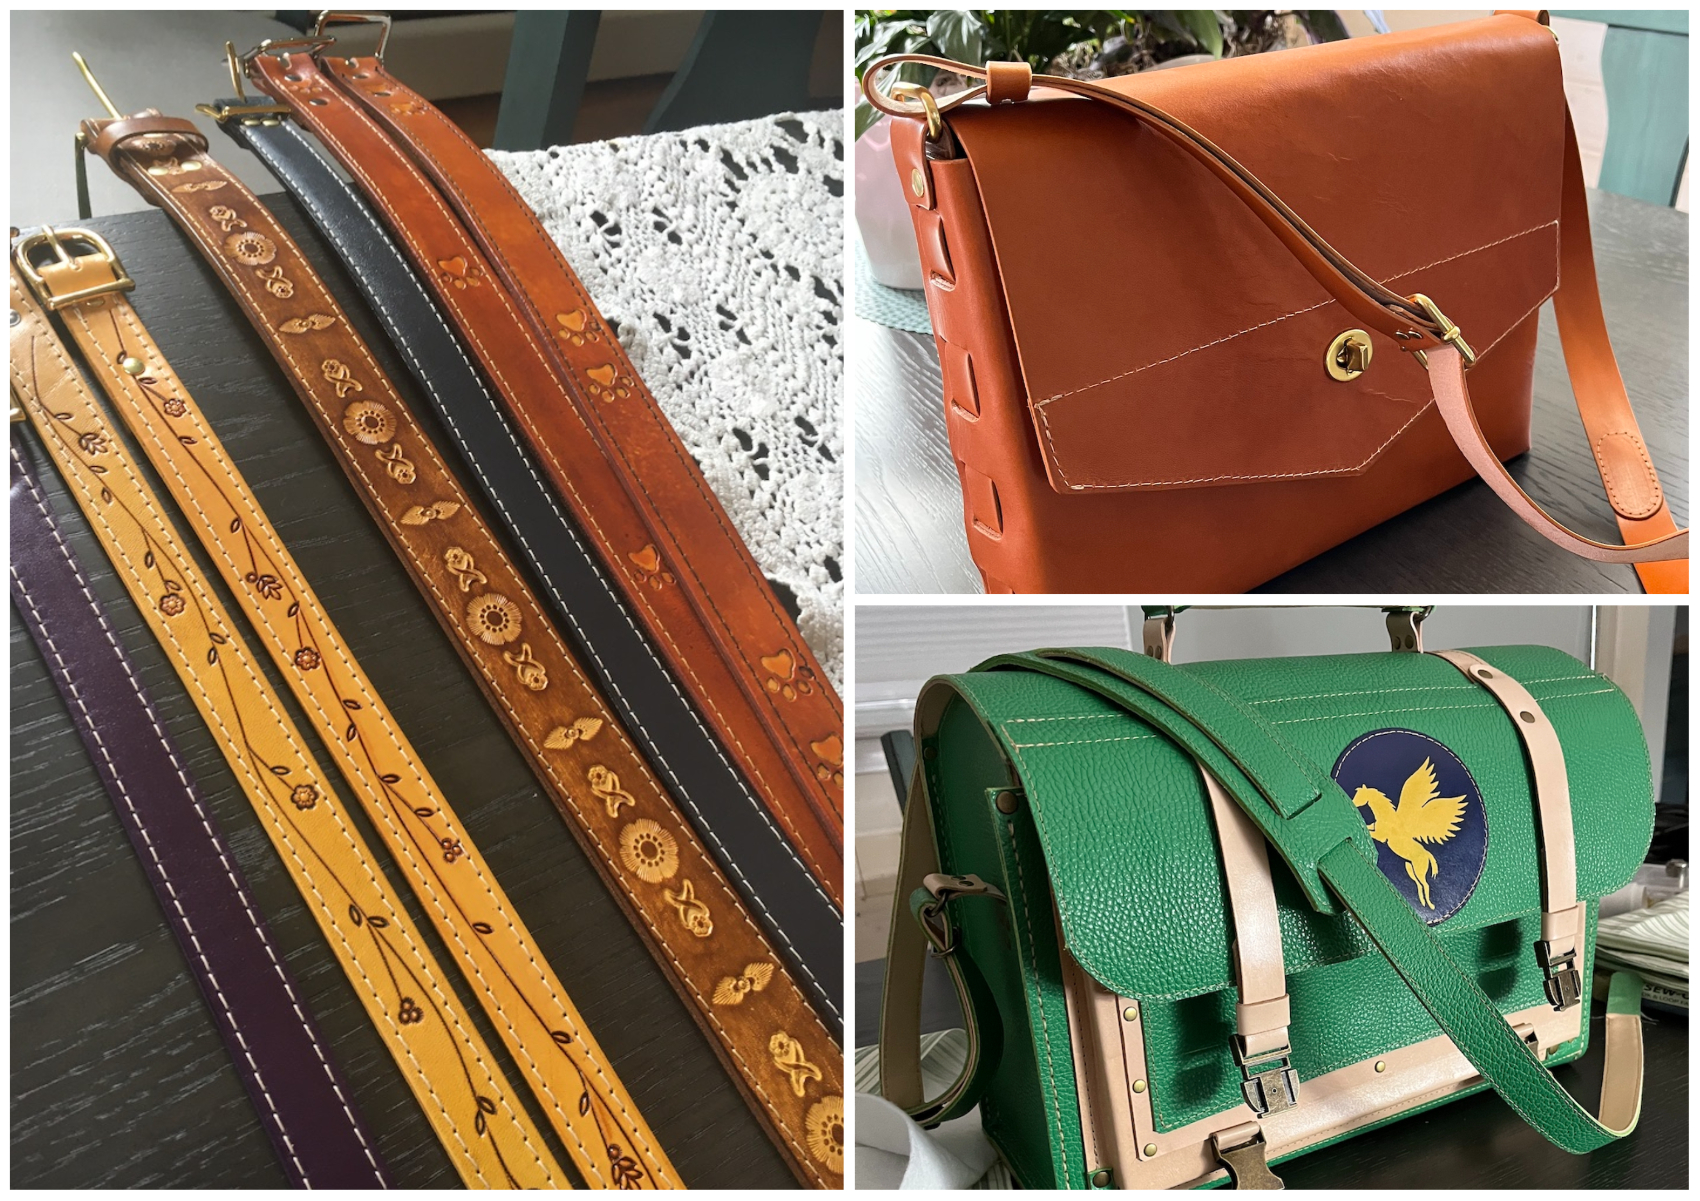
Bill Mowbray is an accomplished leatherworker. For over 40 years, he’s been handcrafting bespoke leather goods. He’s made everything from wide-brim hats and women’s bags to shoes, belts, holsters and more. Bill was hand sewing all of his leather goods but came to the realization a few years ago that, in order to grow his side business and speed up production and productivity, he would need a leather sewing machine.
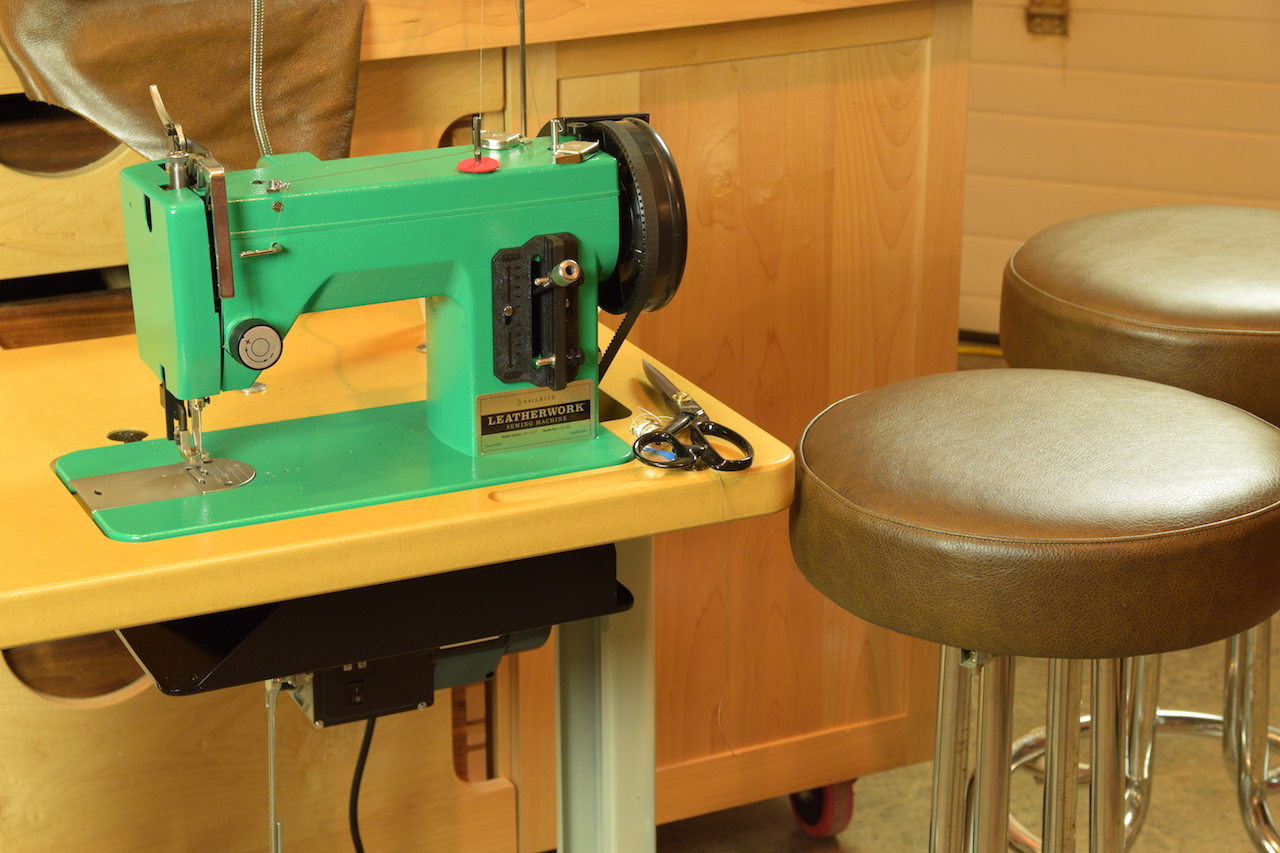
But which one to choose? After some internet sleuthing, he found the Sailrite® Fabricator® Sewing Machine. With this important upgrade to his home leather shop, Bill has been able to streamline the assembly process and increase the production of his leather goods without compromising on quality and good looks. Bill shares his story with us and offer advice to other DIYers curious about leather crafting and the world of handmade leather goods.
Every DIY Journey Starts With the First Project
Bill’s journey into leatherworking started when he was just 15 years old. His parents purchased a set of craft encyclopedias filled with DIY activities. One of the books had a pair of suede moccasins on the front cover. Bill instantly loved the shoes and knew he had to make a pair for himself. “My local Tandy Leather retail store had all the supplies I needed, and my parents took me there one Saturday to purchase some simple tools and the thick suede. My first pair came out great and I was hooked on making leather items from that day on.”
Bill’s childhood job as a paper delivery boy led to an unexpected supply connection for the budding leather crafter. “One of my customers was making belts for his store, and I was able to get tooling leather from a new source in the Boston area every time he took the trip from Rhode Island up that way. All I had to do was hand him the money and he would get me these great double shoulders for belts, so that was a whole new beginning into stamping and carving belt leather. I still use the same stamping and edge tools I bought back in the late 1970s.”
From Hand to Machine: Upgrading His Sewing Career
For almost his entire leather crafting career, Bill had been sewing his leather goods by hand. That is until he decided a few years ago to invest in a quality leather sewing machine. “I’ve always loved the look of hand-sewn threads on handbags and wallets, but I’ve always wanted to make my work look a little more ‘polished’ and save some time while I’m at it. I found it was just too time-consuming to stitch everything by hand. The addition of a sewing machine seemed like the only variable I could change.”
So Bill began researching leather sewing machines on the internet. It was then that he discovered Sailrite and the Fabricator. “I found the Sailrite website by accident, to be honest. I was given the names of some very expensive machines from my local sewing machine dealer. While I was searching online about 5 years ago, the Sailrite name came up. So I did some homework and watched some of the online content on the Sailrite website and made up my mind to go with the Fabricator.”
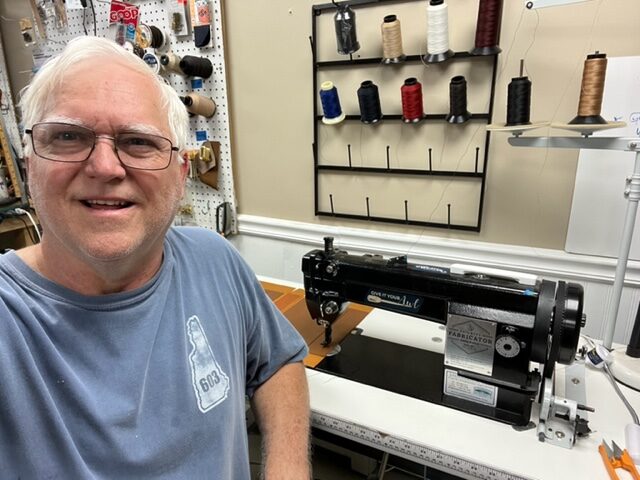
Bill knows he made the right choice with the Fabricator. The machine has performed dutifully for him over the years, and he has never had an issue or complaint. “The Fabricator is an incredible machine. Self-lubricating, easy to use and literally about as maintenance-free as you can get. Just keep loading new thread and bobbins in and the machine never lets me down. At this point in my leather-making career, I can’t see myself living without the Fabricator, and now I’m considering buying a smaller portable unit like the Ultrafeed® to help out as well.”
Let’s hear more about Bill’s leatherworking lifestyle and his advice to beginner leather crafters.
Q. What do you love about working with leather? Do you have a favorite type of leather?
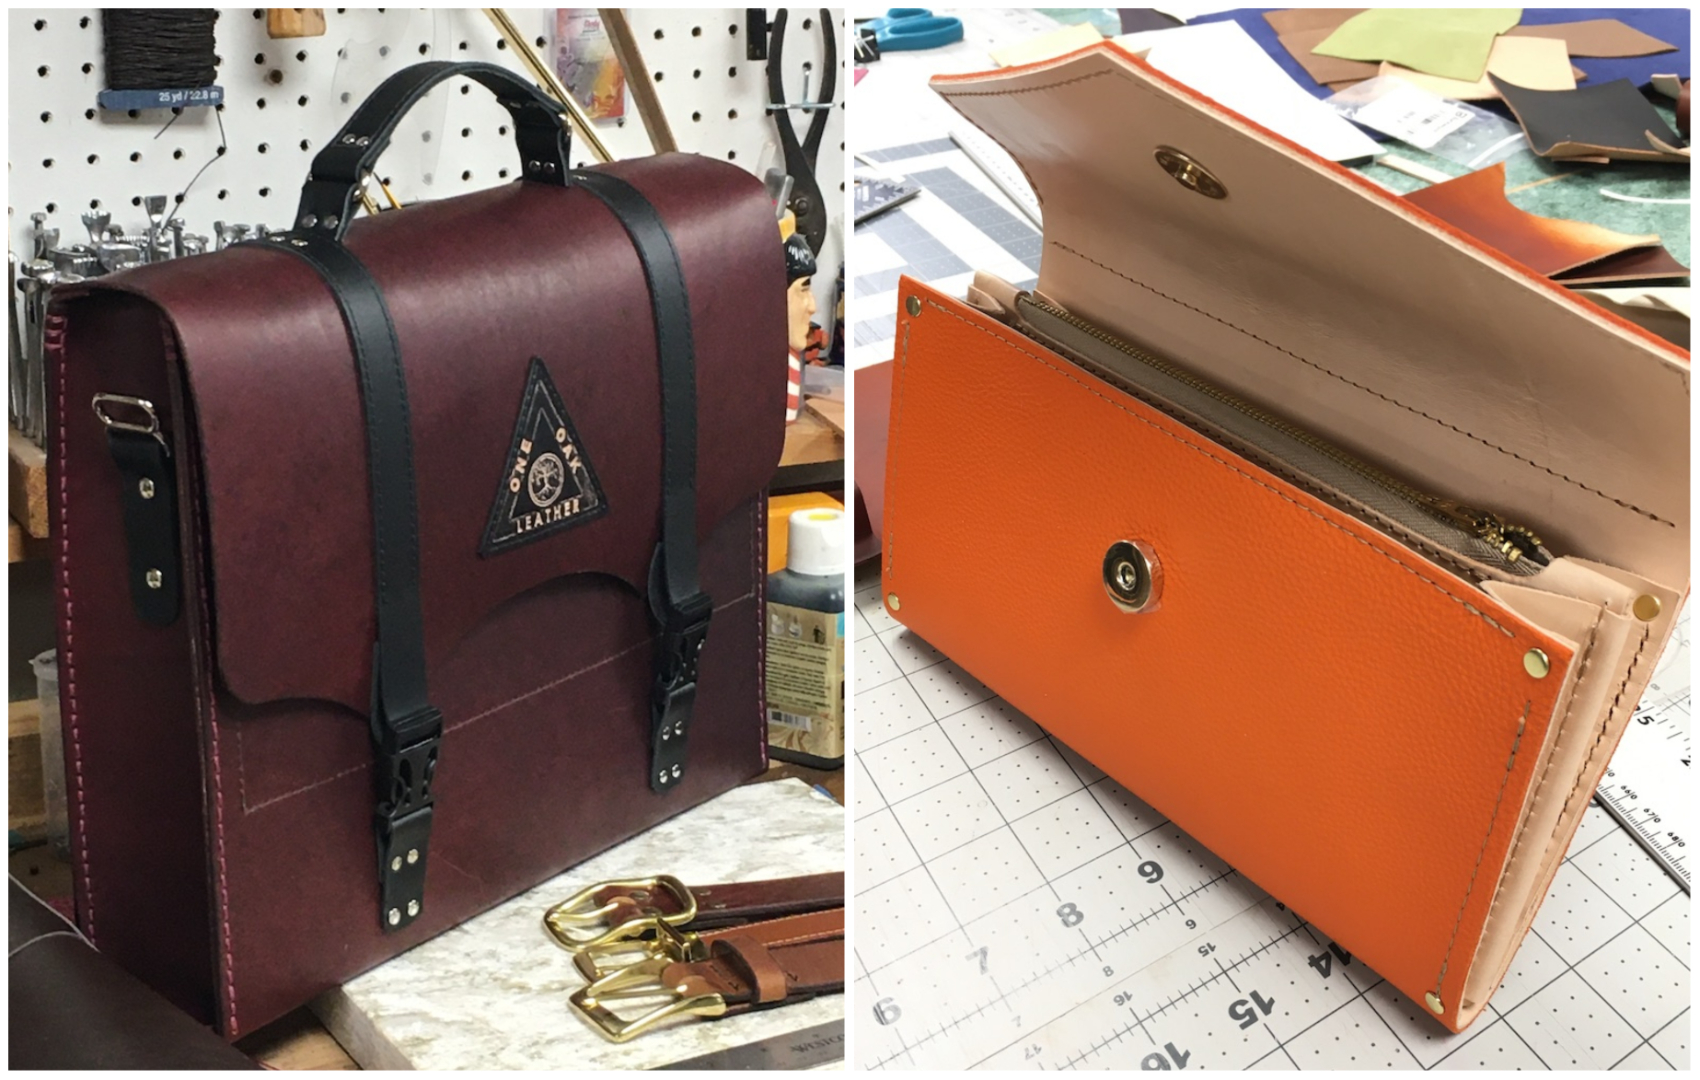
A: I love the smell and feel of all leather. I always have to smell the leather on any new pair of shoes I buy. I used to work mainly with vegetable tanned leather for years and years. But I love to make handbags, women’s clutches and wallets out of the newer chrome tanned varieties available today — anything I find that is a “bargain.” It helps me keep my prices relatively low, but I have no favorite leather type. As long as it’s leather I’m good to roll something new out the door.
Q. What advice would you give someone looking to get into leatherwork?
A. Don’t go too crazy with fancy or high-priced tools to get yourself started. Common tools made for everyday use will typically suffice. And if at all possible, go to a local place to find some leather to touch and feel so you understand what you’re buying. Or at least find out if your supplier offers samples to touch and feel before spending big money on a whole side or hide. You will make mistakes no matter what your skill level is, but most of the time you can make something else from that piece of leather you thought you just ruined. Be patient and get creative.
Q. What are your favorite, must-have leather tools that you would recommend to a beginner?
A. Must-have tools are your utility knife and a good square or straightedge, preferably both. Most utility knives now have a quick change function for the blade since you will change blades often. The mating component of cutting on any work surface is a cutting pad that can be found in just about any big box store or fabric store. If you want to make belts, also invest in a strap cutter and some edge bevelers. A couple of stitching chisels and at least an ice pick are also going to be needed as well. At some point, you will need some snap and rivet setters but this may come in time if you find yourself really enjoying this craft. Good luck and have fun.
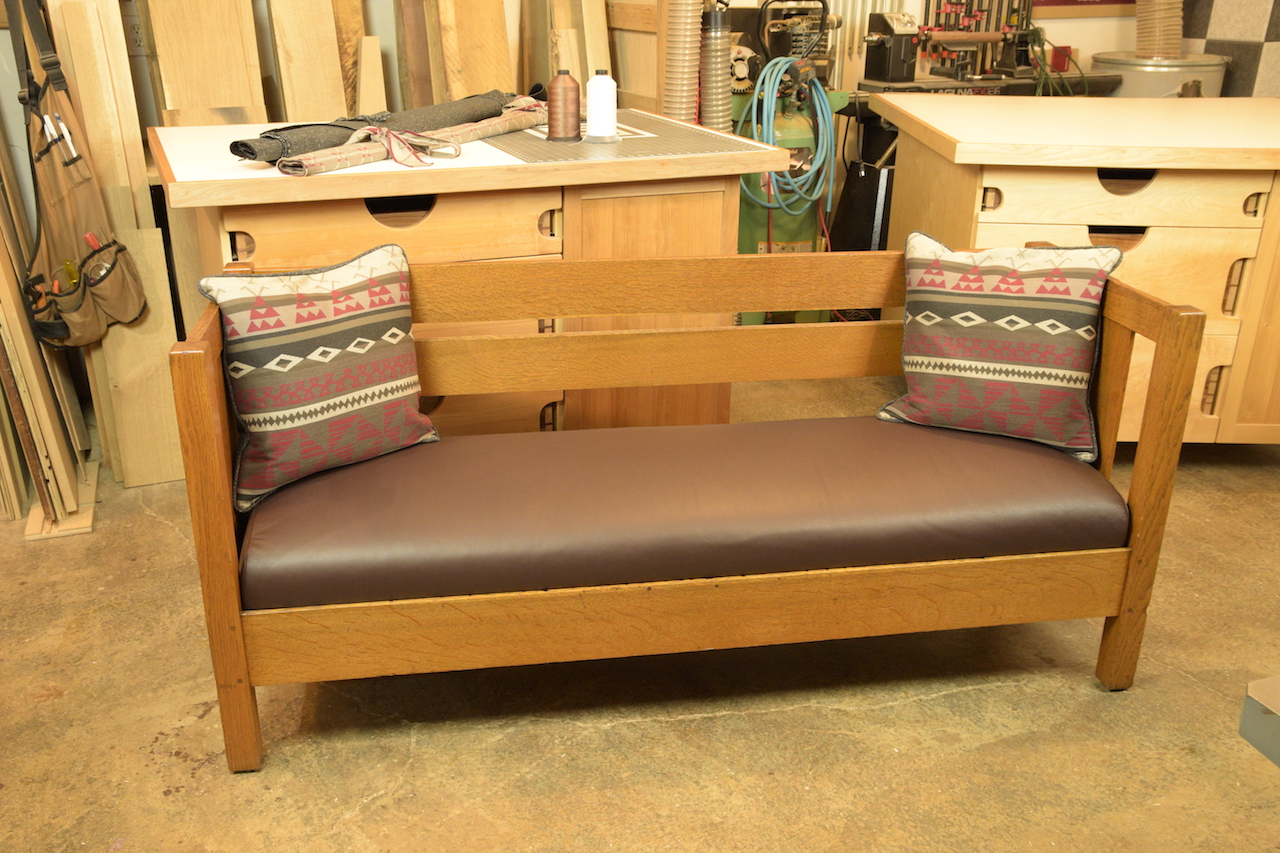
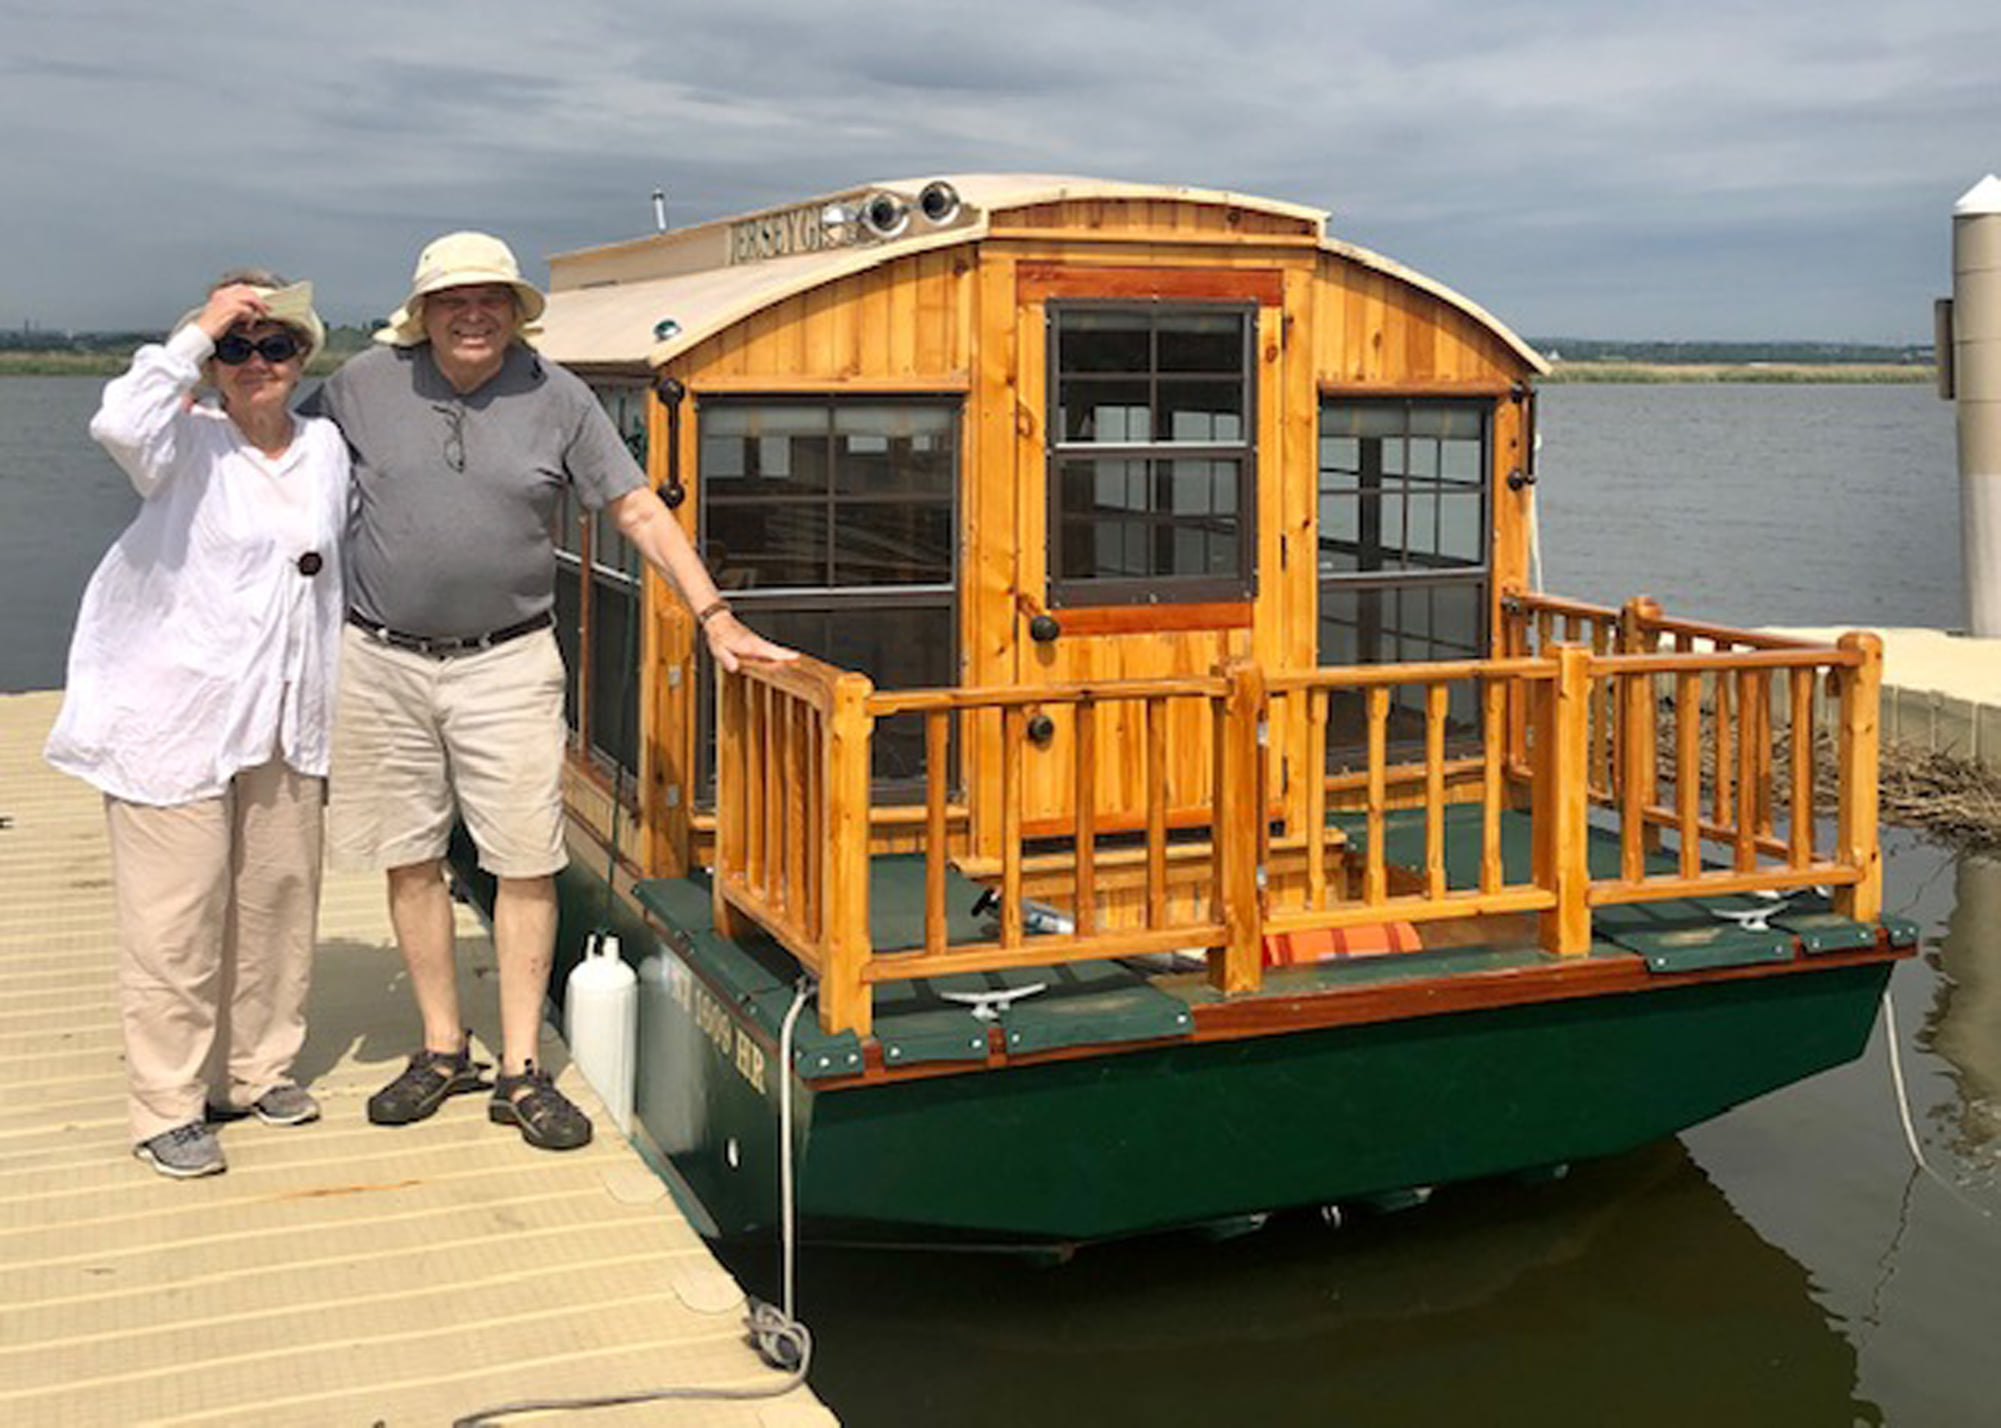
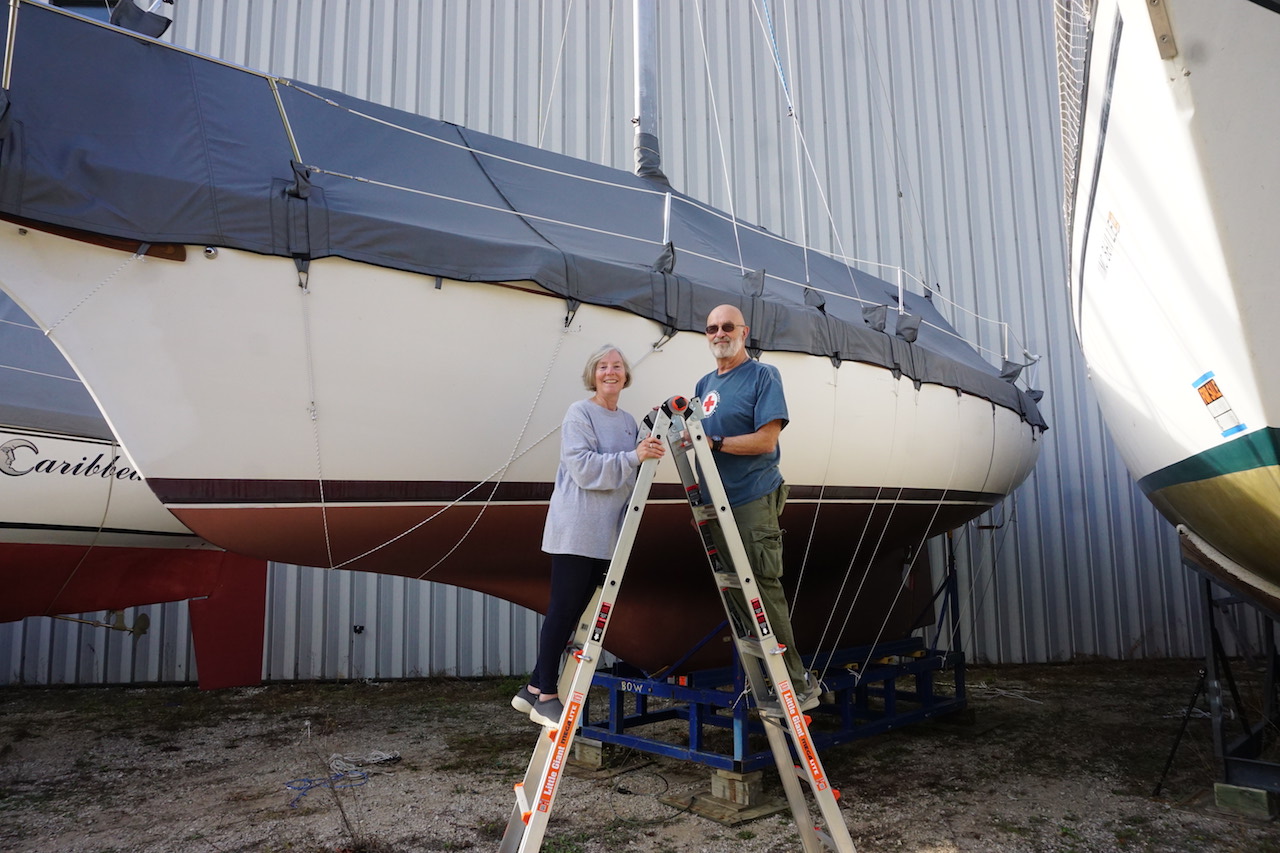
Bill and his wife, Susan, live in southern New Hampshire with their two dogs and are the owners of a small hobby business, One Oak Leather. They have a small online store and can also be found on Instagram. So far, almost all of their work has been custom ordered since they both work full time. For now, the leather shop is still just a labor of love. Susan has been sewing clothing for over 45 years and was the one who talked Bill into buying a sewing machine powerful enough to handle thick leather as well as being able to teach the “ins and outs” of sewing with a machine.
As they slowly near their golden years, the couple plan to focus on their leather shop once they retire. They both live by the old adage that “if you enjoy what you are doing, then you will never work a day in your life.”
Wise words to live by, Bill! Thank you so much for chatting with us and sharing your knowledge of leather crafting with our readers. Good luck in all your future leather endeavors.
If you’d like to see more of Bill’s leather creations, you can follow him on Instagram at @oneoakleathernh
Who We Are
Sailrite is your one-stop DIY shop! We are a passionate crew of do-it-yourselfers who strive to equip you with the supplies and how-to knowledge you need to tackle your next project. Do you want to learn upholstery, leatherwork, canvaswork, hobby sewing, bag making or more? We have the fabric, tools, hardware, sewing machines and notions you need to master any DIY. And even if you’ve never sewn before, our tutorials and how-to videos are designed for beginners and experienced crafters alike.
Start your DIY journey today: www.sailrite.com